Merchant Level
This article explains the actions available at the Merchant level. Keep in mind that the Merchant level is available only when you're associated with more than 1 project and what you can view and the actions you can perform depend on your assigned role.
Switch to Merchant Level
-
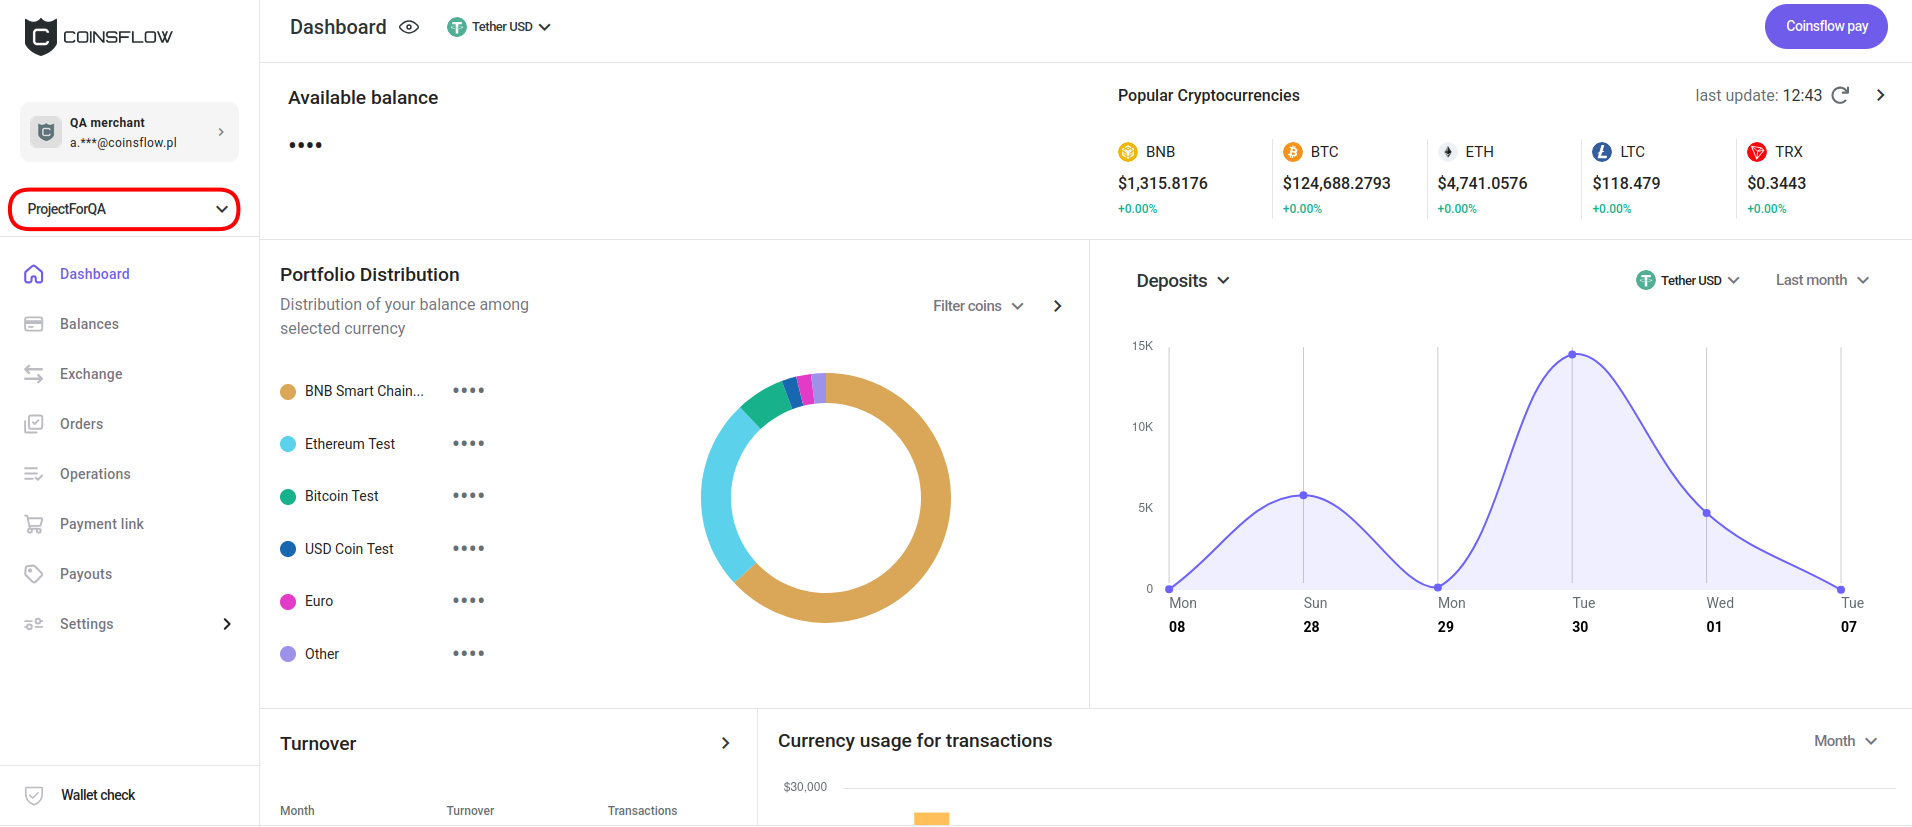
The current project name is displayed (if you have more than 1 project) on the left-top side of the screen:
-
Click on the project name.
-
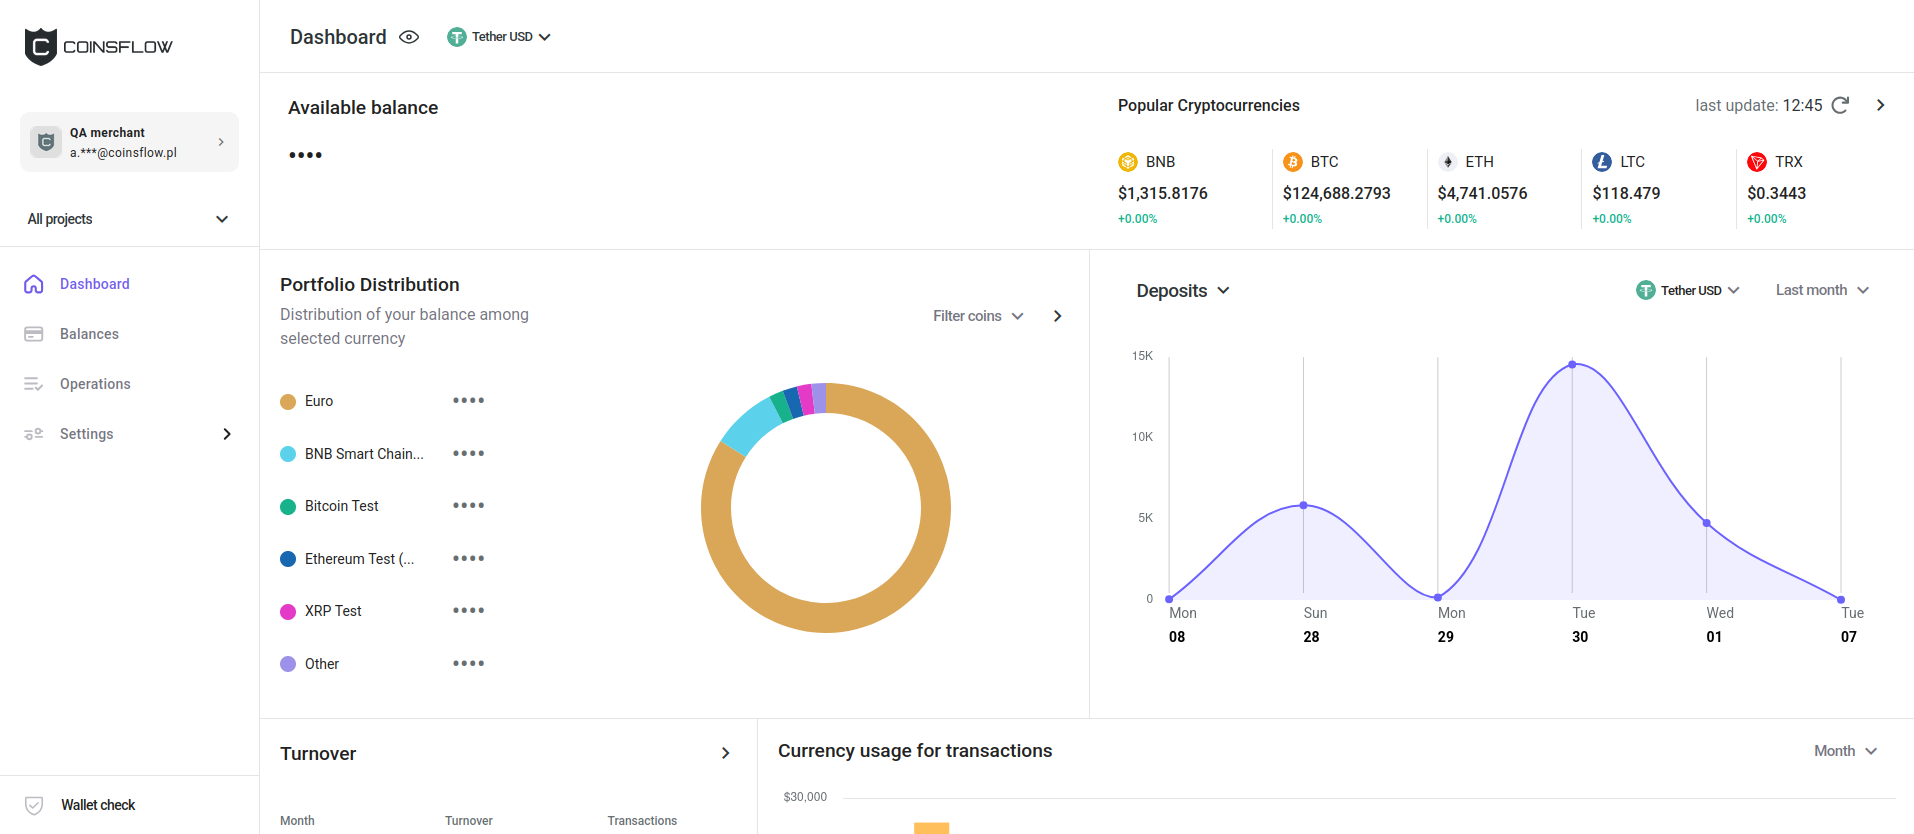
Click on "All projects" in the drop-down menu:

-
The aggregated page with information from all projects is displayed:
-
The "Dashboard" tab is displayed by default. It shows the aggregated view of volume, balance and total transactions of the projects you are associated with.
View Balances
Clicking on the "Balances" tab displays the "Balance" table:
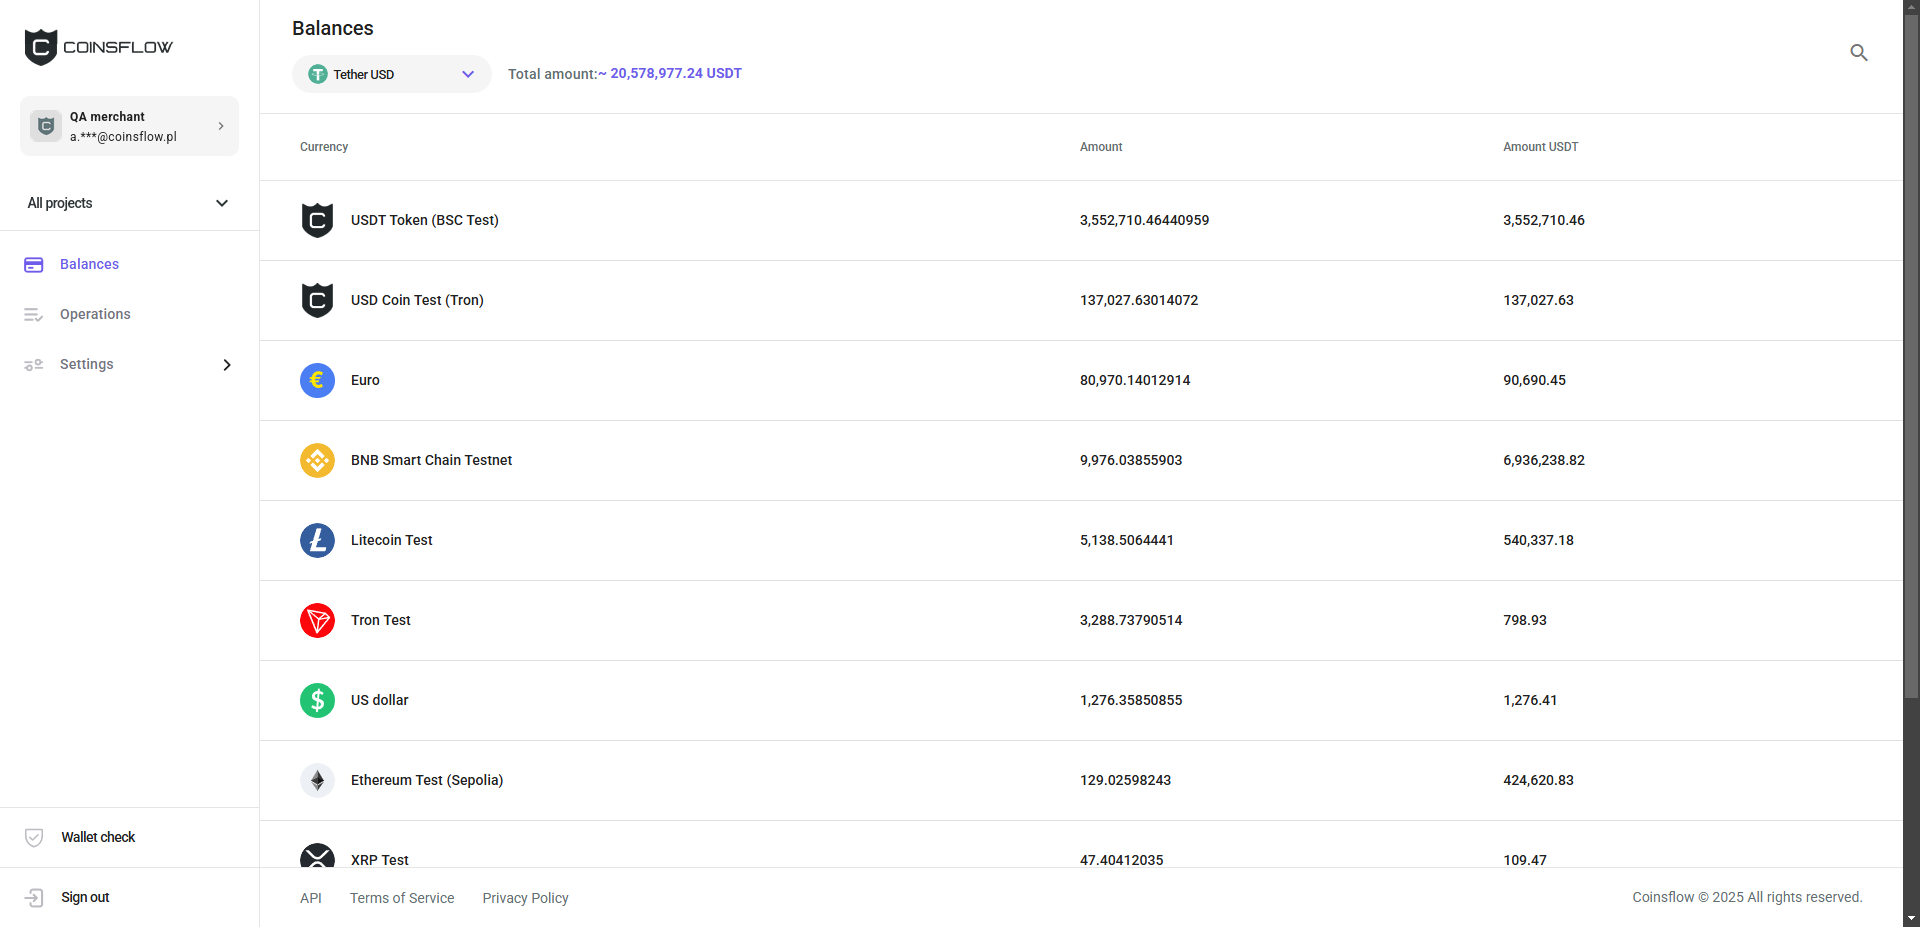
The "Balances" table displays the total assets for the accounts you're associated with. It shows the following information:
| Name | Description |
|---|---|
| Currency | Displays the icon, name and short name that identifies the cryptocurrency. |
| Amount | Displays the current aggregated amount of tokens/assets in the accounts. |
| Amount USDT | Displays the current aggregated amount of tokens/assets in the accounts, converted to USDT. |
View Operations
Clicking on the "Operations" tab displays the "Operations" table:
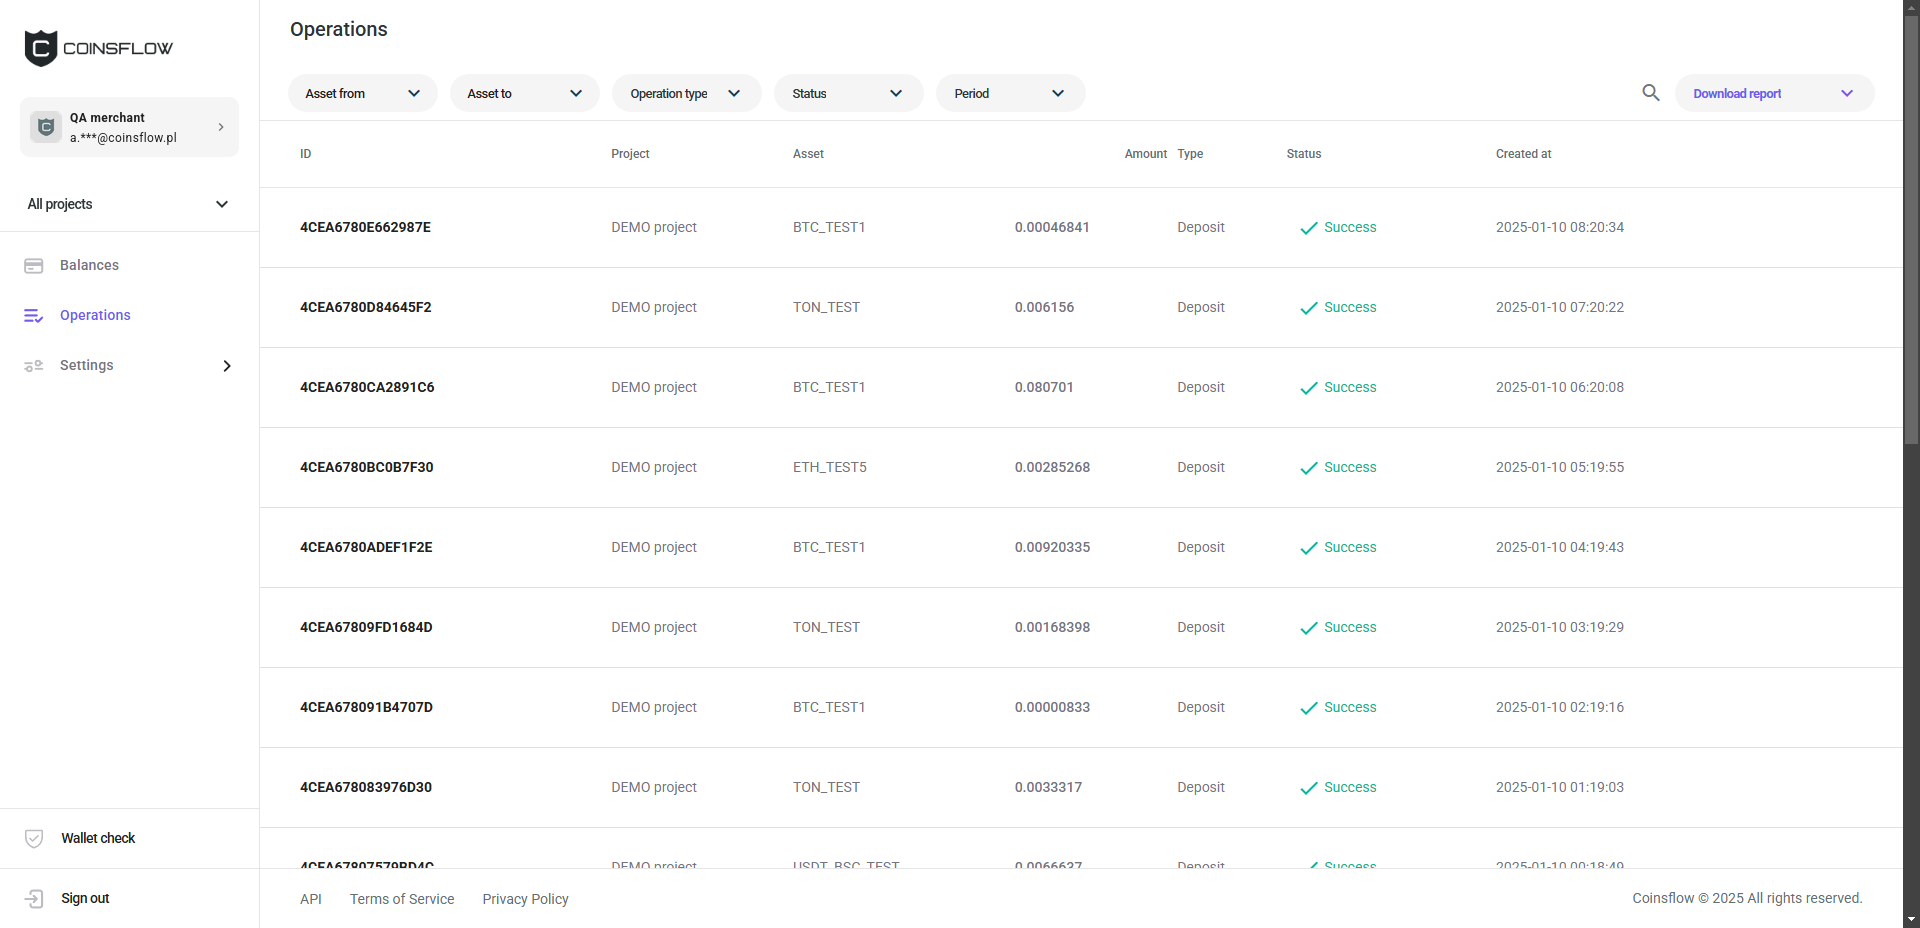
The "Operations" table displays the aggregated list of operations for the accounts you're associated with. It shows the following information:
| Name | Description |
|---|---|
| ID | Displays the unique code that identifies the operation on the Portal. |
| Project | Displays the account where the operation was performed. |
| Asset | Displays the short name that identifies the cryptocurrency used in the operation. |
| Amount | Displays the amount of tokens/assets used in the operation. |
| Type | Displays the type of operation that was performed (deposit, top up, payout, exchange, or settlement). |
| Status | Displays the current status of the operation (pending, paid, expired, fail, success, or exchanging ). |
| Created at | Displays the date and time the operation was created. |
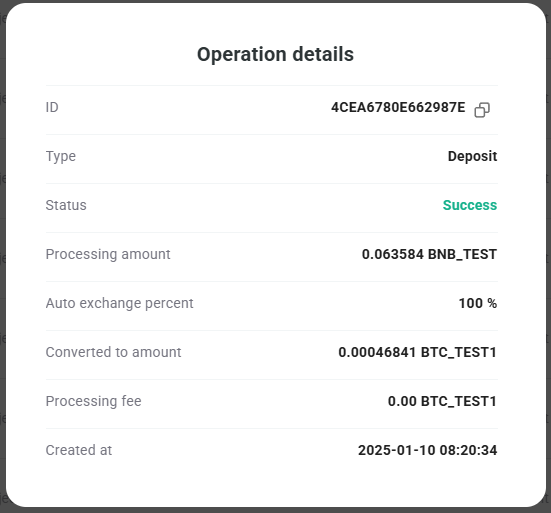
Click on the ••• icon to display the detailed information card of the operation:
You can filter the "Operations" table to single out the specific operation(s) you want to see. The following filters are available:
| Name | Description |
|---|---|
| Asset from | Select the cryptocurrency used in an exchange operation to convert to another cryptocurrency. |
| Asset to | Select the cryptocurrency used in an exchange operation to be converted to. |
| Operation type | Select the the type of operation (deposit, top up, payout, exchange, or settlement) to be displayed. |
| Status | Select the current status of the operation (pending, paid, expired, fail, success, or exchanging ). |
| Period | Select the period range to display the operations from (today, yesterday, last 7 days, last 30 days, previous month, or custom - select the start and end dates from the calendar). |
You can select more than one item from the drop-down menu of the selected filter, and the results will be displayed in an aggregated view (e.g.: Operation type: Deposit and Top up).
You can download the table's information as a report by clicking the 'Download report' button and selecting your preferred file format (CSV or XLSX).
Change Your Password
-
Click on the "Settings" button to display the "Profile" page:
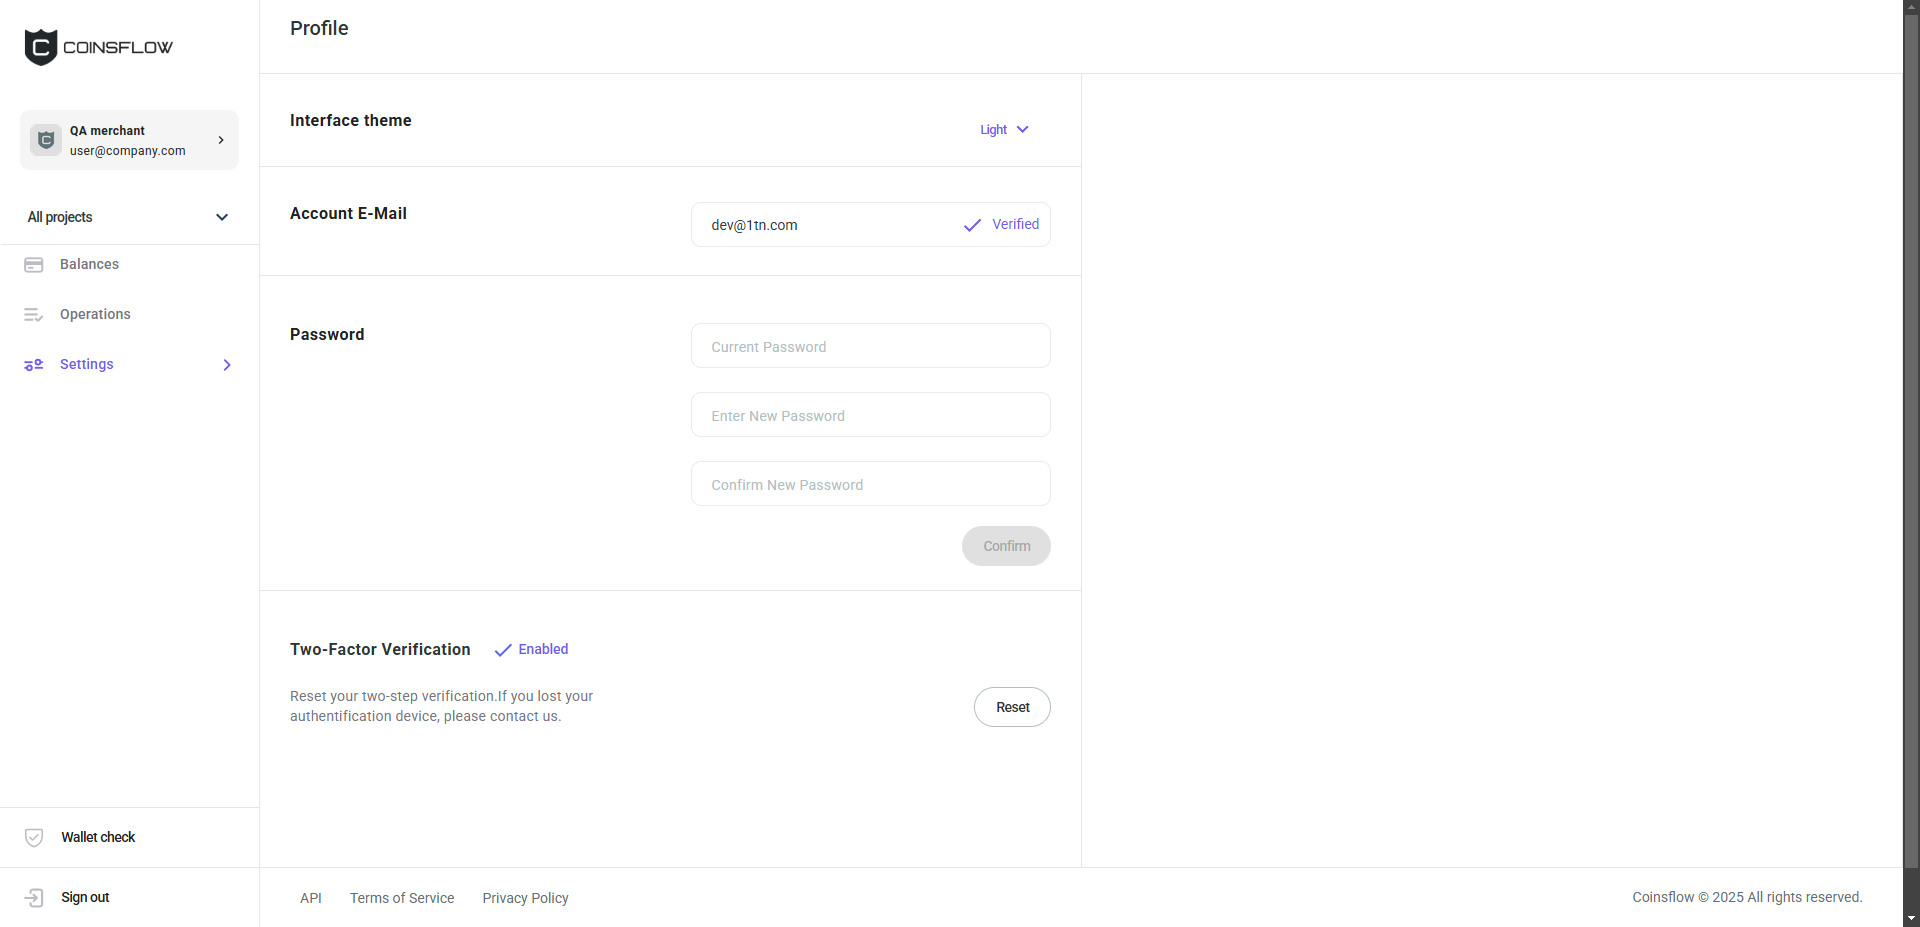
-
On the "Password" section, insert the required information:
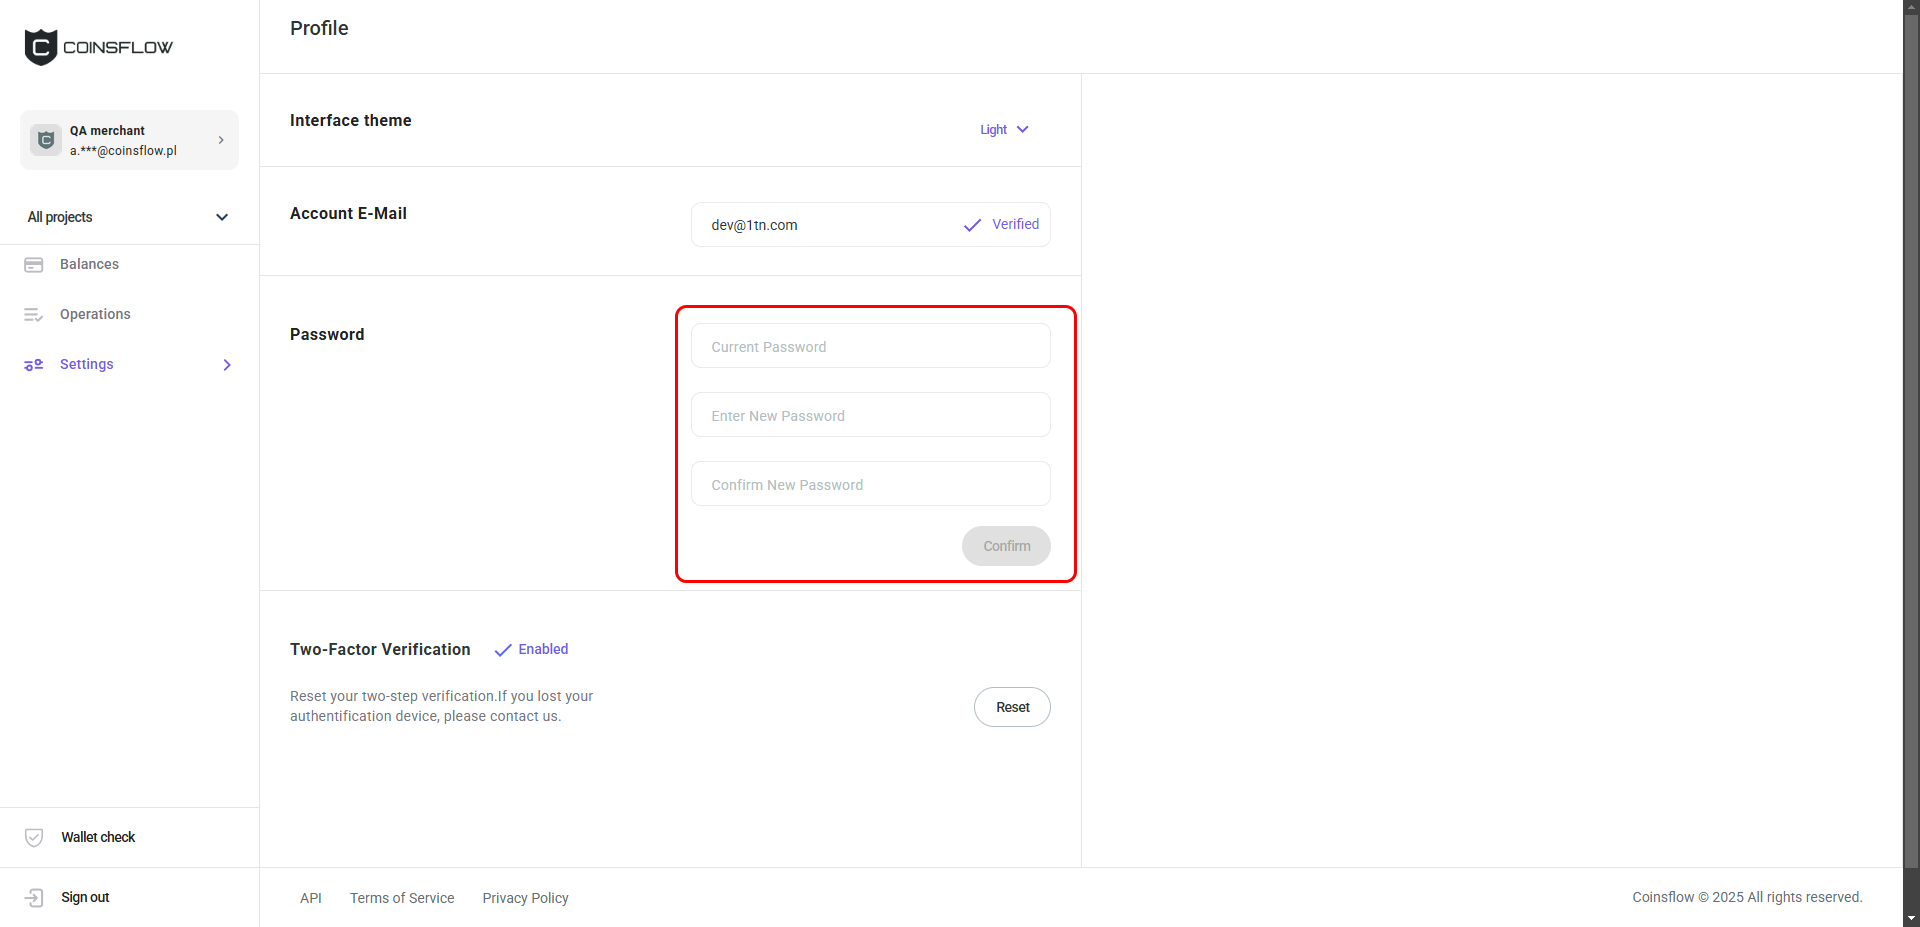
- Insert your current password, for security purposes,
- Insert the new password.
- Re-insert the new password (same as the password inserted as "New password") to confirm.
- Click on the "Confirm" button to proceed.
- The new password is assigned to your e-mail for login purposes.
Team Management
Clicking on the "Team" button in the "Settings" section of the menu displays the "Team" table with the following information:
| Name | Description |
|---|---|
| Name | Displays the name that identifies the user on the platform. |
| Project | Displays the project the user is associated with. |
| Displays the email associated with the user. | |
| Team member type | Displays the role assigned to the user. |
| Status | Displays the current status of the user (active, unverified, or deactivated). |
| Joined | Displays the date the user was created on the platform. |
| Active | Allows to deactivate users (Active or unverified). |
Some actions, such as assigning the user to another project or changing the user role may be available in the drop-down menu of the user's row.
You can add a team member by clicking on the "Add a team member" button. The "Create a team member" card is displayed:
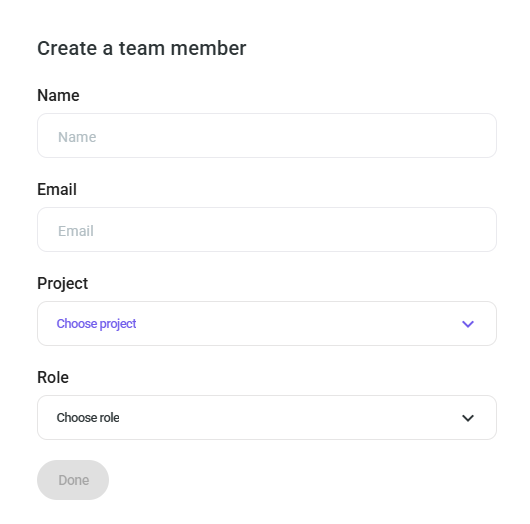
The "Create a team member" card requests the following information:
| Name | Description |
|---|---|
| Name | Insert the name to identify the user on the platform. |
| Insert the email address to associate with the user. | |
| Project | Select the project to associate the user with. |
| Role | Select the role to assign to the user. |
Customize Reports
Clicking on the "Reports" button in the "Settings" section of the menu displays the "Report" options where you can toggle the following automatically generated reports by period:
- Daily
- Weekly
- Monthly
Reports are only sent if there is data to include. Even if a reporting period is configured, no report will be generated or sent if there was no activity during that time.