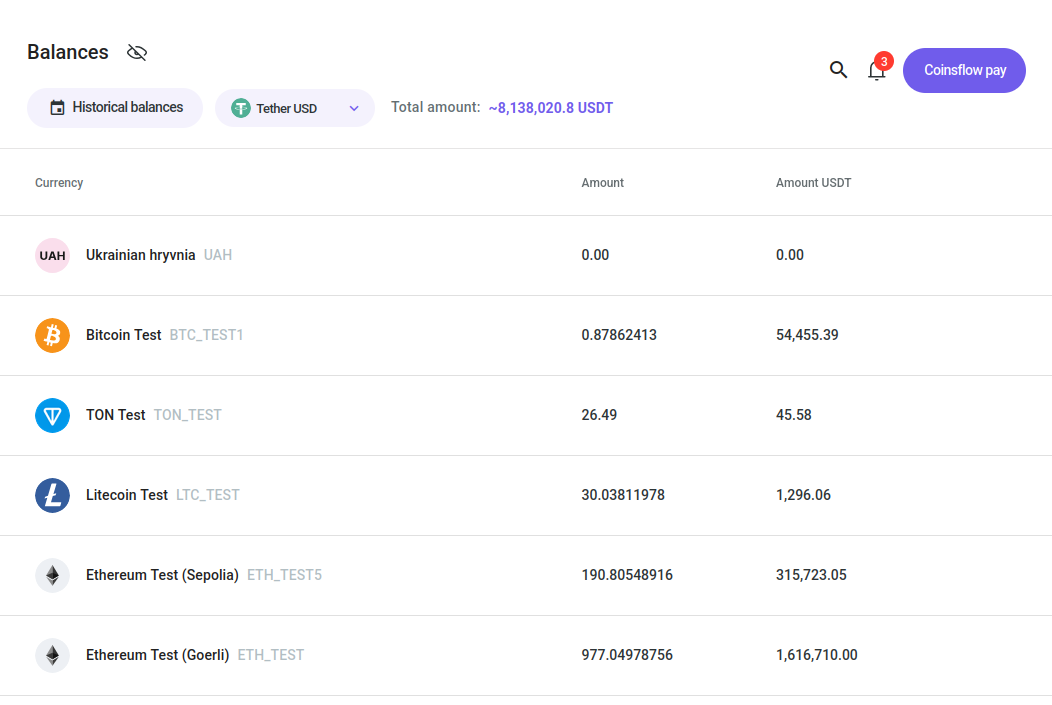
Balances Tab
The Balances tab is the tab that displays the current assets available and their current value in USDT.
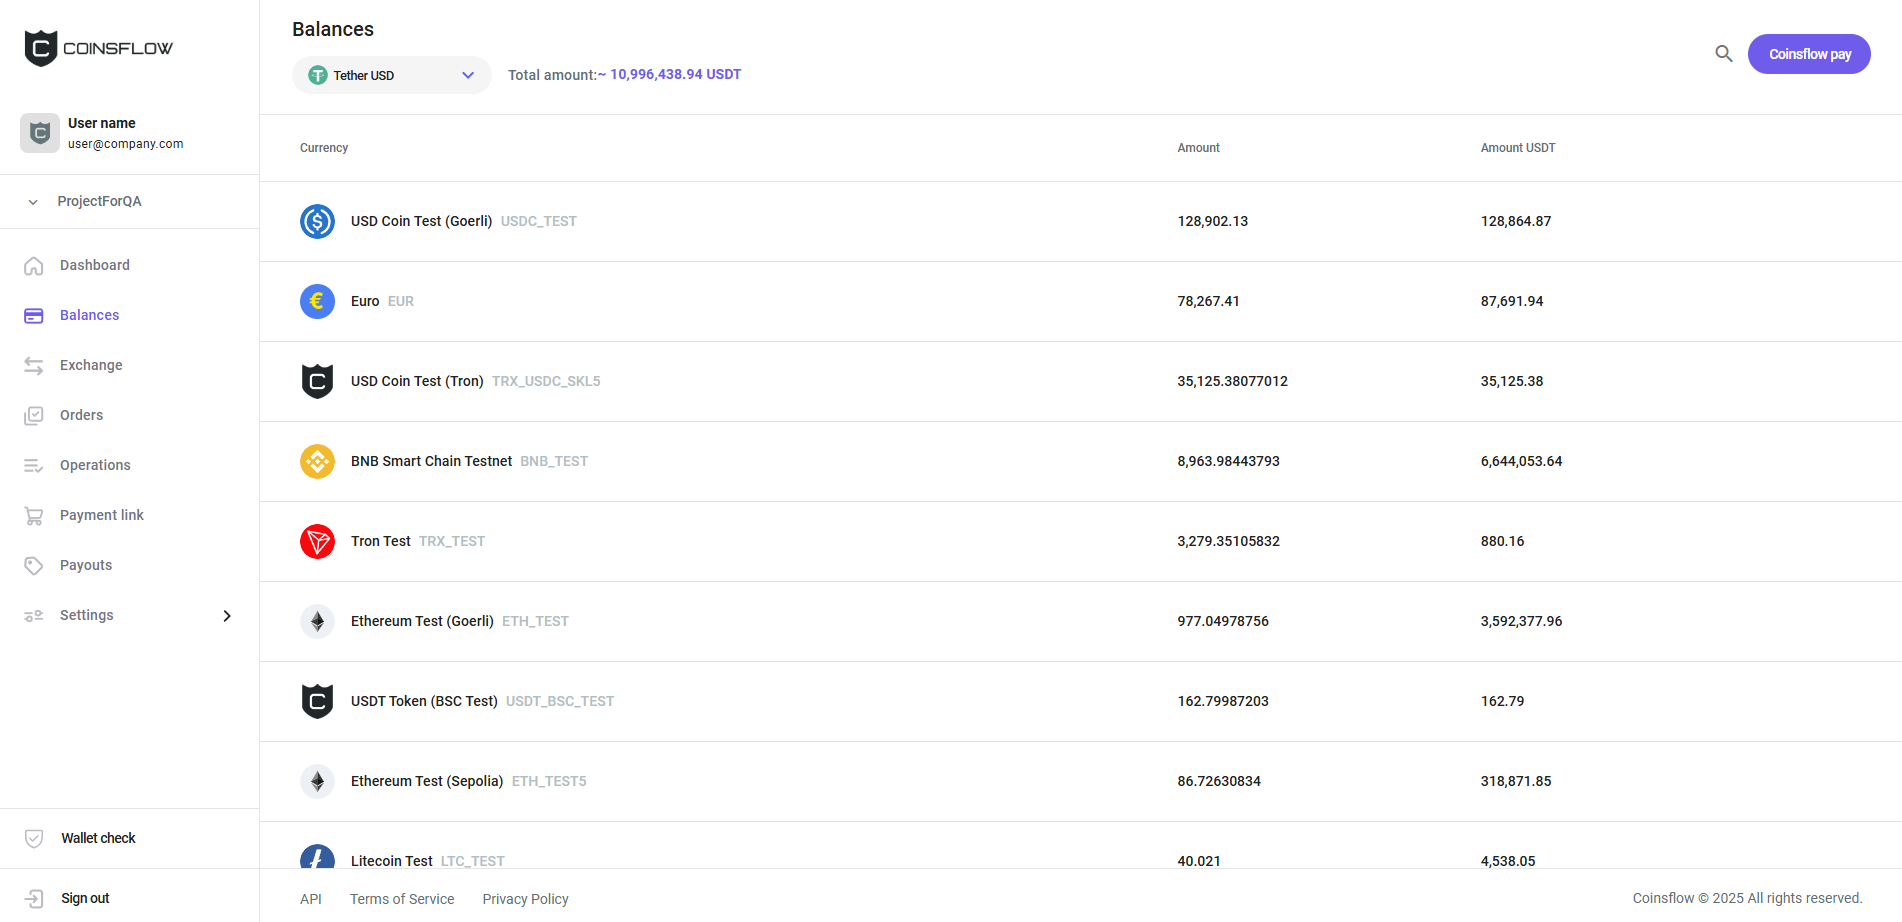
The Balances table displays the following information:
| Name | Description |
|---|---|
| Currency | Displays the currency (crypto or fiat) that the row refers to. |
| Amount | Displays the amount available in the currency. |
| Amount USDT | Displays the amount available in USDT (converting from the crypto's available assets). |
On the balances tab you can:
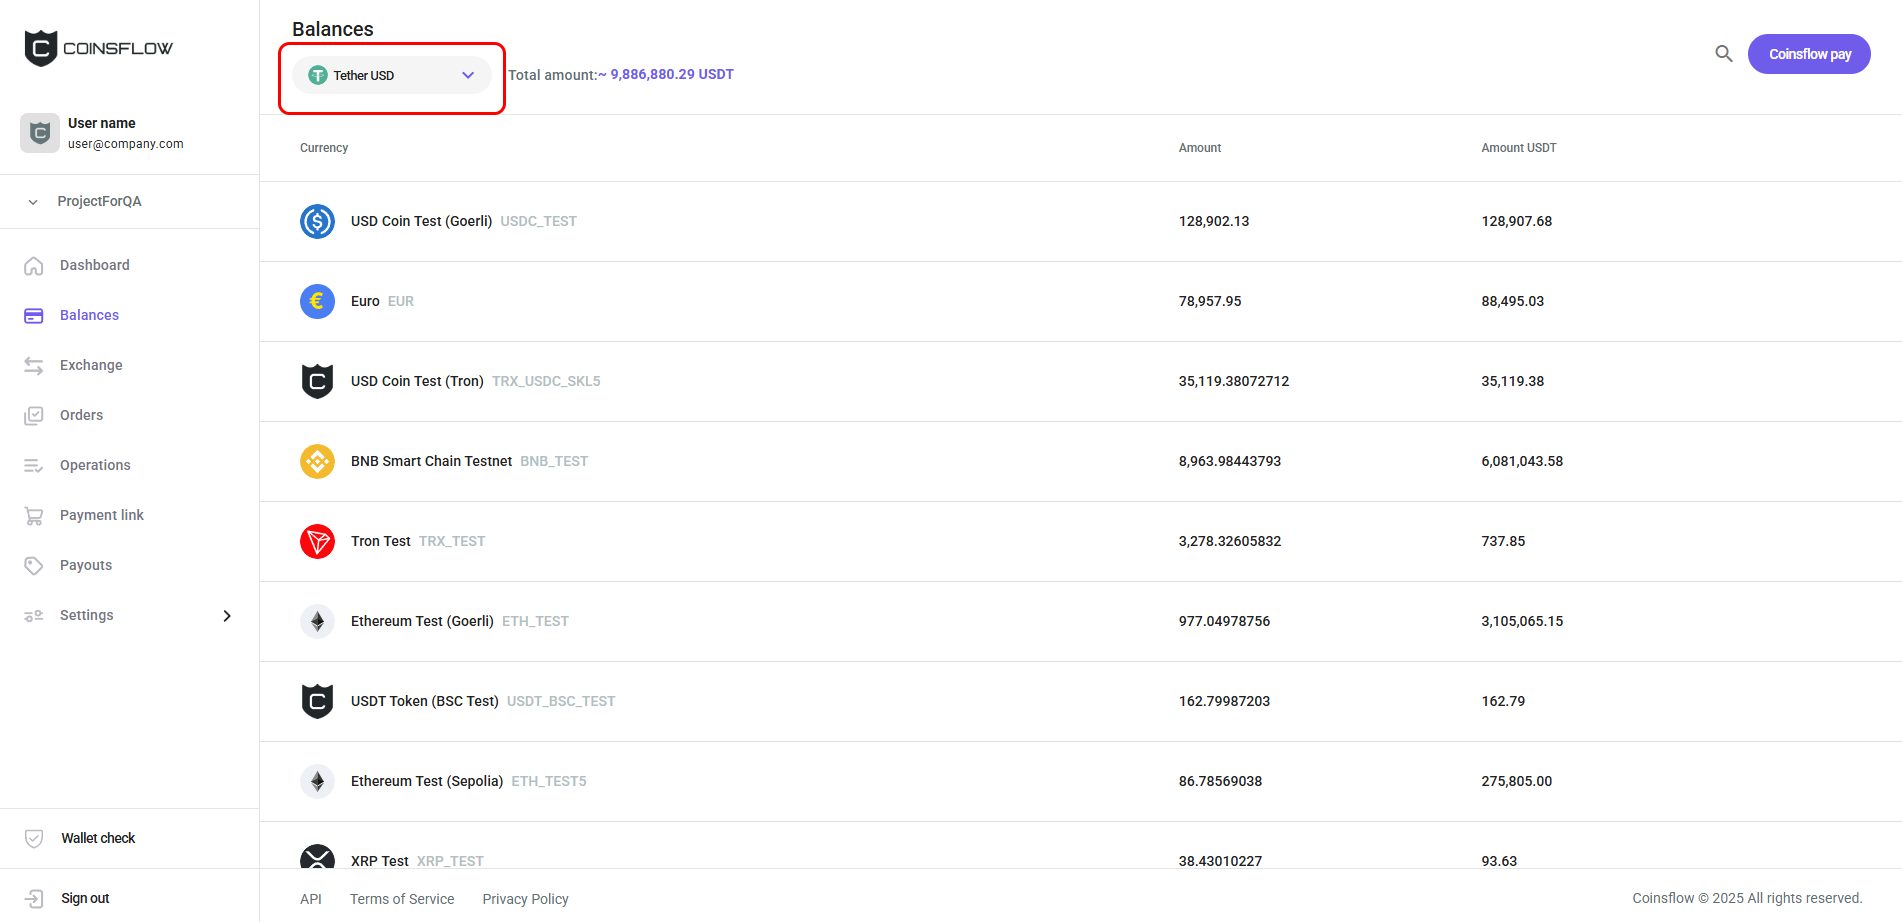
See the Total Balance Amount in Other Currency:
-
Click on the Asset icon:
-
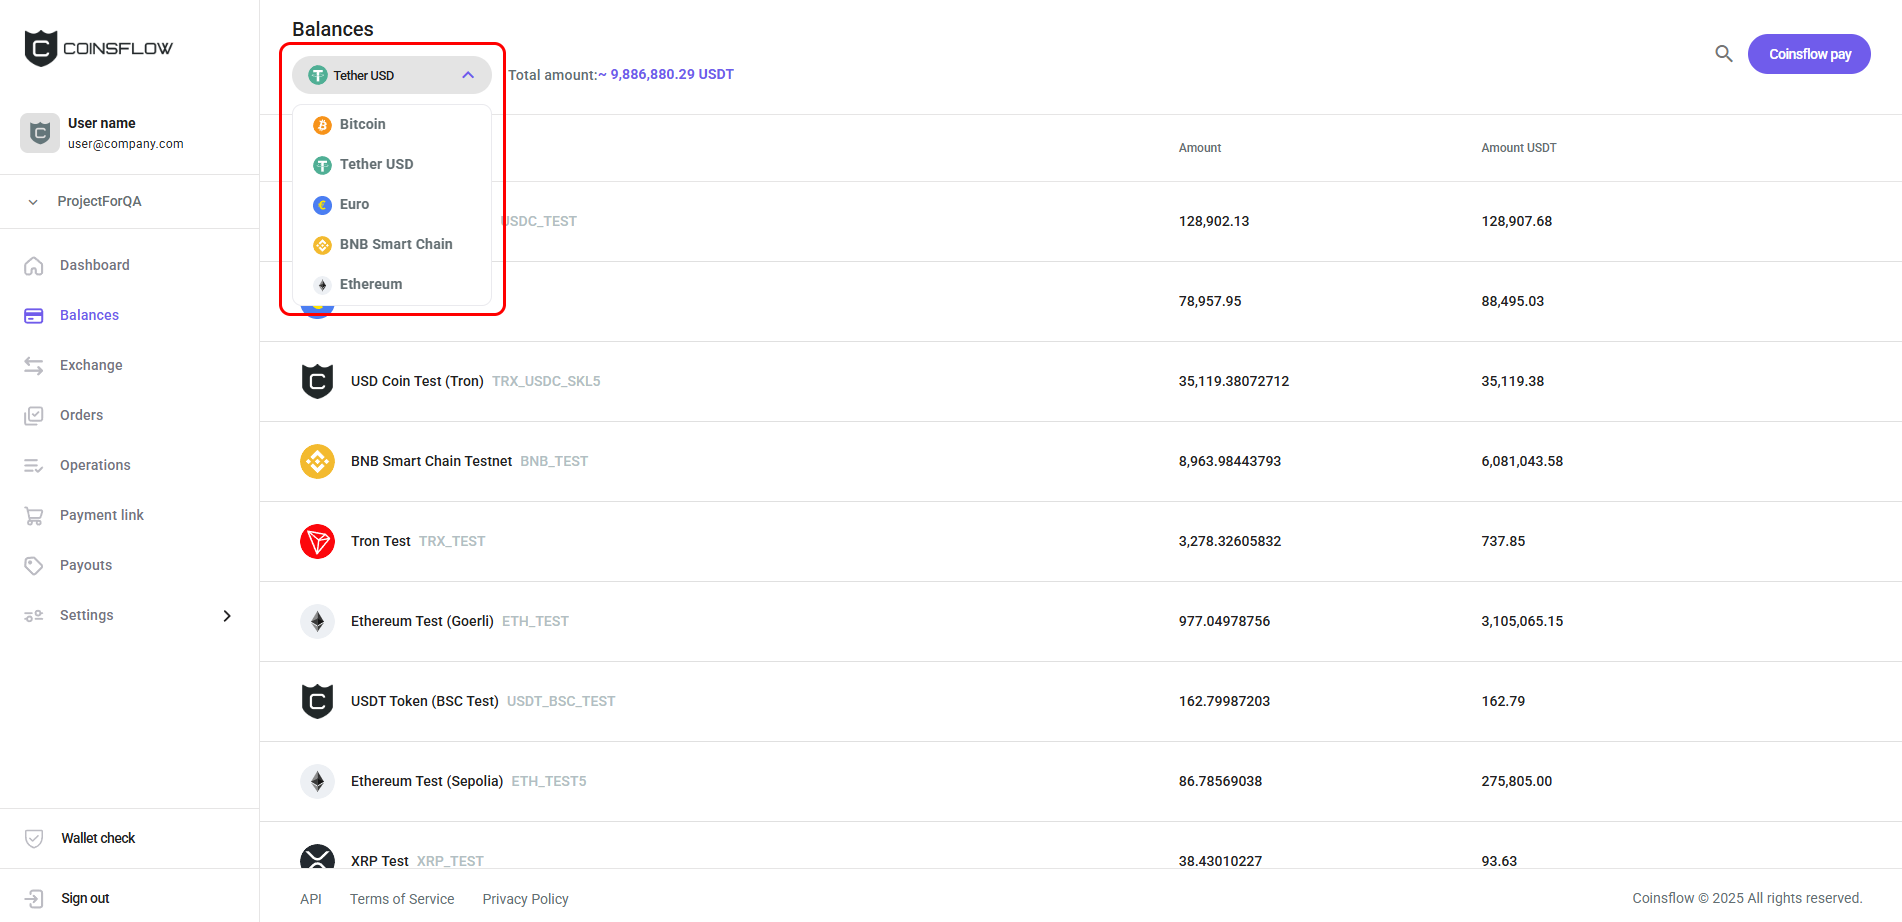
Select the desired asset from the drop-down menu:
-
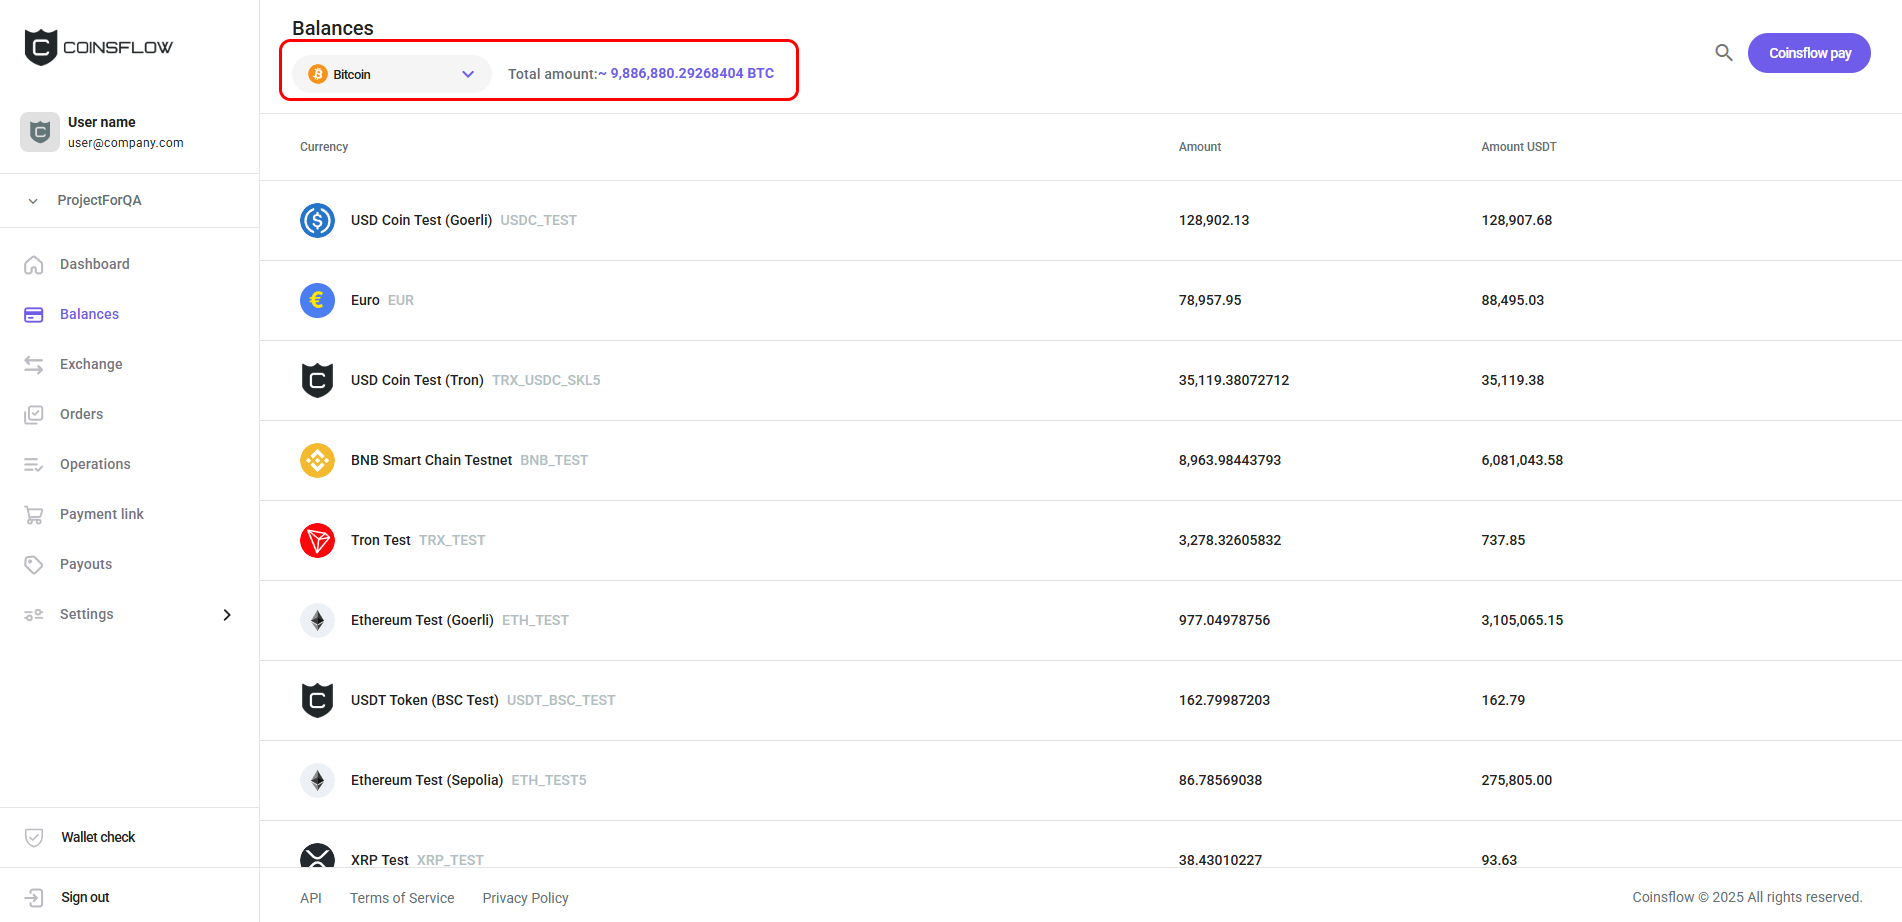
The total amount of assets is displayed in the selected asset:
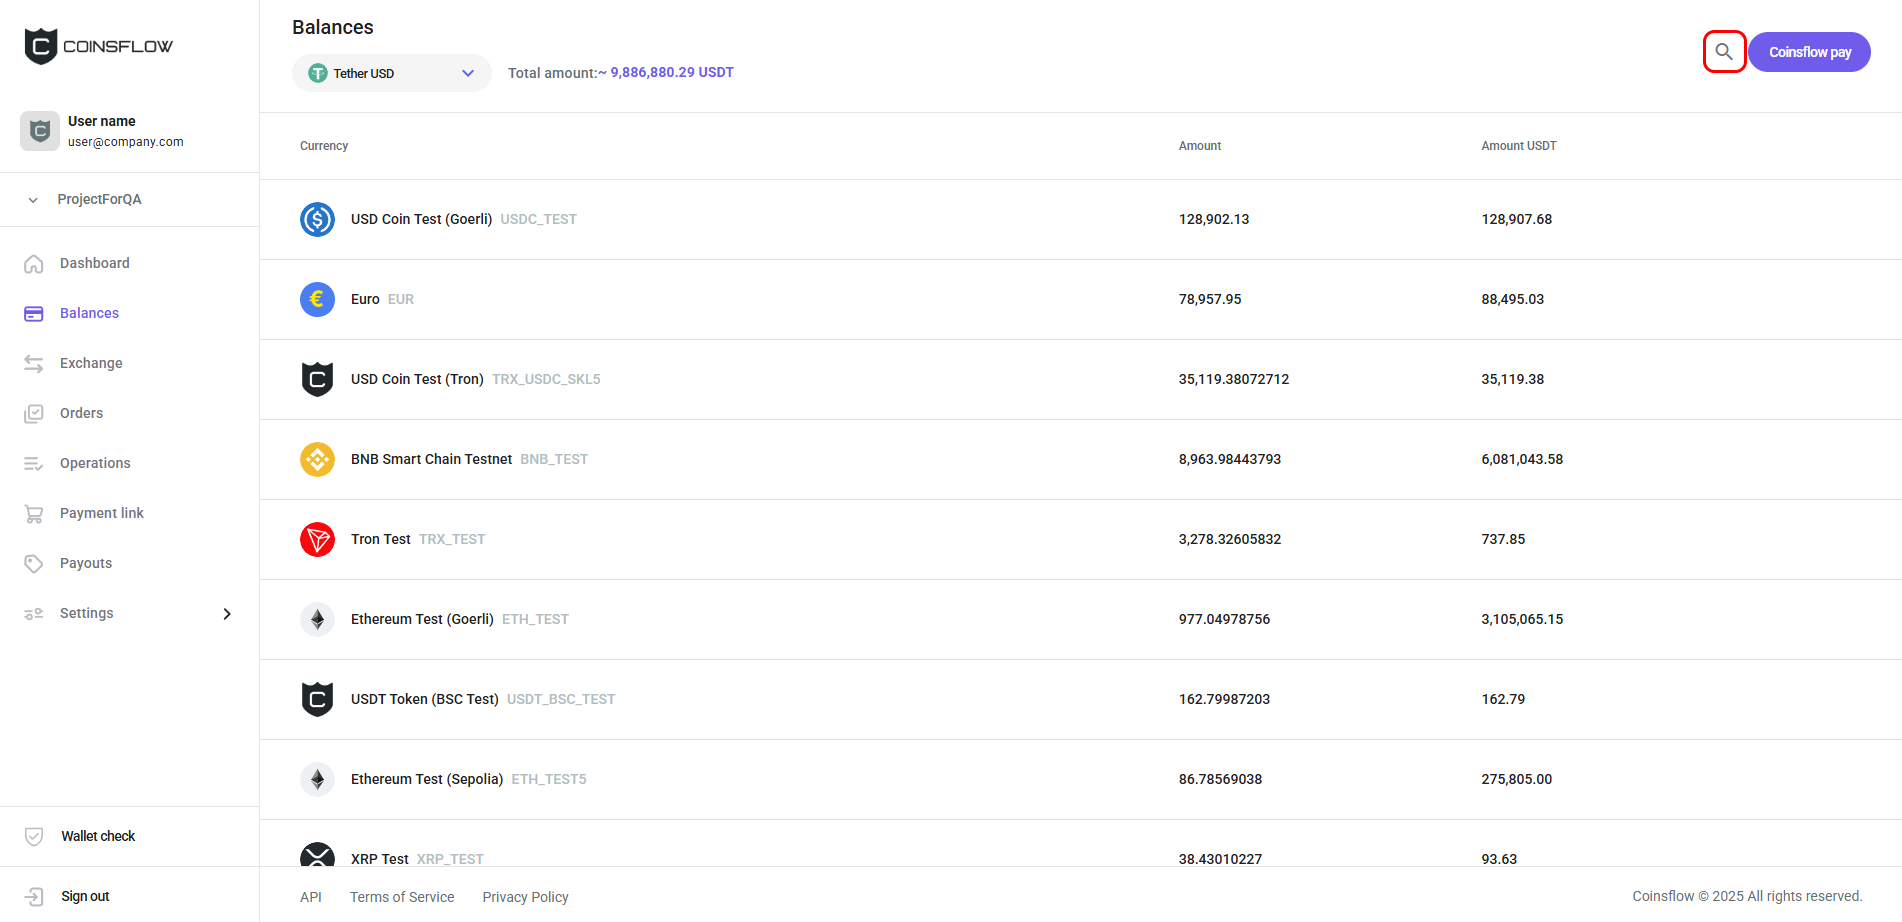
Filter the Balances Table:
-
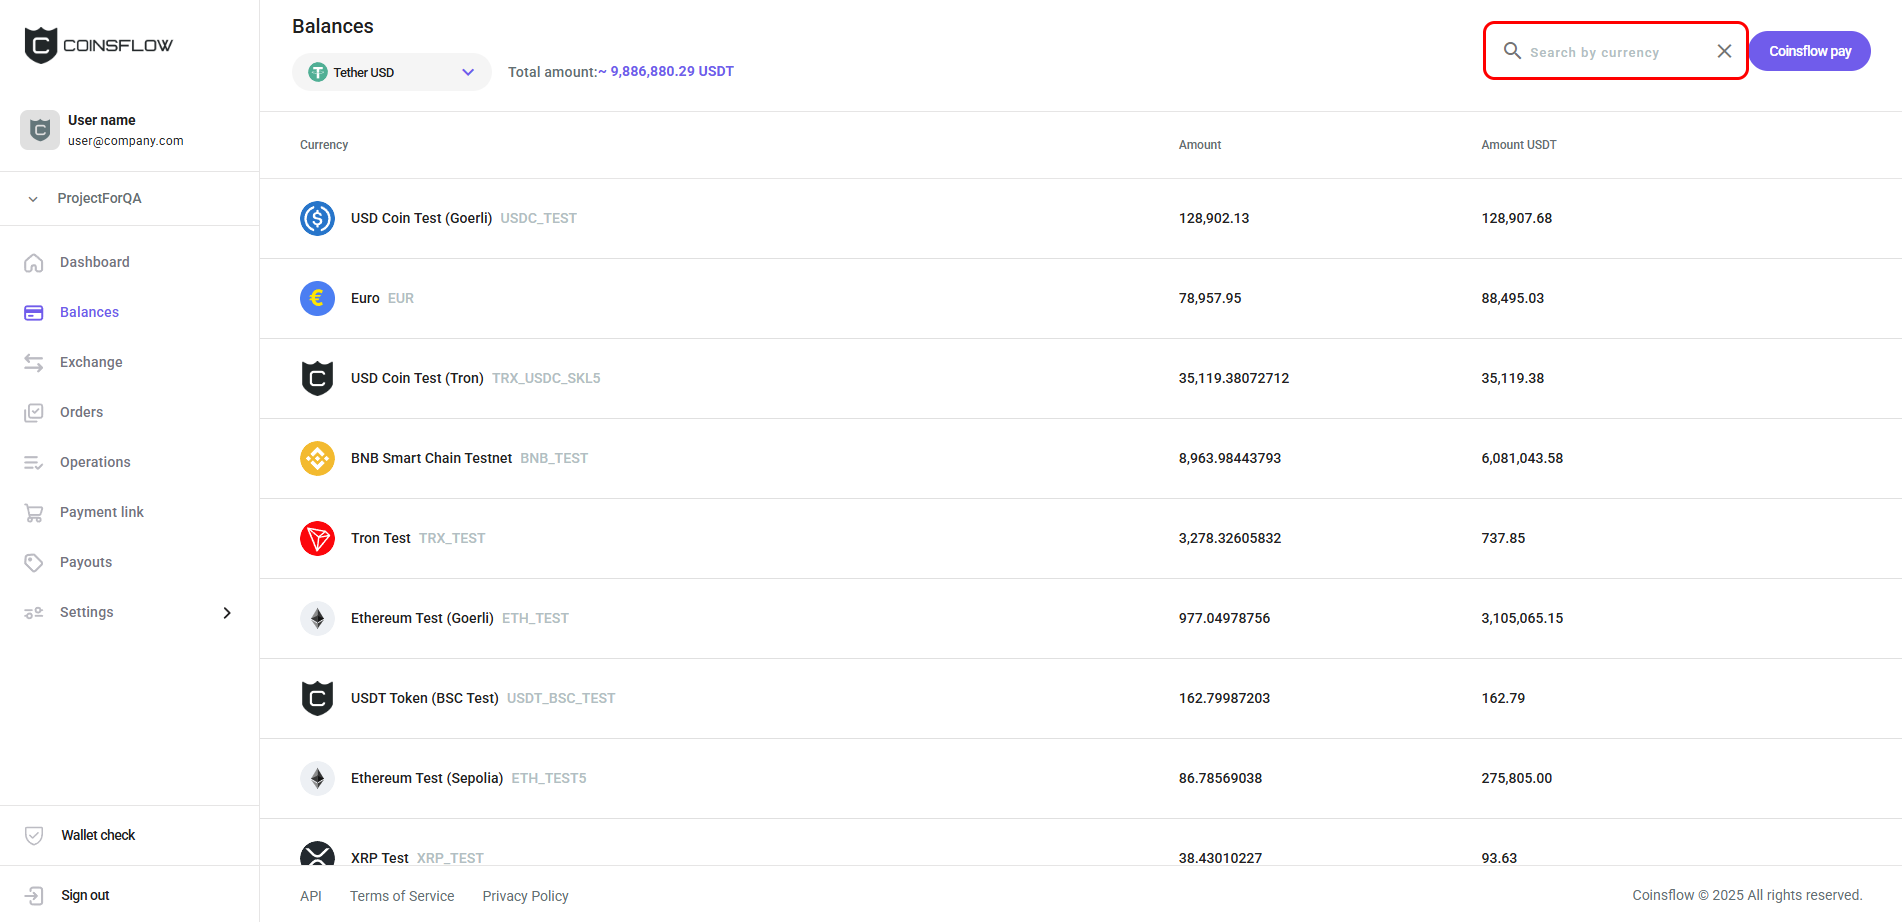
Click on the Search icon:
-
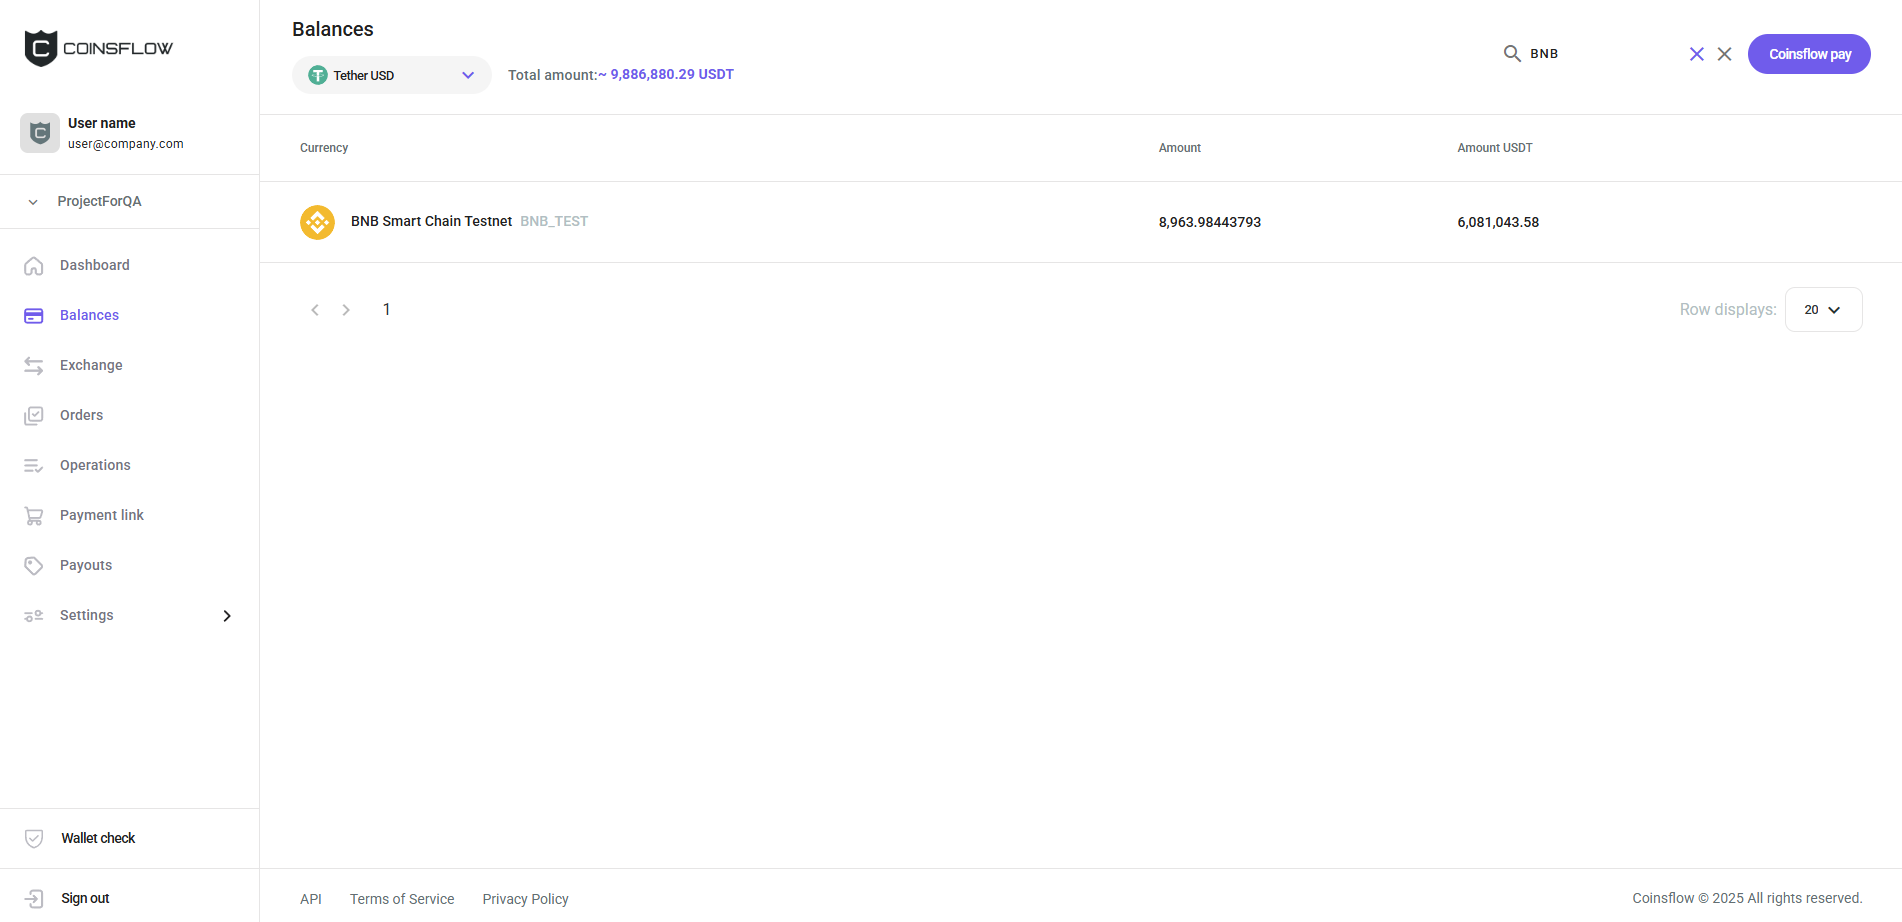
Insert the desired asset into the expanded Search field:
-
The Balances table displays only the inserted asset:
Exchange an Asset
-
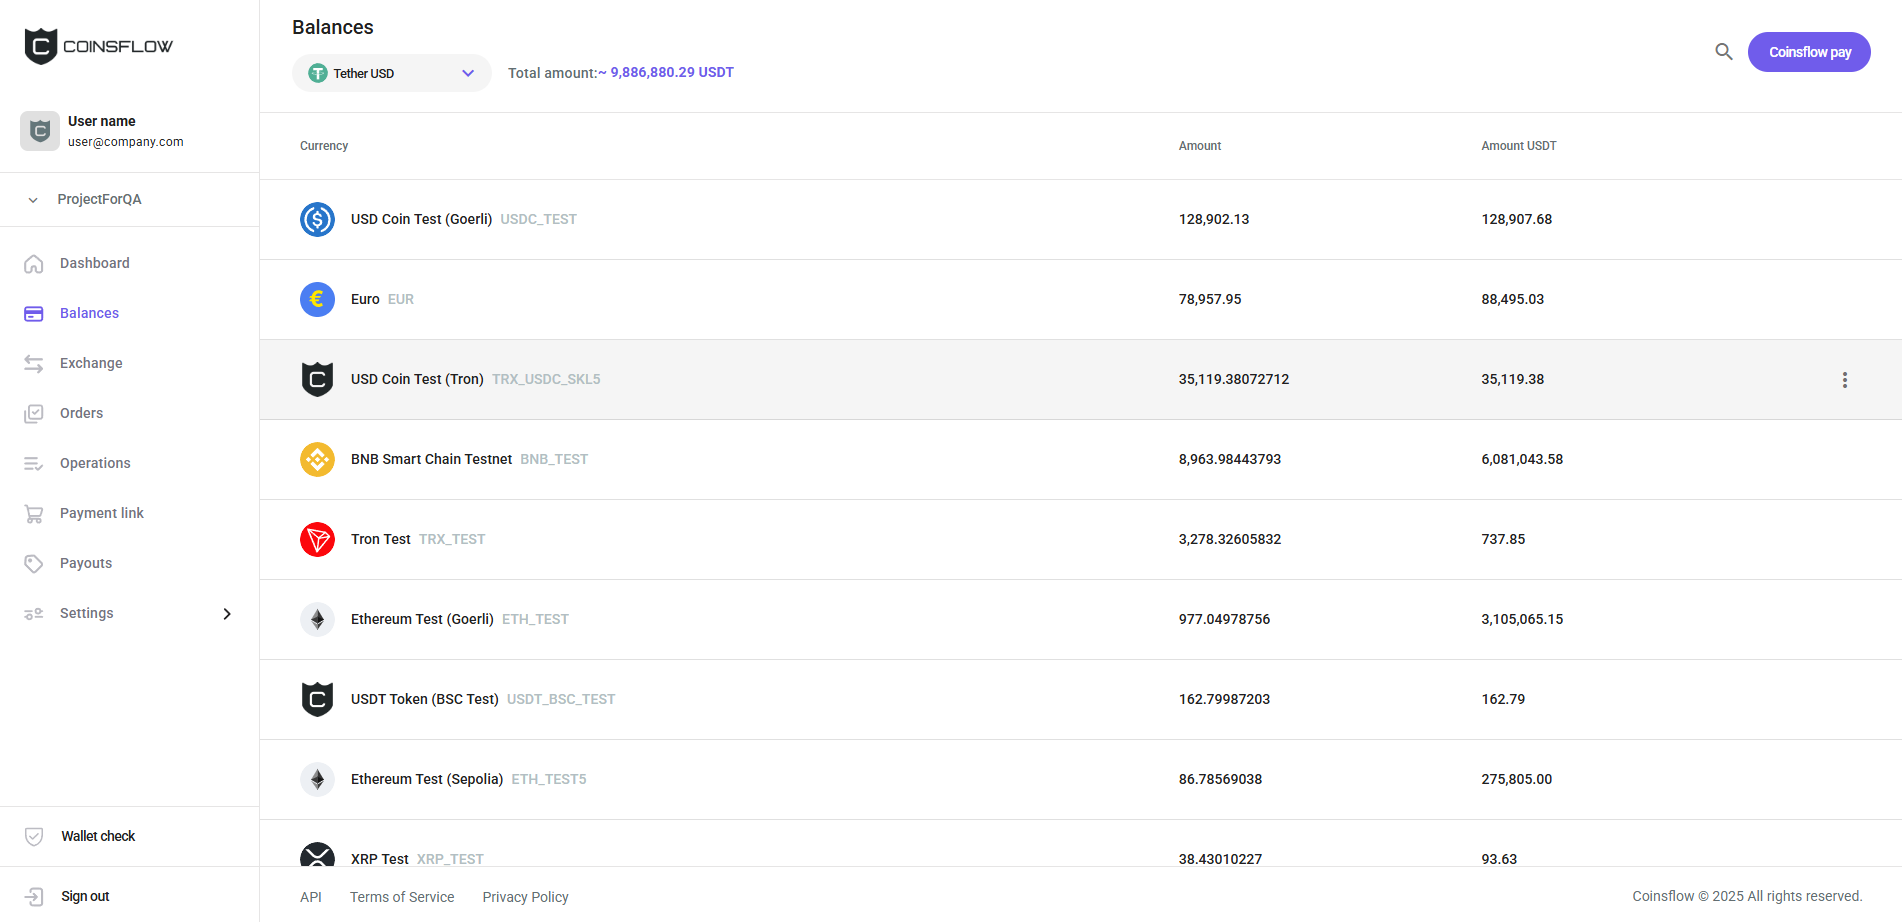
Hover over the desired asset row on the Balances table:
-
Click on the Options icon:

-
Select "Exchange" from the drop-down menu:
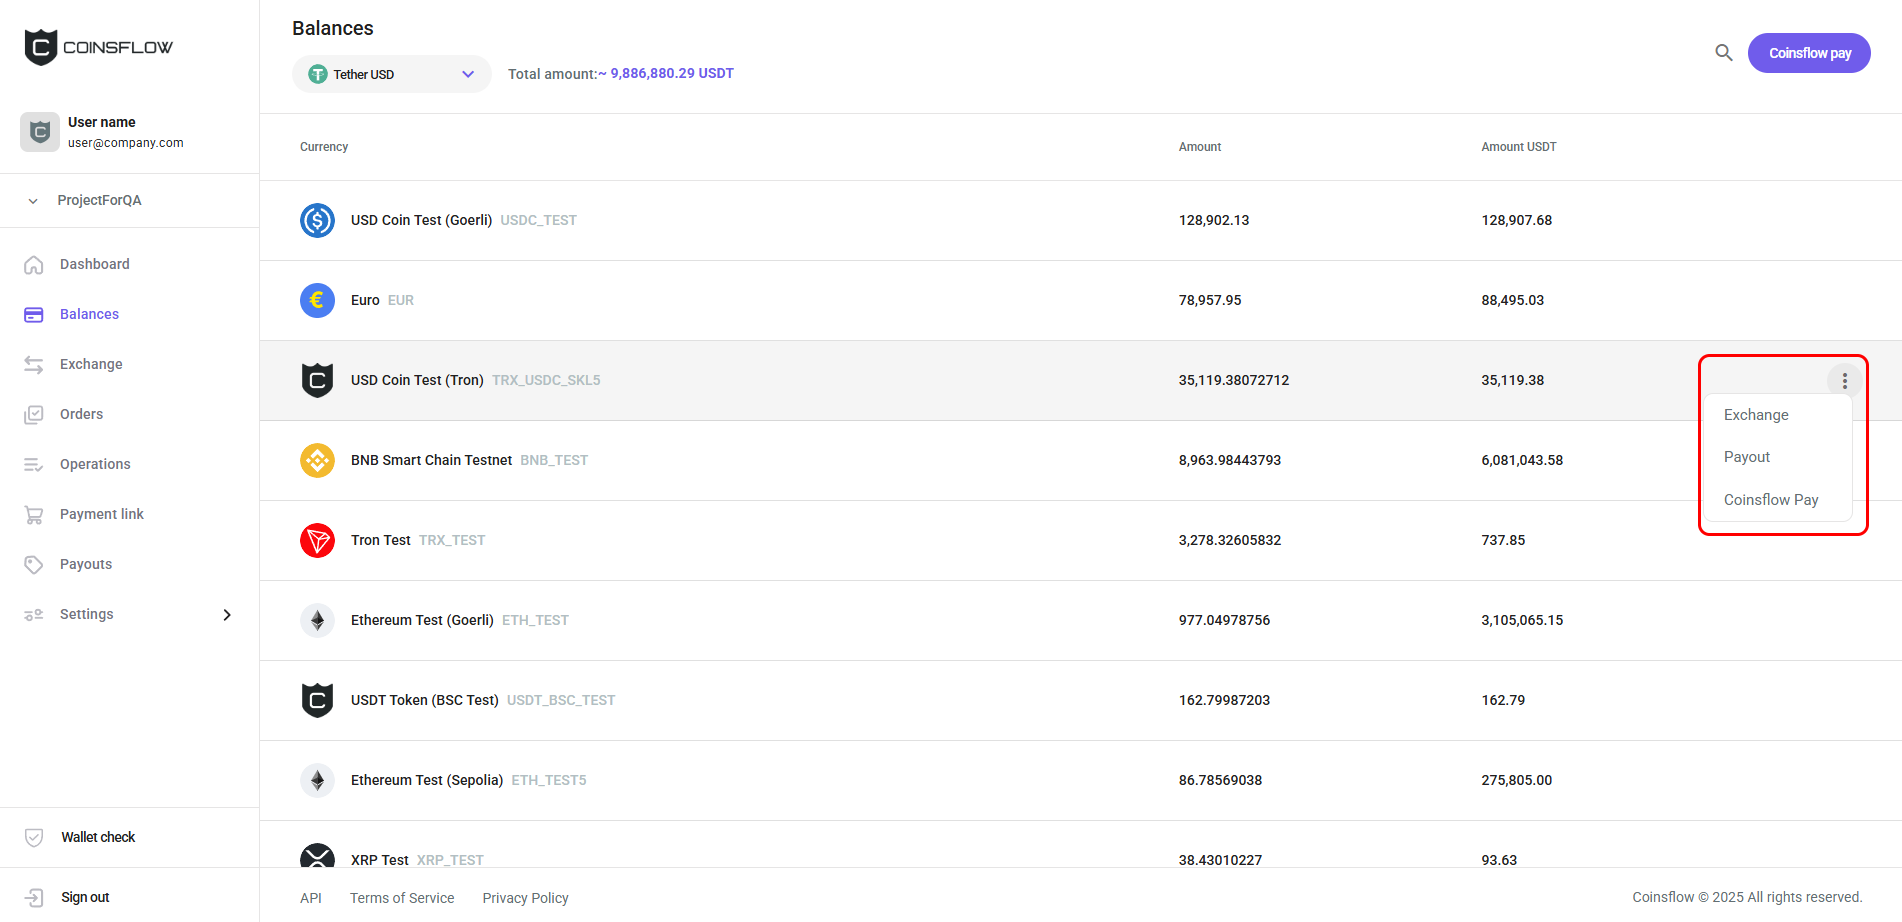
The drop-down menu may display fewer options if the selected currency does not have all the options available.
-
The Exchange card is displayed:
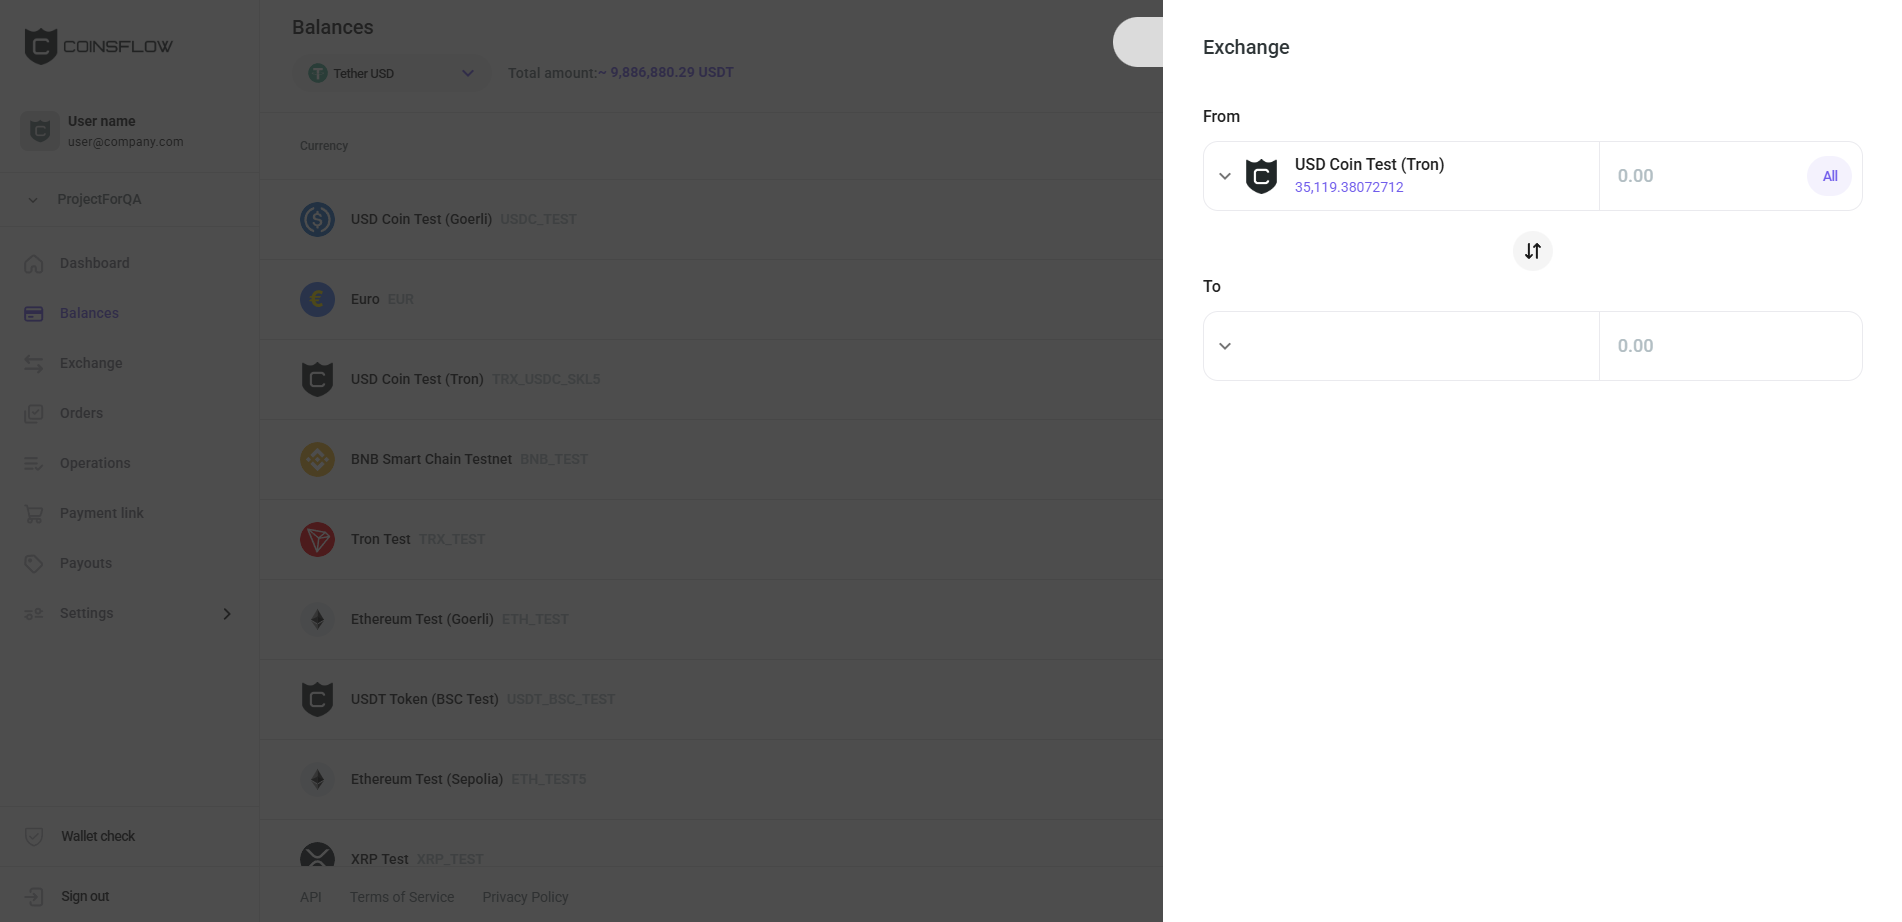
If the currency is not already displayed on the From field, select the desired currency from the drop-down menu by clicking on "Choose currency".
-
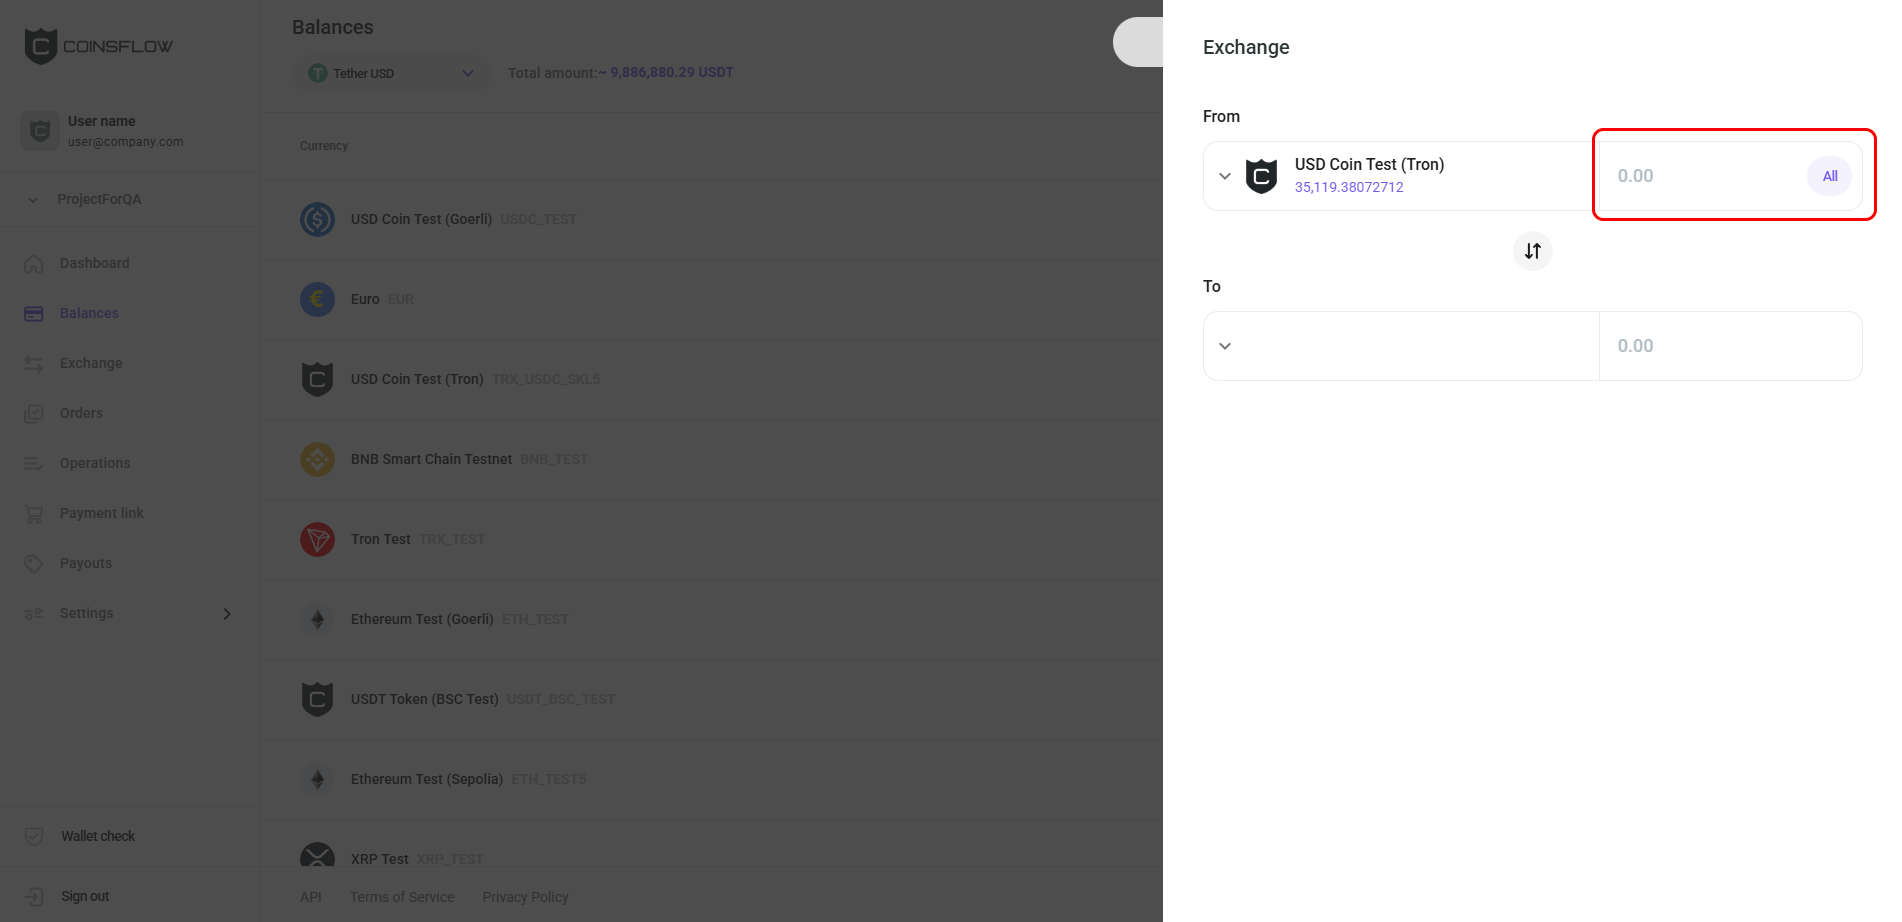
Insert the desired amount in front of the selected currency on "From":
-
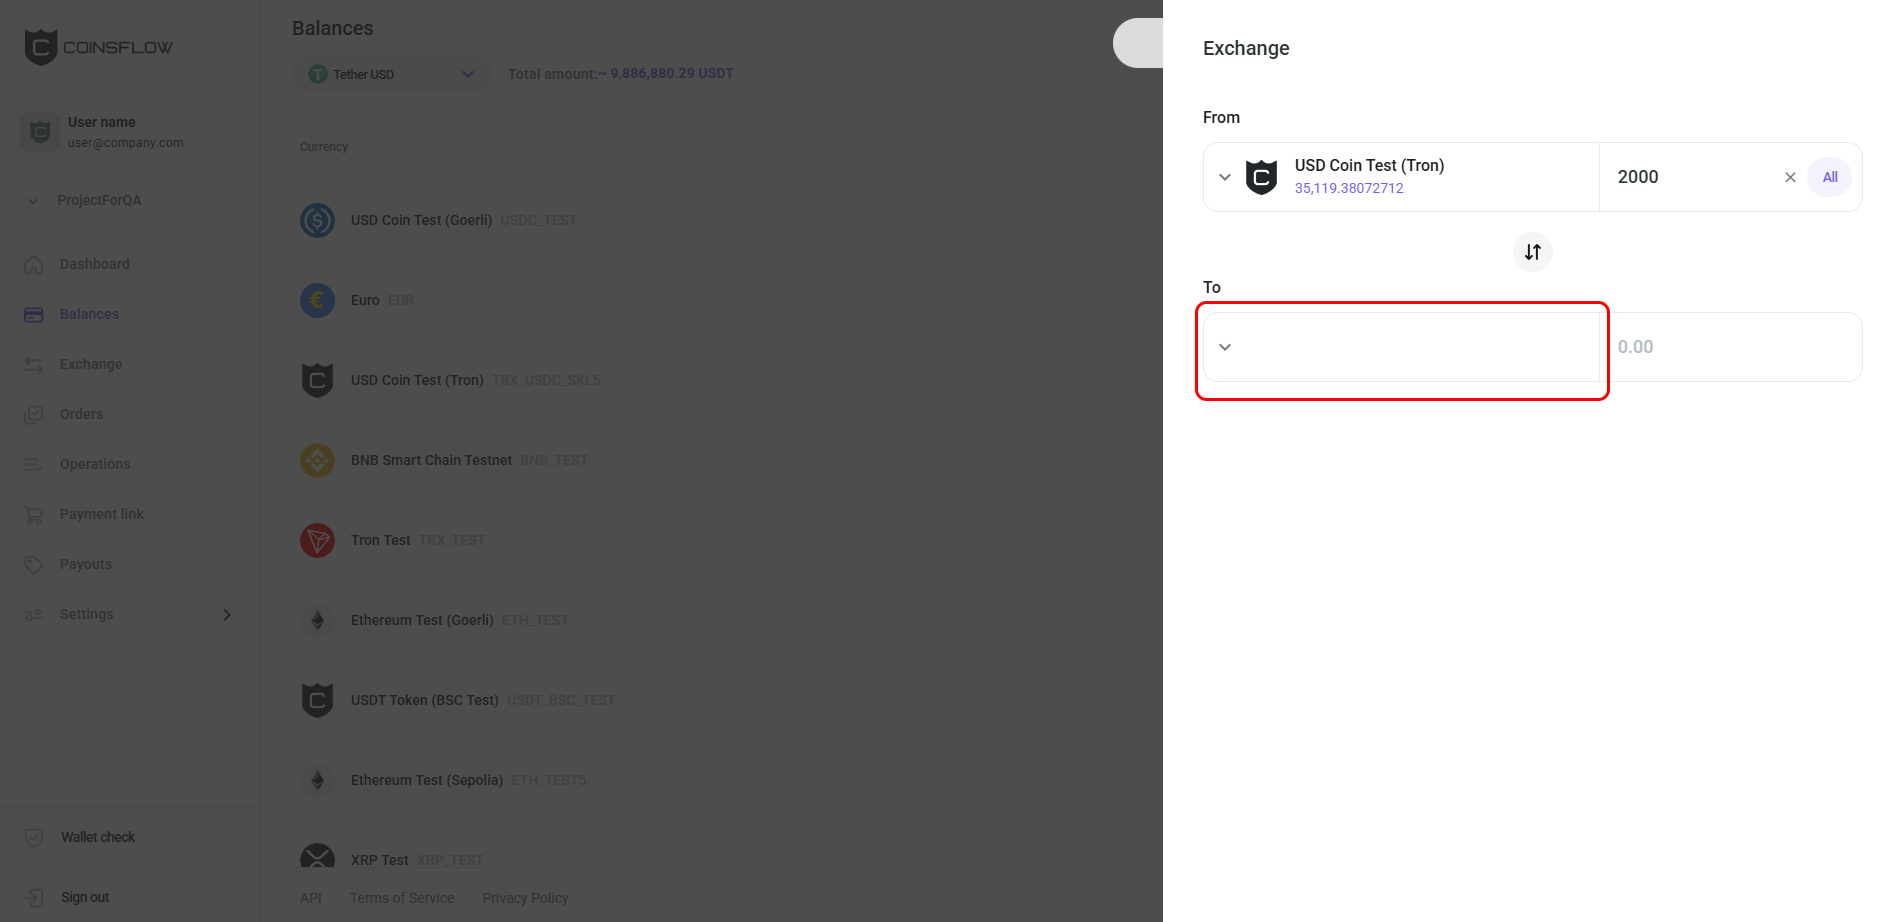
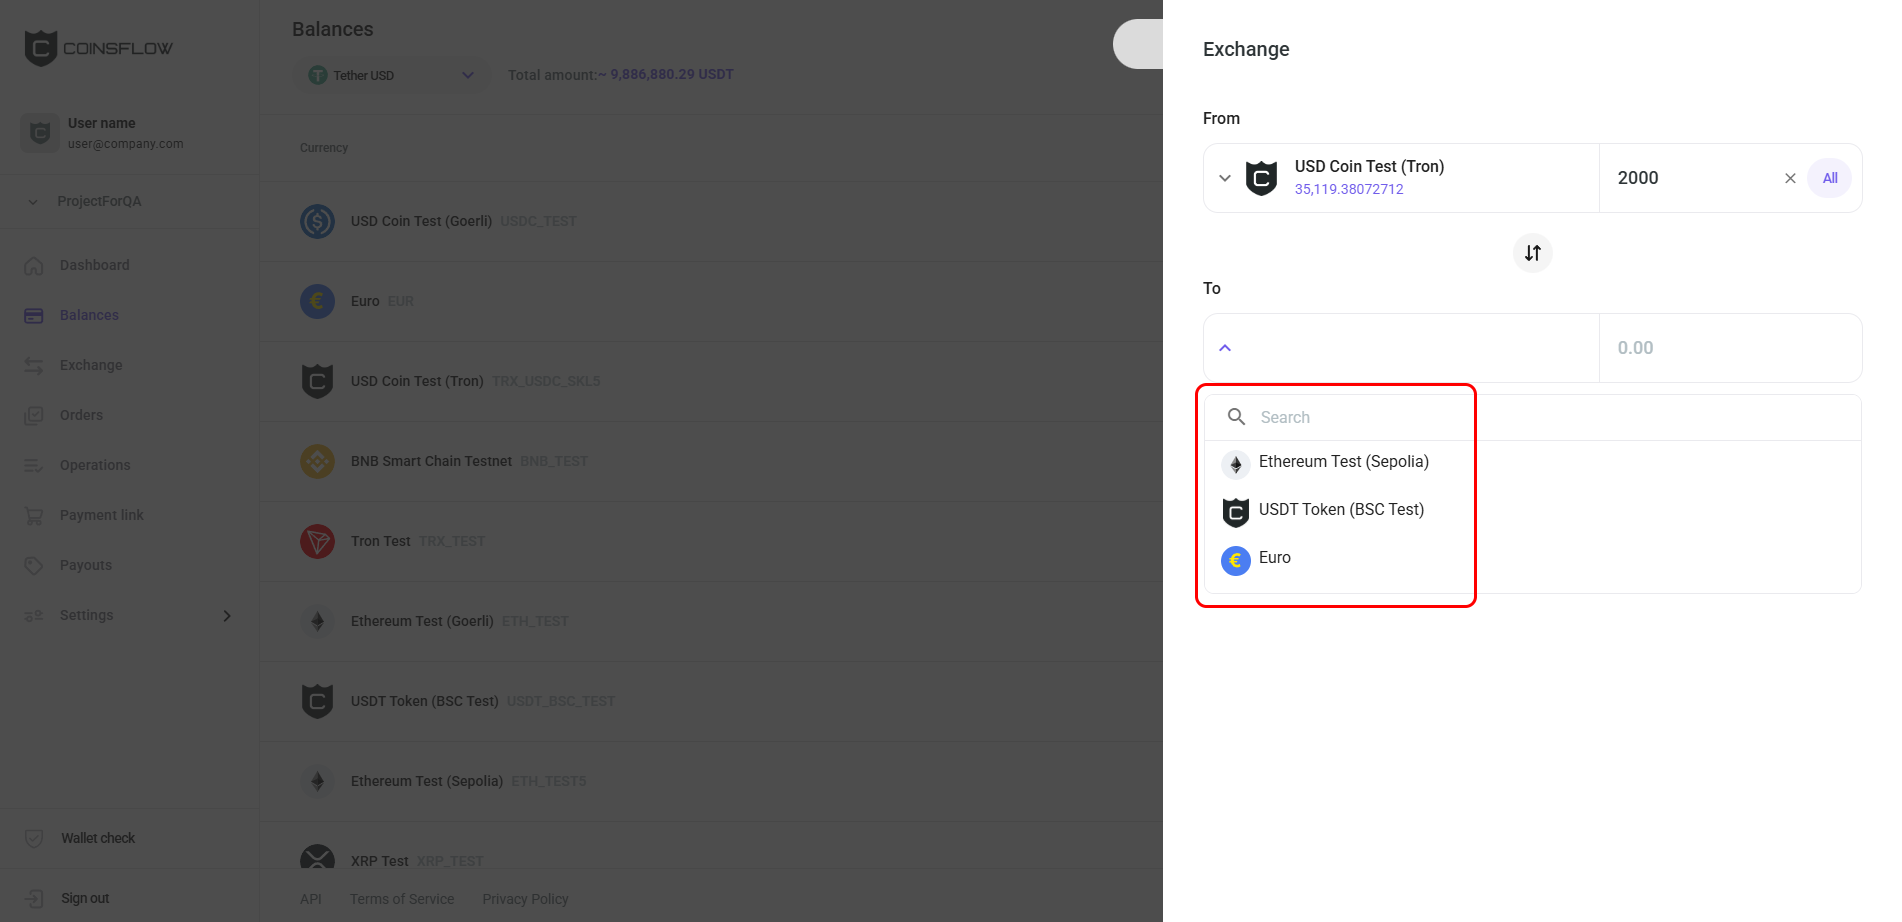
Click on "Choose currency" on To:
-
Select the desired currency to exchange the inserted amount to:
-
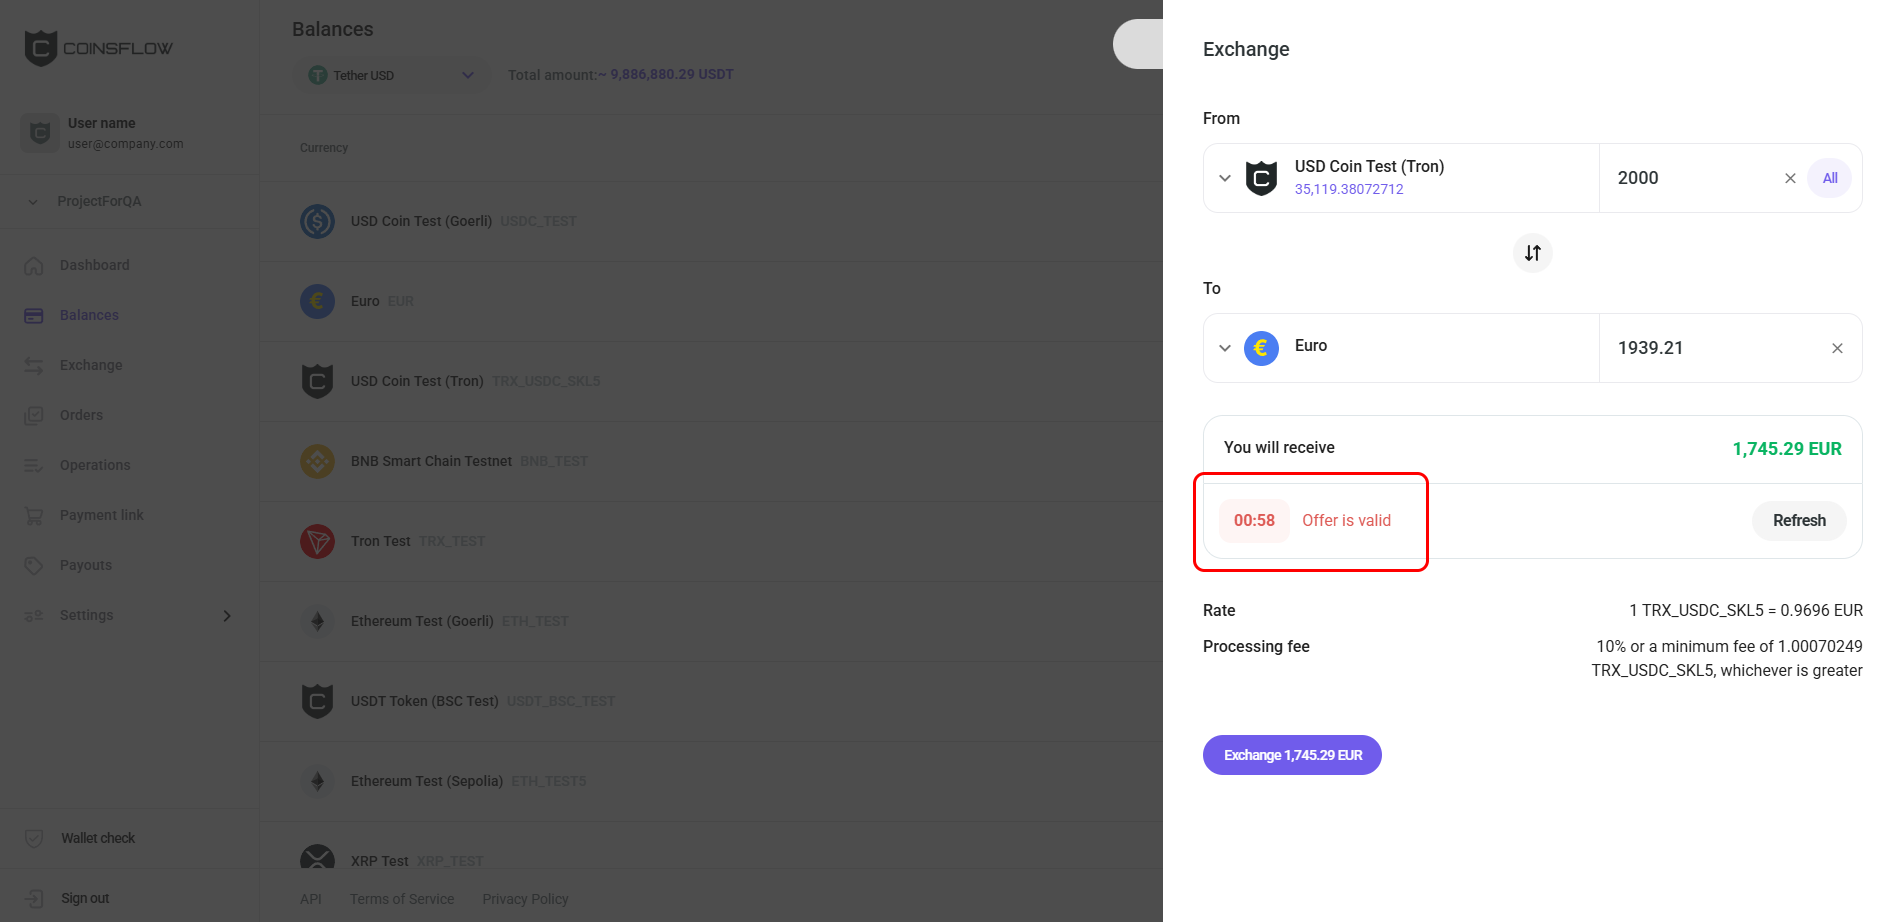
The card displays all the information for the exchange operation:
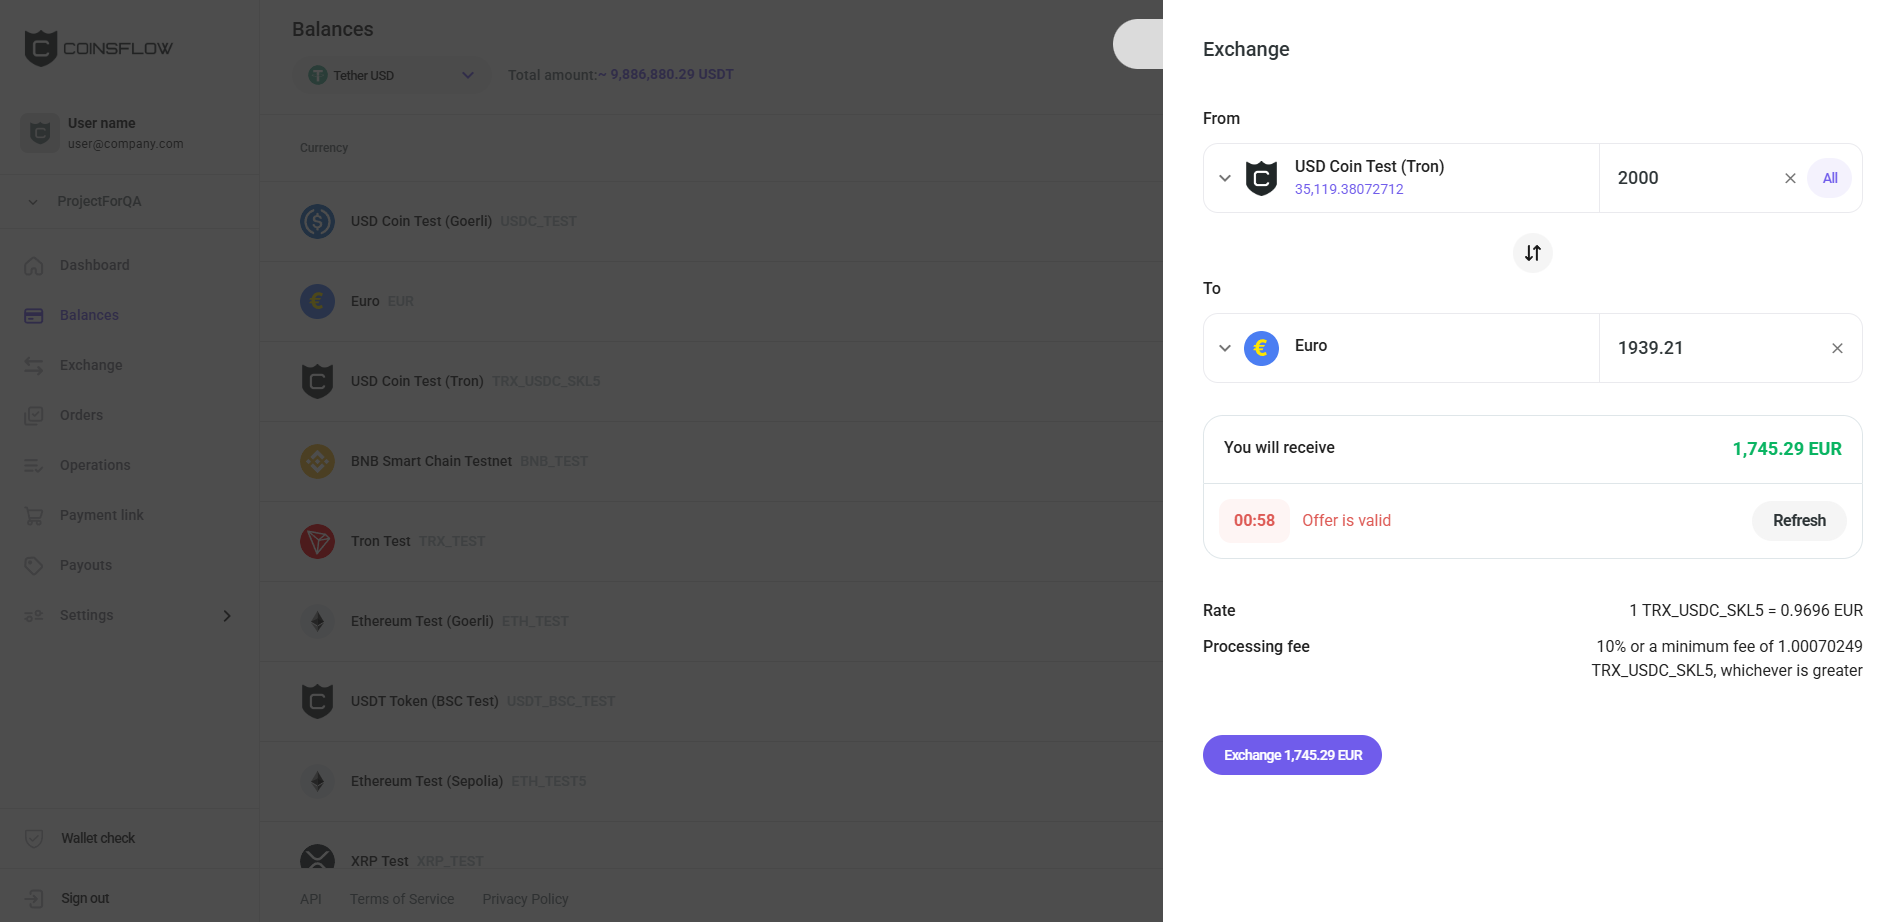
This information includes:
- The amount that will be received
- The amount of time available to accept the exchange
- The rate used for the exchange
- The Amount charged as a Processing fee (either 10% of the operation or the minimum fee) You can invert the exchange currencies by clicking on the Revert icon between the From and To fields:
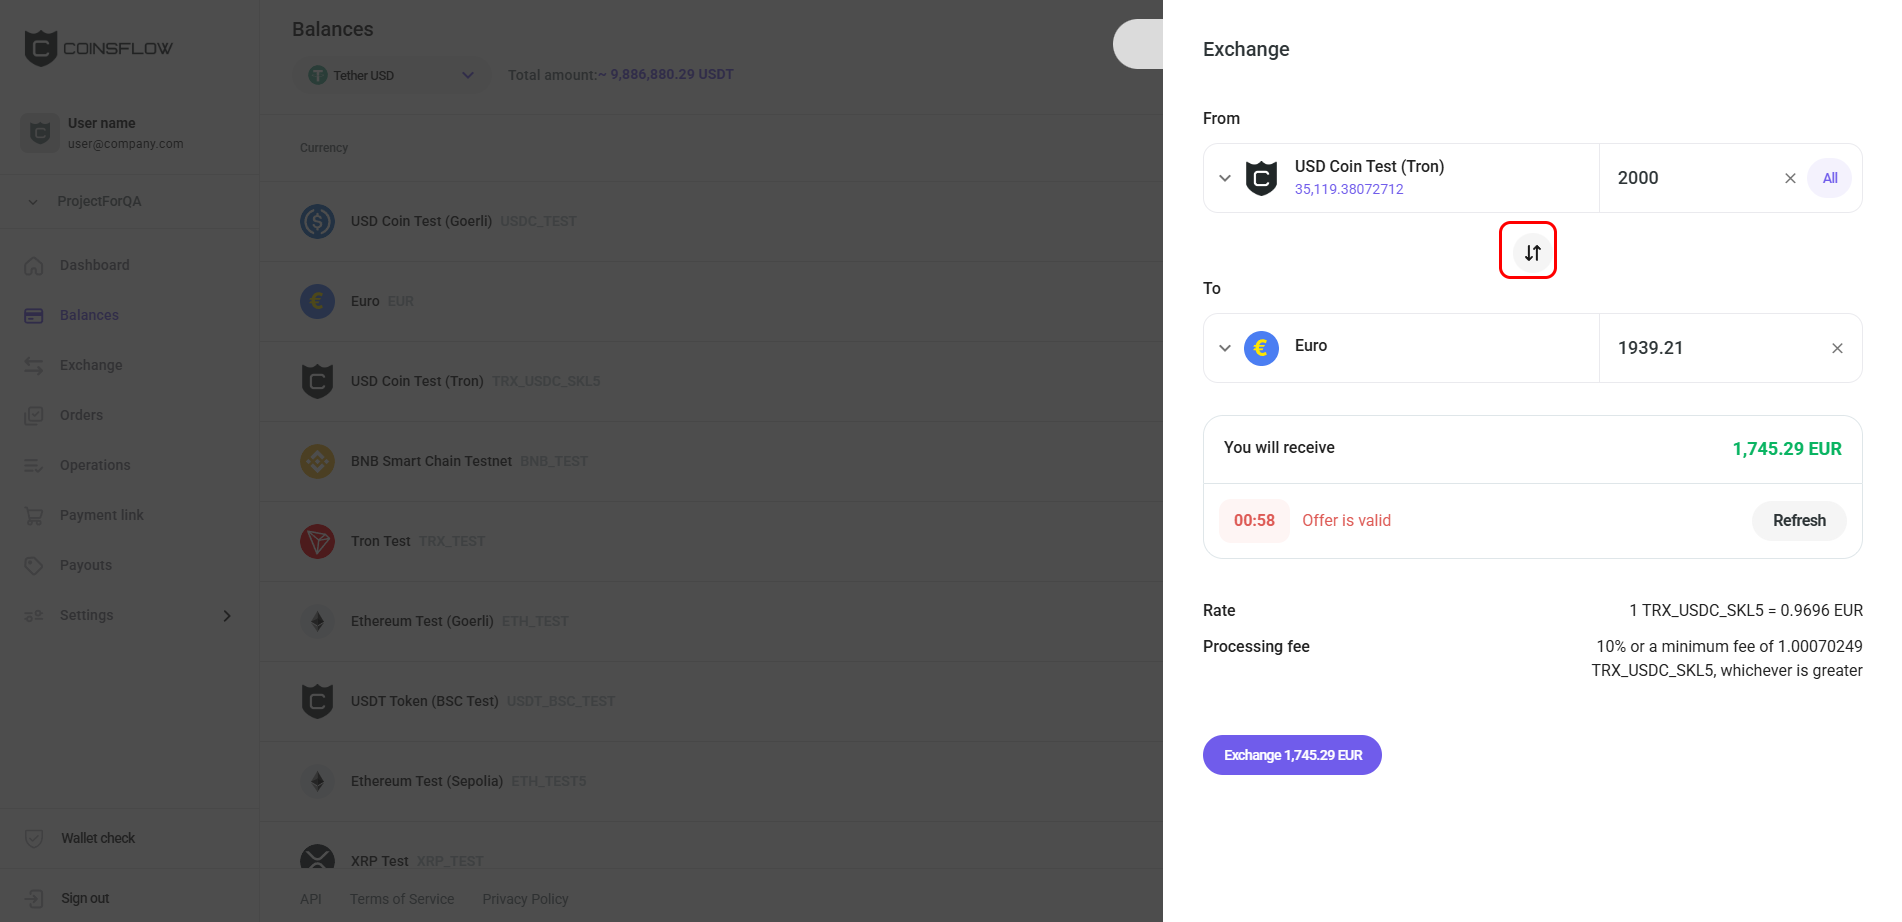
-
Click on the Exchange button to proceed:
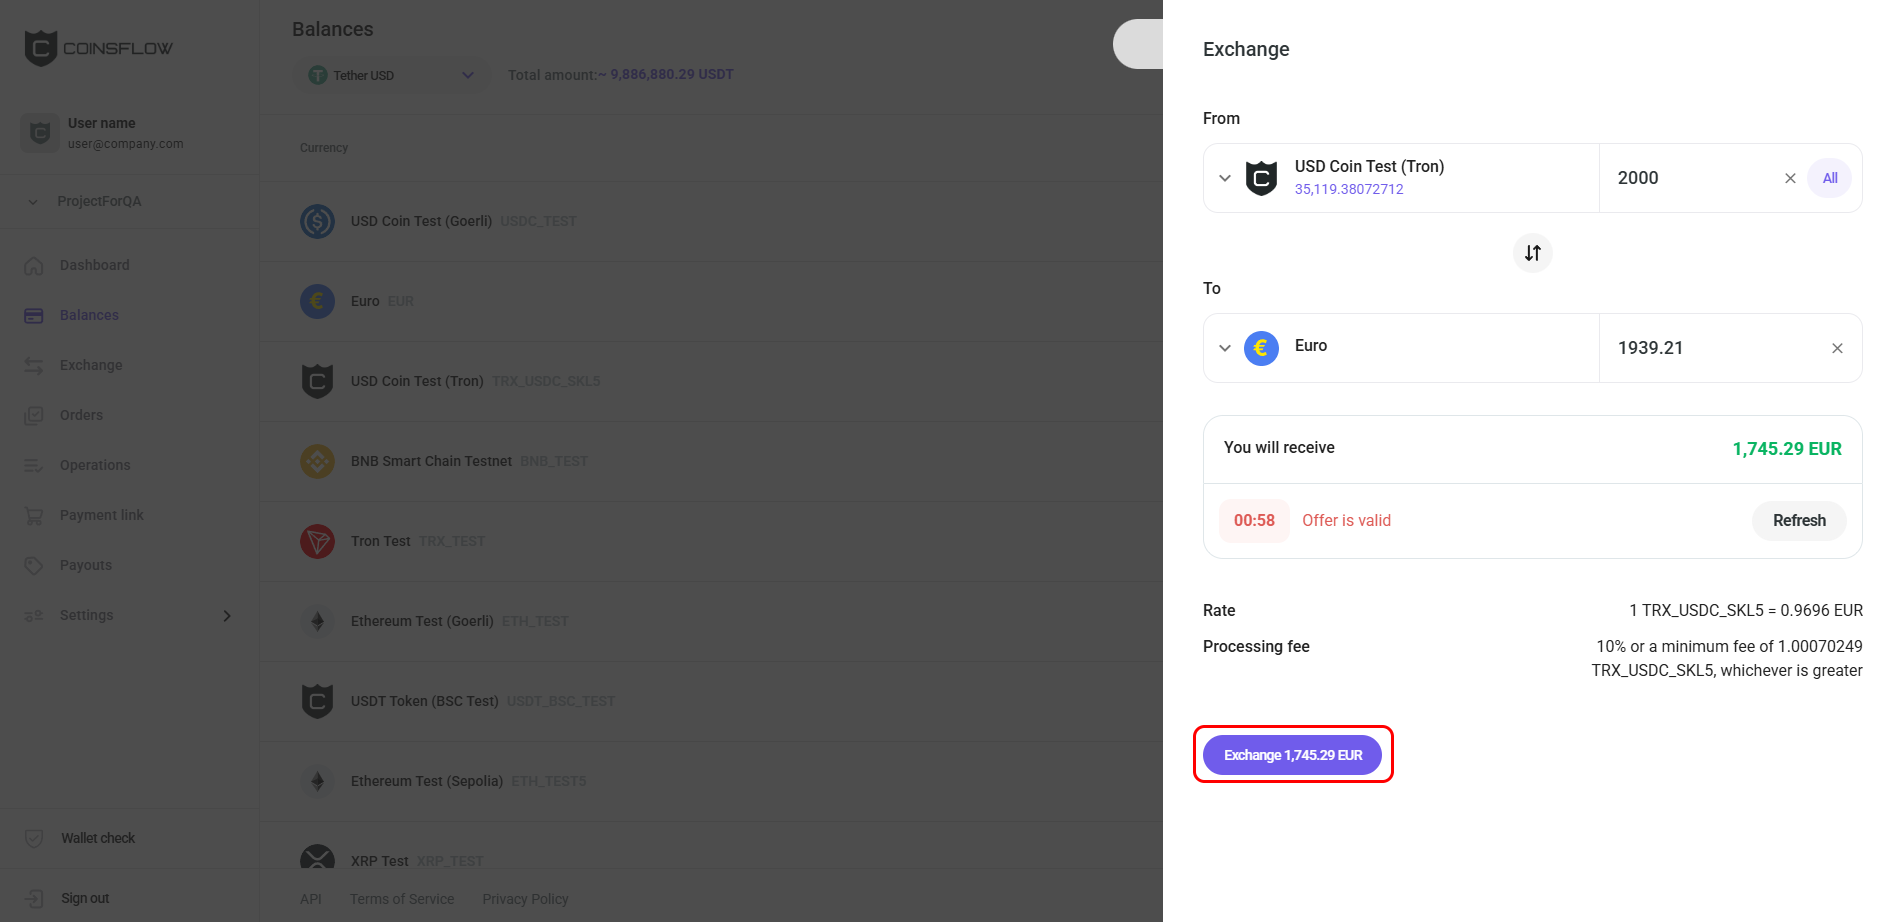
-
Confirm the action with your one-time (2FA) password.
-
The exchange operation is performed, the converted amount is added to the asset on the Balances table, and the amount used to convert is subtracted from the asset used in the operation.
-
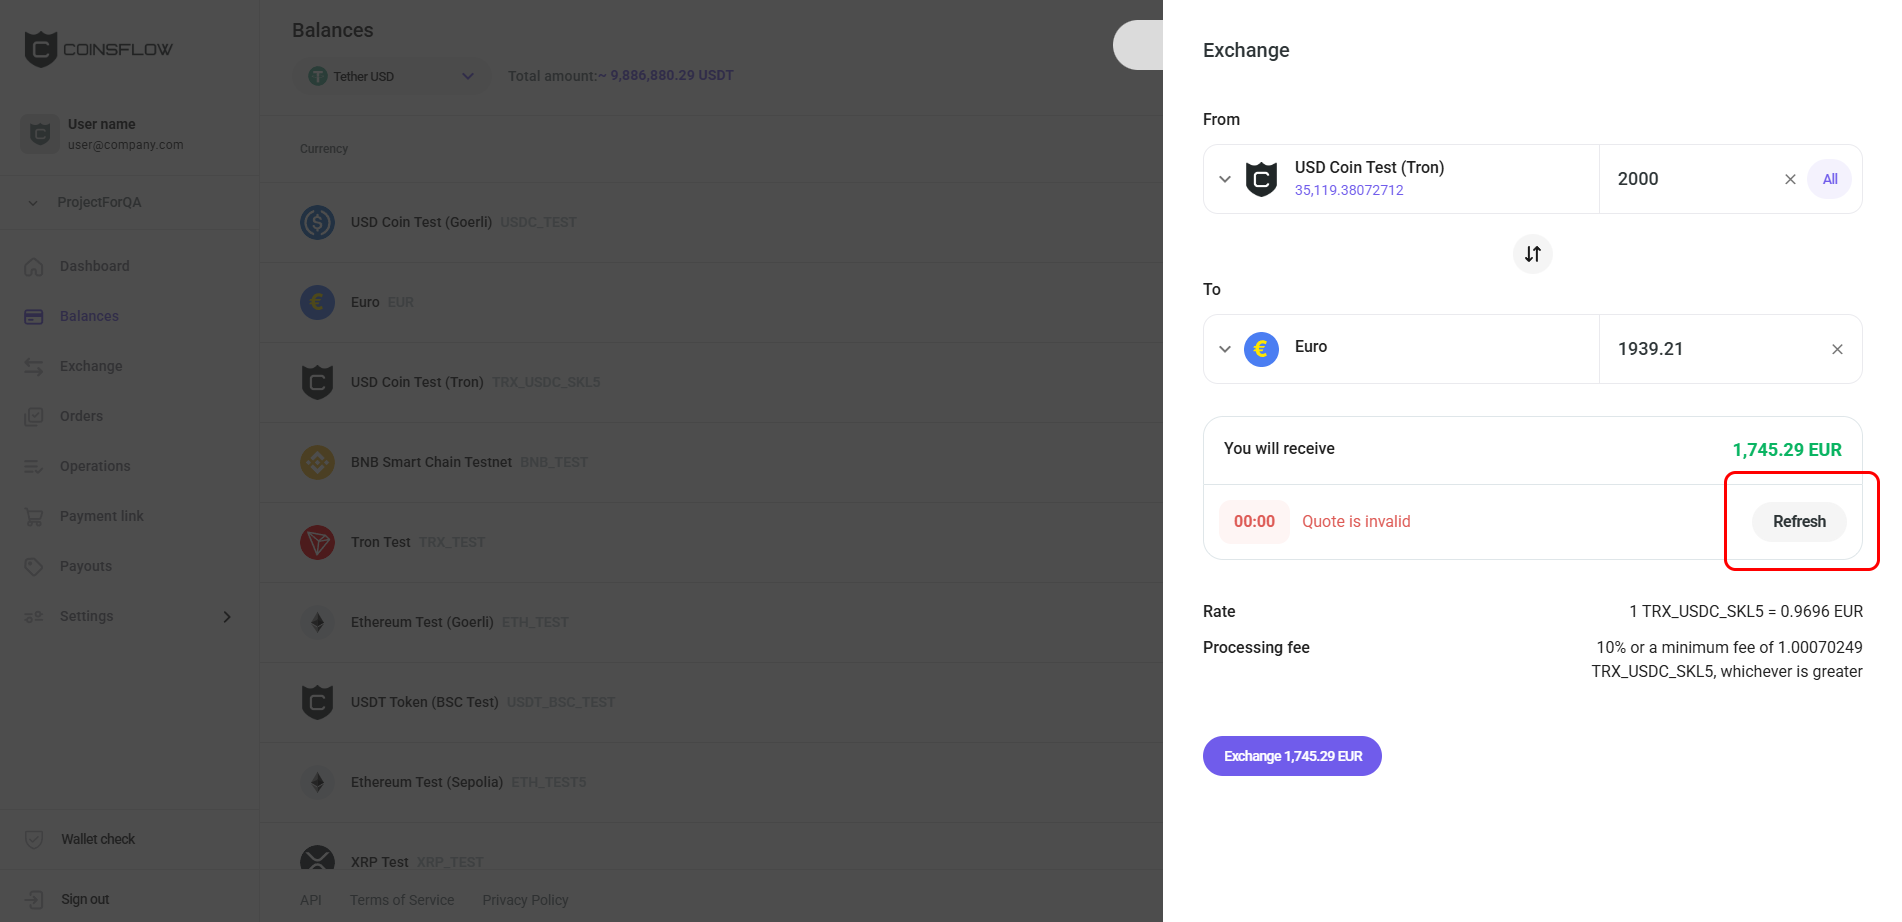
A timer indicates the amount of time left to proceed with the exchange operation:
-
If the operation is not concluded in the available time, the quote becomes invalid:

-
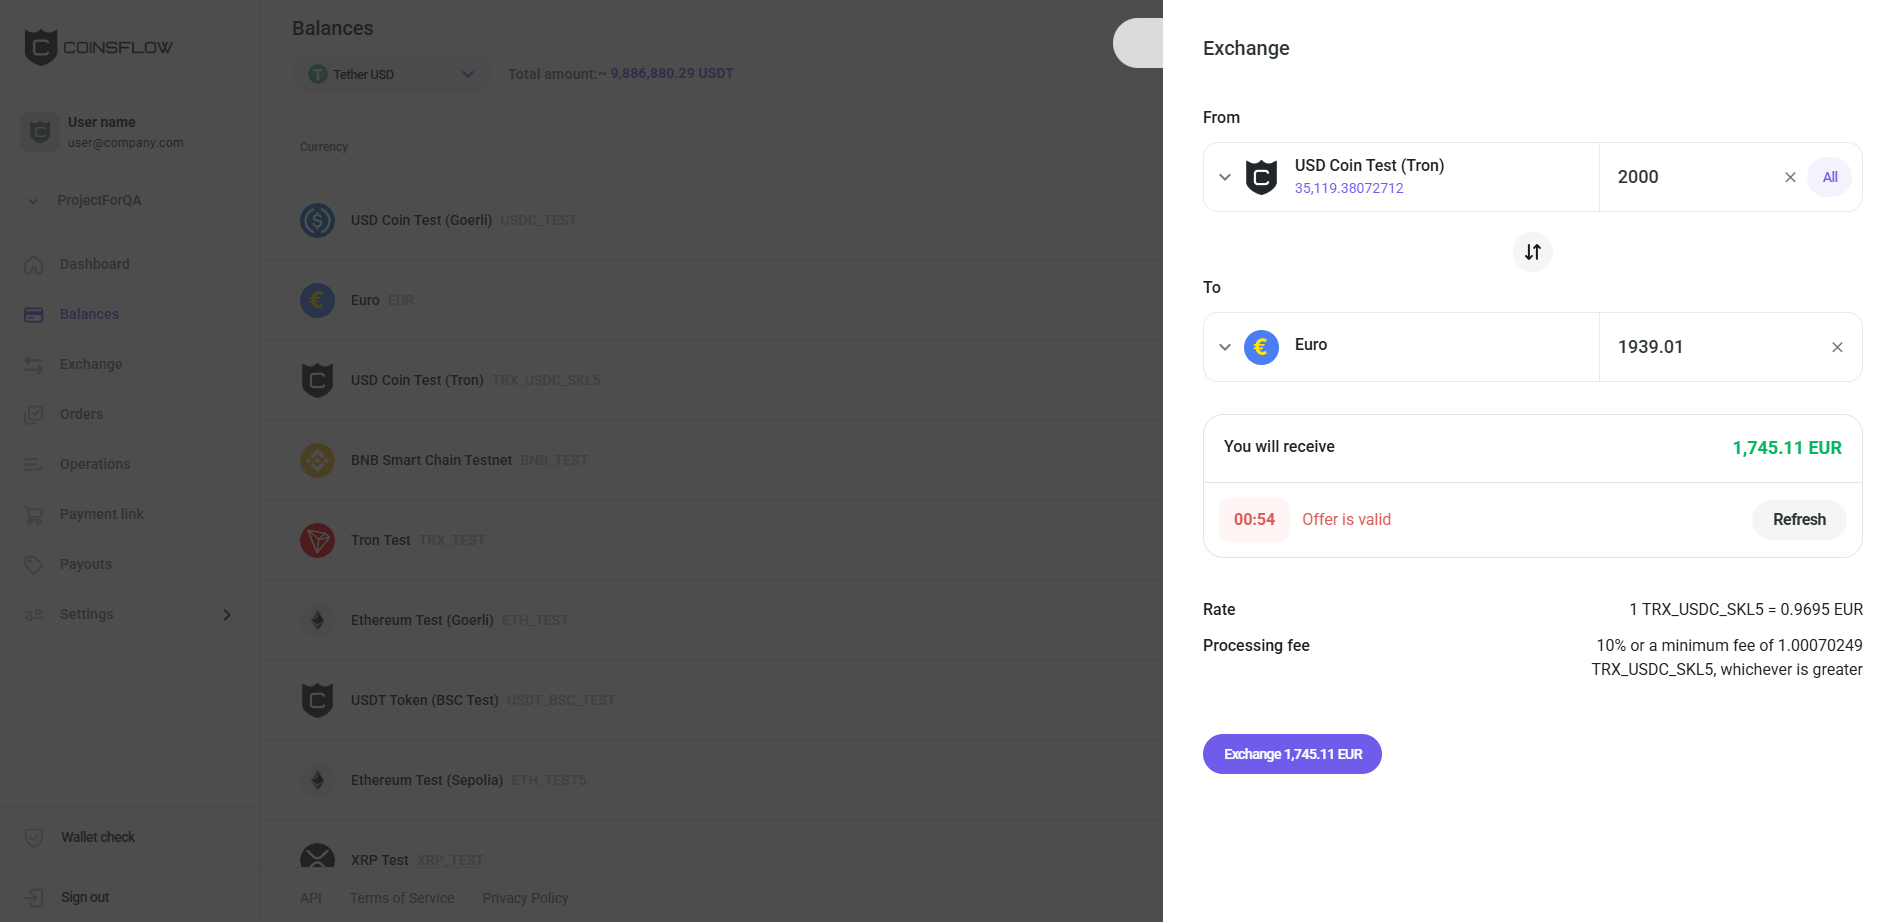
Click on the Refresh button to get a new quote:
-
A new quote is displayed and the timer is reset:
-
Payout with an Asset
-
Hover over the desired asset row on the Balances table:
-
Click on the Options icon:
-
Select "Payout" from the drop-down menu:
The drop-down menu may display fewer options if the selected currency does not have all the options available.
-
The Payout card opens:
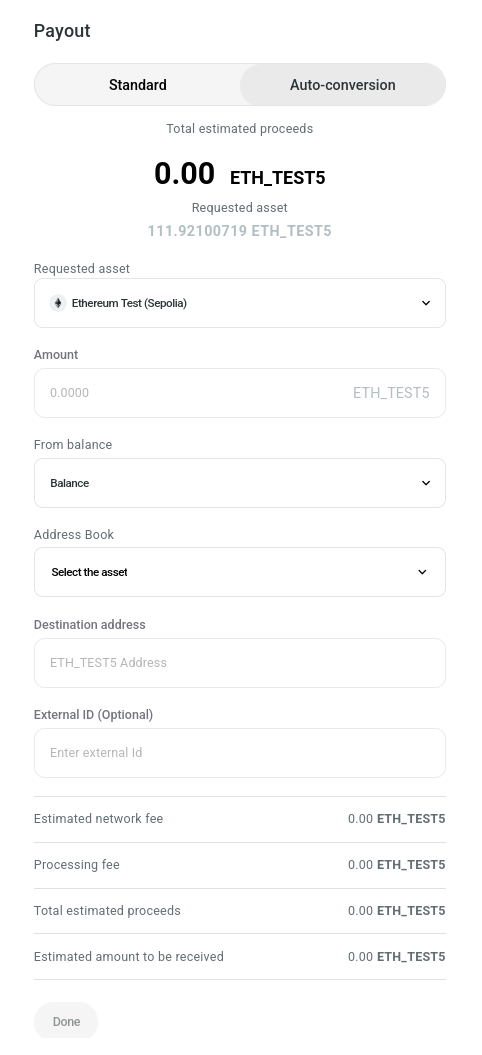
-
Choose Standard or Auto-conversion payout: The latter allows you to specify the asset you want to pay out and the asset you would like to spend. The source asset will be exchanged for the requested asset automatically as part of the same operation.
-
In "Amount", insert the desired amount of crypto to transfer (from the available crypto for the selected cryptocurrency).
-
If you're creating an auto-conversion payout, select the asset you want to spend in the From balance field.
-
Select the the desired address to move the crypto to from the Address Book drop-down list or insert an address in the "Destination address".
-
In "External ID", insert the desired tag for internal purposes (for example, to have the payouts to a specific destination marked with the same tag). This field is optional and it can be left blank.
-
In "Wallet tag", insert the unique numerical code, required by some blockchains, to pair with the deposit address, as an additional Security measure. This field is only visible for some assets and is required when transferring to a centralized exchange.
-
Click on the checkbox to set as "true" if you want the network fees to be paid by the end user:
- If checked: The network fee amount is deducted from the inserted amount (the end user receives the amount minus the network fees).
This is only possible for the native asset of the network and not for the tokens.
- If unchecked: The network fees are added to the amount to pay for the payout operation.
- If checked: The network fee amount is deducted from the inserted amount (the end user receives the amount minus the network fees).
-
The "Estimated network fee" displays the fee to pay based on your asset selection.
-
The "Processing fee" displays the fee to pay based on your Settlement selections.
-
The "Total estimated proceeds" displays the total amount to pay for the Settlement.
-
The "Estimated amount to be received" displays the amount that the user is expected to receive.
-
Click on the "Done" button to proceed (the button becomes clickable when all required fields are filled).
-
Confirm the action with your one-time (2FA) password.
-
The payout operation is created and displayed on the "Payouts" table on the Payouts tab. The amount used on the payout operation is subtracted from the balance of the selected asset and the balance on that asset is updated on the Balances table on the Balances tab.
View Historical Balances
The "Historical balances" button opens a date and time picker that lets you view your balances as they were at any point in the past.
- Click on the "Historical balances" button.
- Select the desired date and time from the picker.
- The Balances table updates to show the balances at the selected point in time.
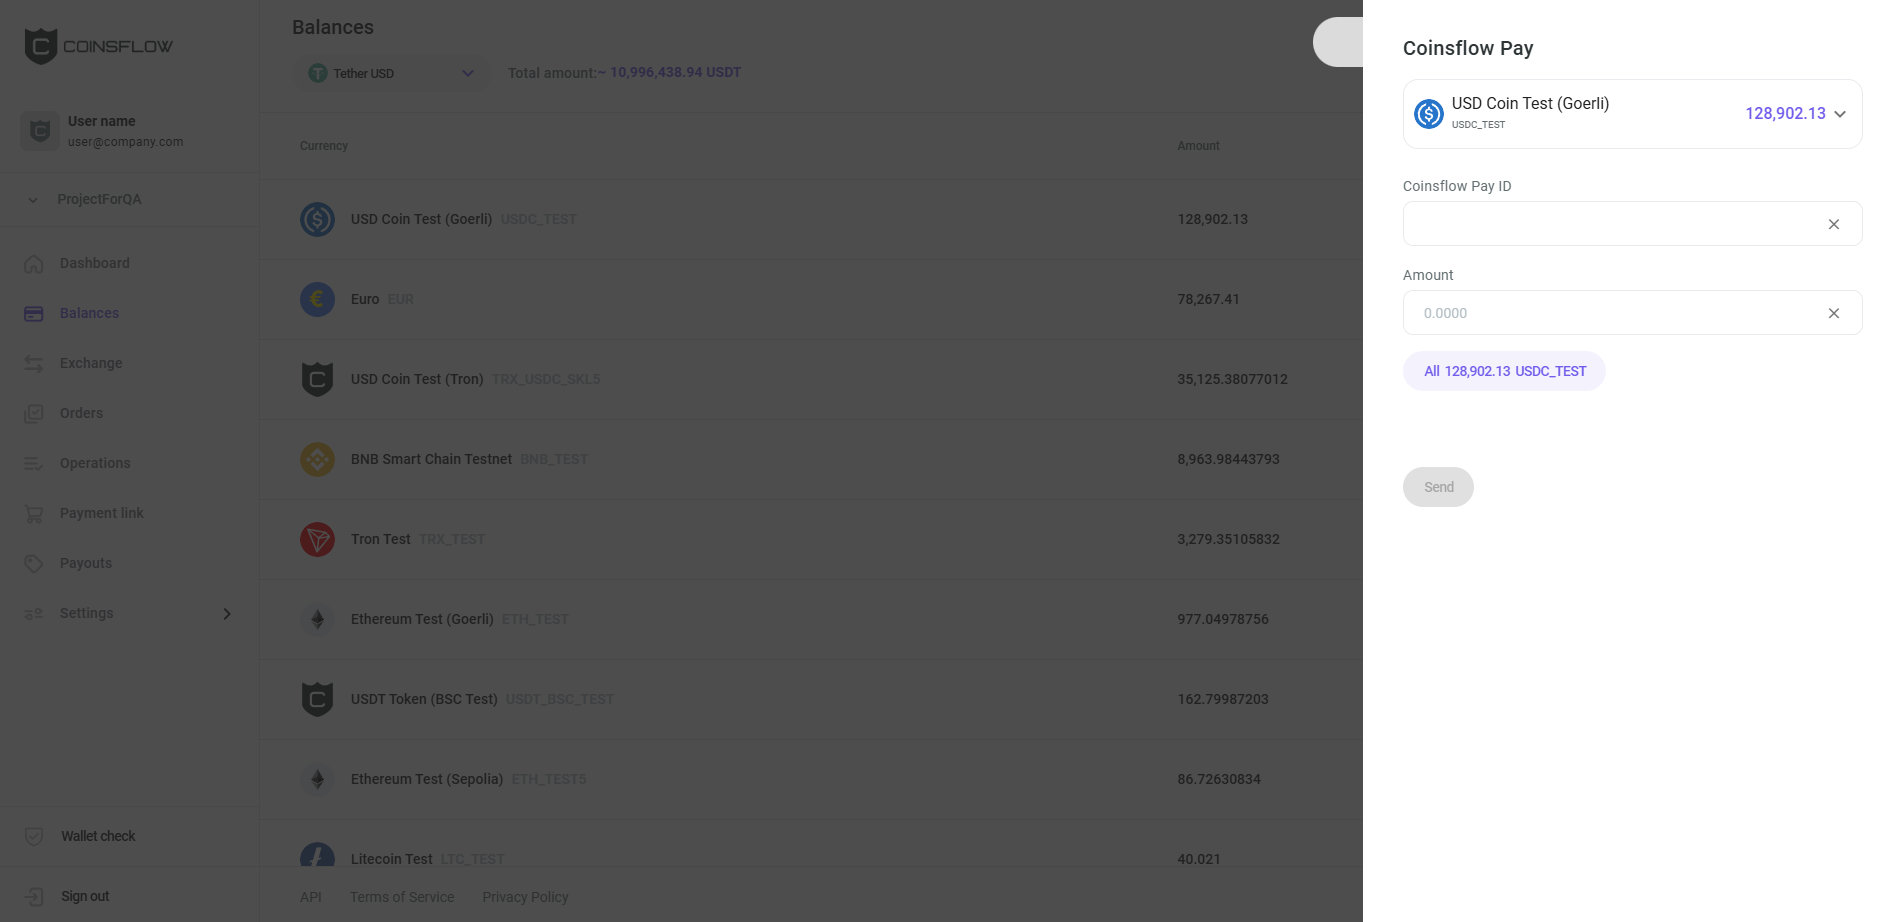
Use Coinsflow Pay
Coinsflow Pay lets you transfer funds between projects within the Coinsflow platform. You can move funds between your own projects or make payments to partners who also have a Coinsflow account. Since these transfers happen entirely within Coinsflow, they’re faster and cheaper than any other method.
-
Hover over the desired asset row on the Balances table:
-
Click on the Options icon:
-
Select "Coinsflow Pay" from the drop-down menu:
The drop-down menu may display fewer options if the selected currency does not have all the options available.
You can access the Coinsflow card also by clicking on the Coinsflow pay button in the top-right corner of the screen.
-
The Coinsflow Pay card is displayed:
-
Select the desired asset to transfer (if it is not displayed already).
-
Insert the desired Coinsflow pay id to transfer the asset to.
-
Insert the desired amount of the selected asset to transfer to (click on the "All" button to transfer the total amount of the asset).
-
Click on the "Send" button to proceed.
-
Confirm the action with your one-time (2FA) password.
-
The inserted amount of the selected asset is transferred to the indicated project.
-
The operation is created and displayed on the Operations table, on the Operations tab, under the Outgoing transfer type (the recipient sees the same operation with the Incoming transfer type) . The amount used on the pay operation is subtracted from the balance of the selected asset and the balance on that asset is updated on the Balances table on the Balances tab.