Dedicated Addresses Tab
Coinsflow allows you to create dedicated addresses that are forever connected to your balance (these wallets will never be leased to any other merchant) and are used to deposit assets. These addresses are used solely to receive funds and you can't use them, directly, to execute payouts or exchanges.
To know more about dedicated addresses, click here.

The "Dedicated Addresses" table displays the following columns:
| Name | Description |
|---|---|
| Name | Displays the name that identifies the dedicated address on the platform. |
| Address | Displays the unique code that identifies the address. |
| Asset | Displays the asset that the dedicated address is associated with. |
| Created | Displays the date and time the dedicated address was created. |
| Actions | Displays the "Edit" option on the drop-down menu, that allows you to edit the name of the dedicated address (the button is visible when the row is hovered). |
On the Dedicated addresses you can:
Add a Dedicated Address
-
Click on the "Create" button:

-
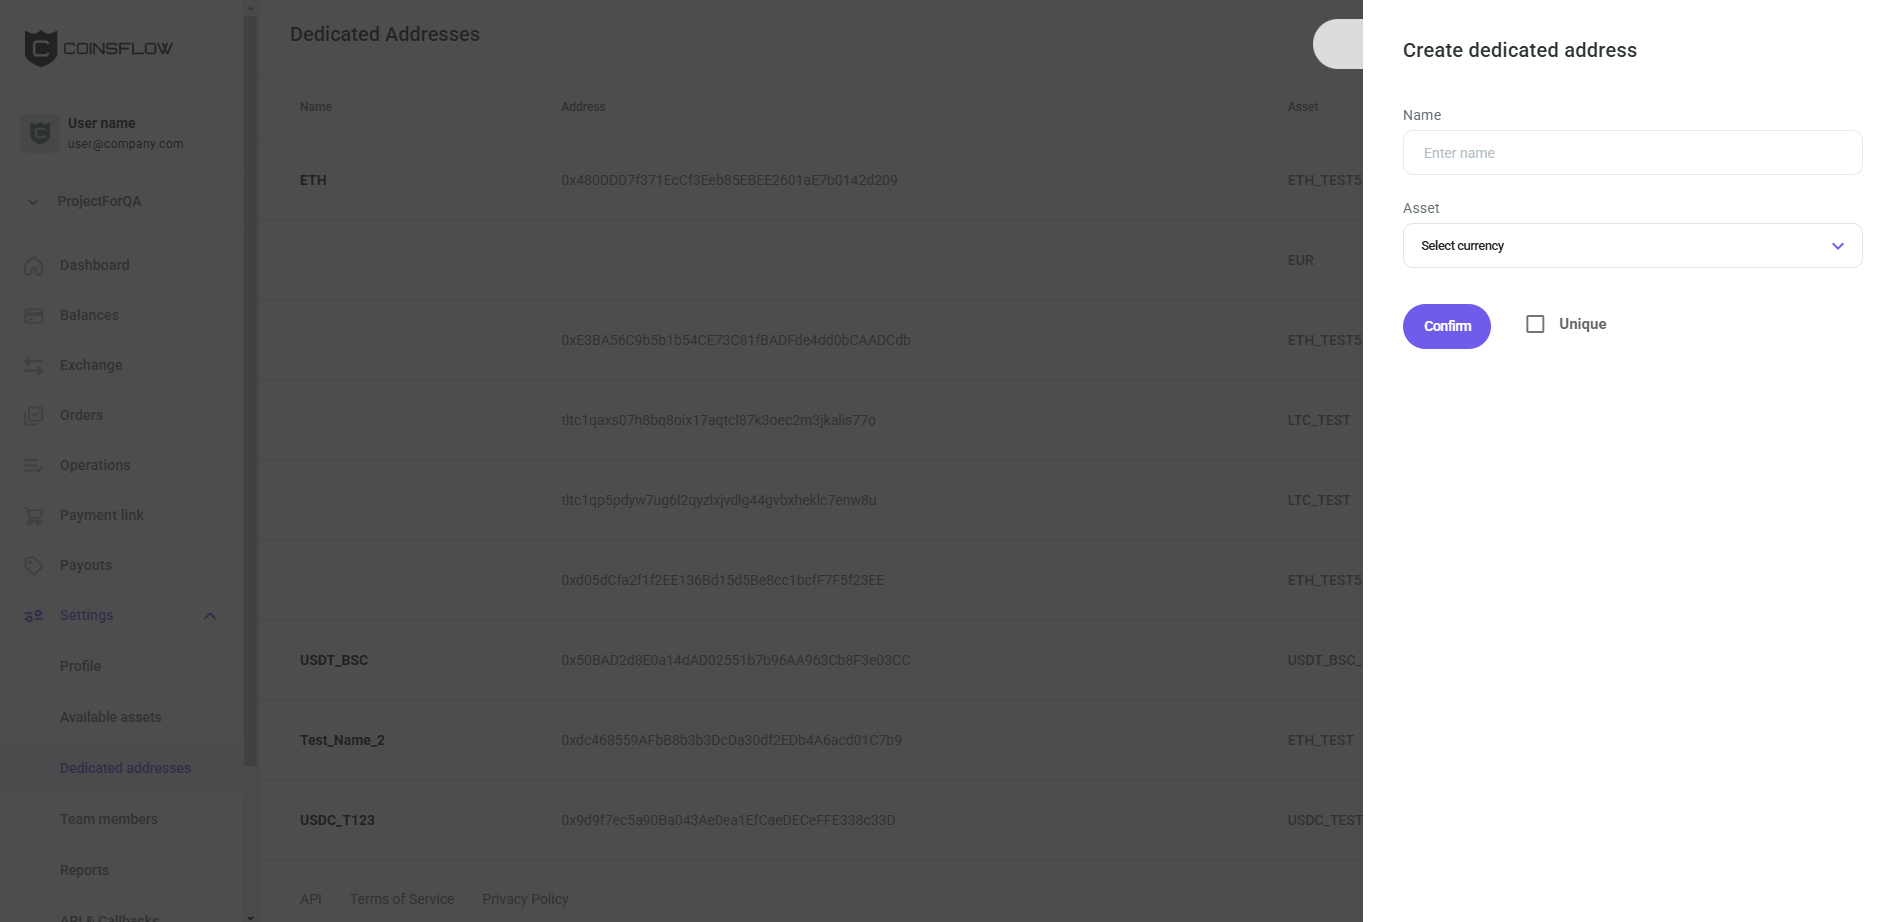
The "Create dedicated address" card is displayed:
-
Insert the desired name to identify the dedicated address on the platform.
-
Select the desired asset from the drop-down menu to assign to the dedicated address.
-
Click on the checkbox determining if the dedicated address is unique.
Keep in mind that the address is not unique, by default. Only the combination of the Address and asset is unique. The same address with a different asset can be connected to a different balance.
-
Click on the Confirm button to proceed.
-
The dedicated address is created and displayed on the Dedicated addresses table.
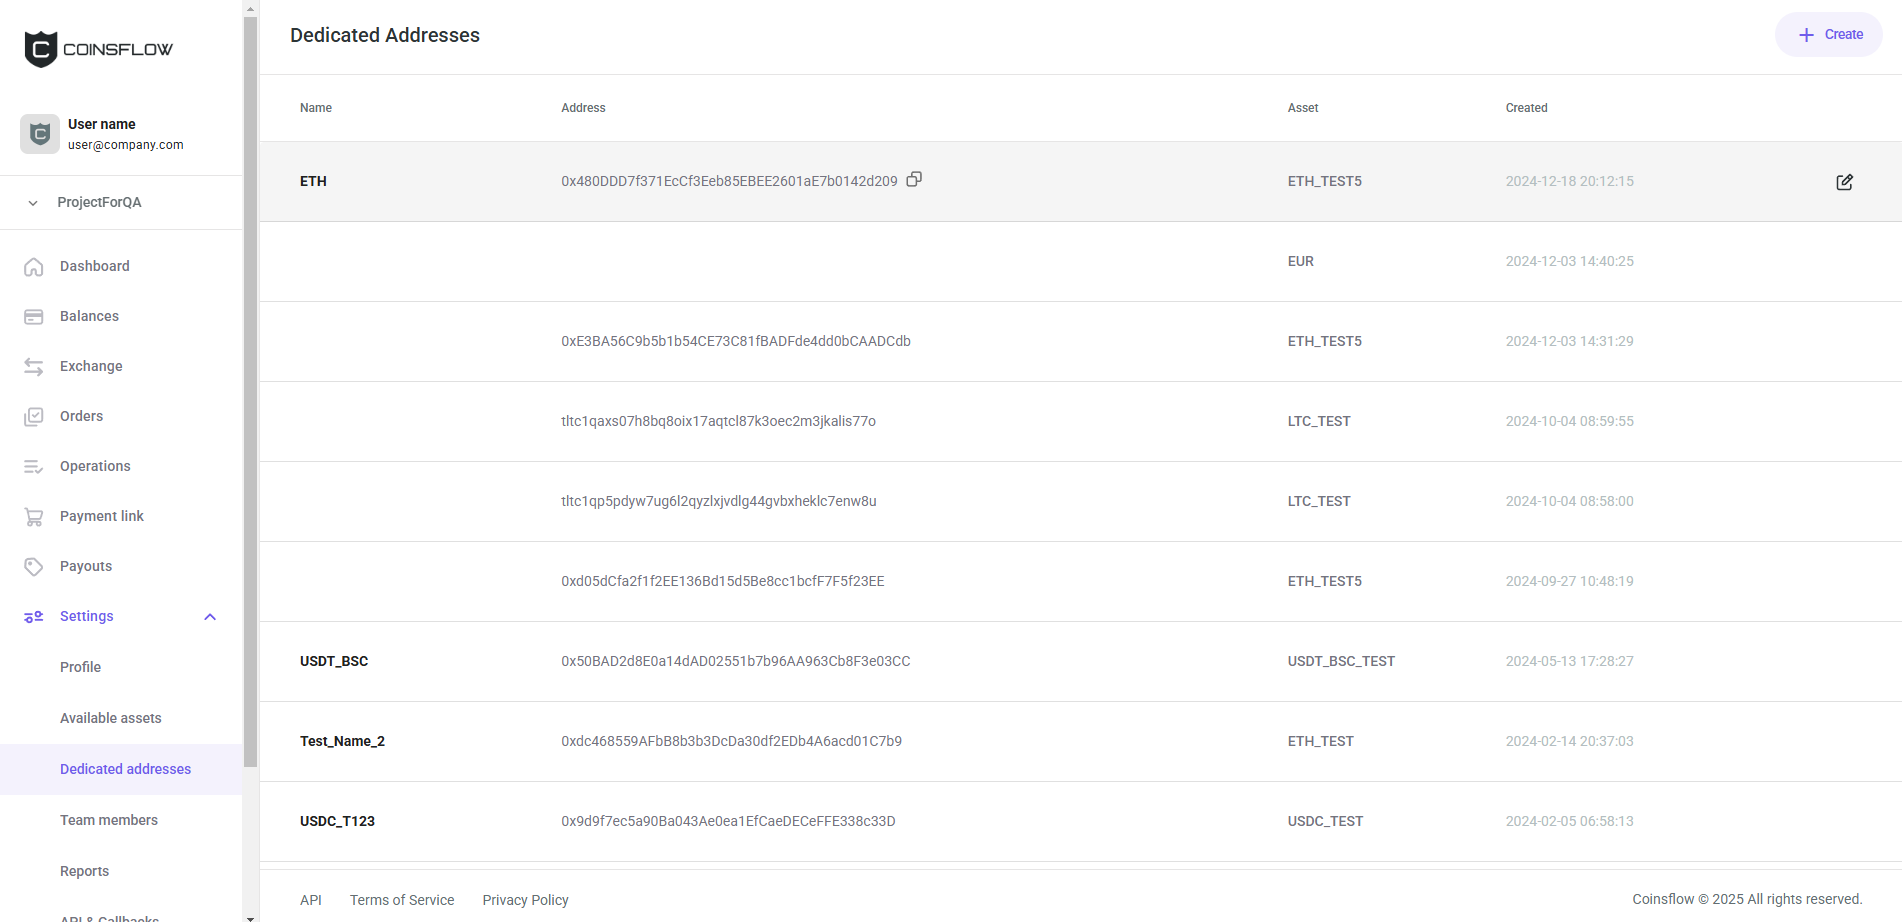
Edit a Dedicated Address
-
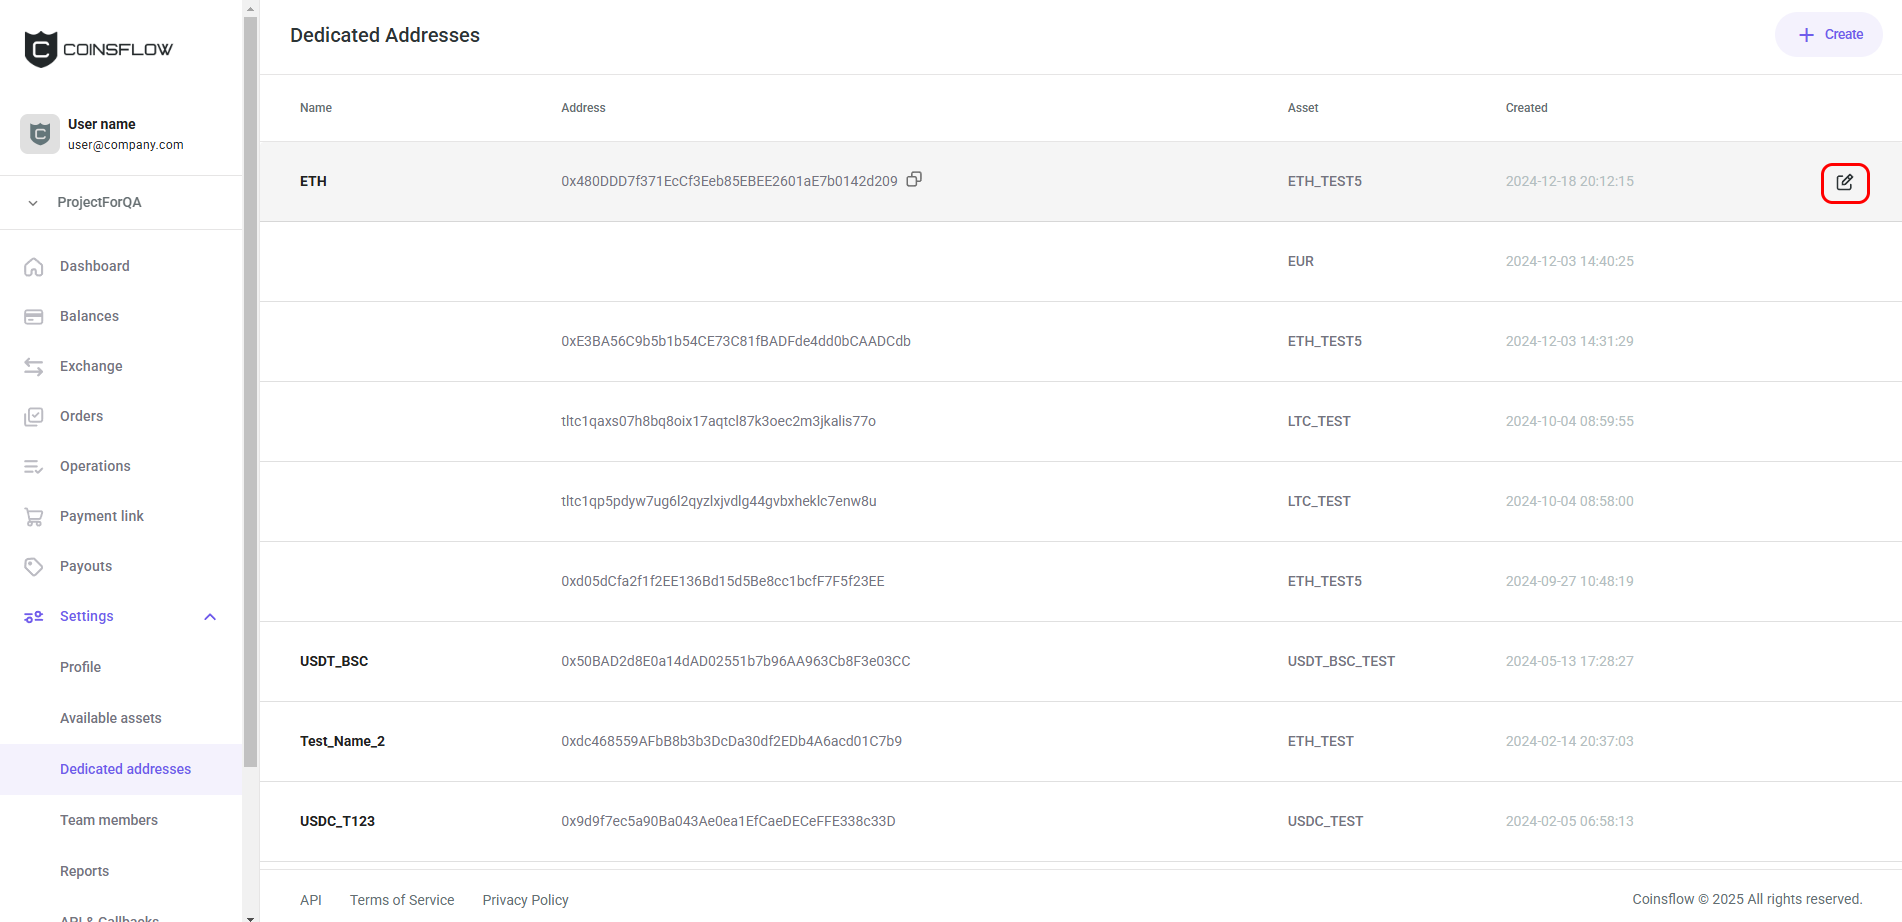
Hover over the desired dedicated address row:
-
Click on the Edit icon:
-
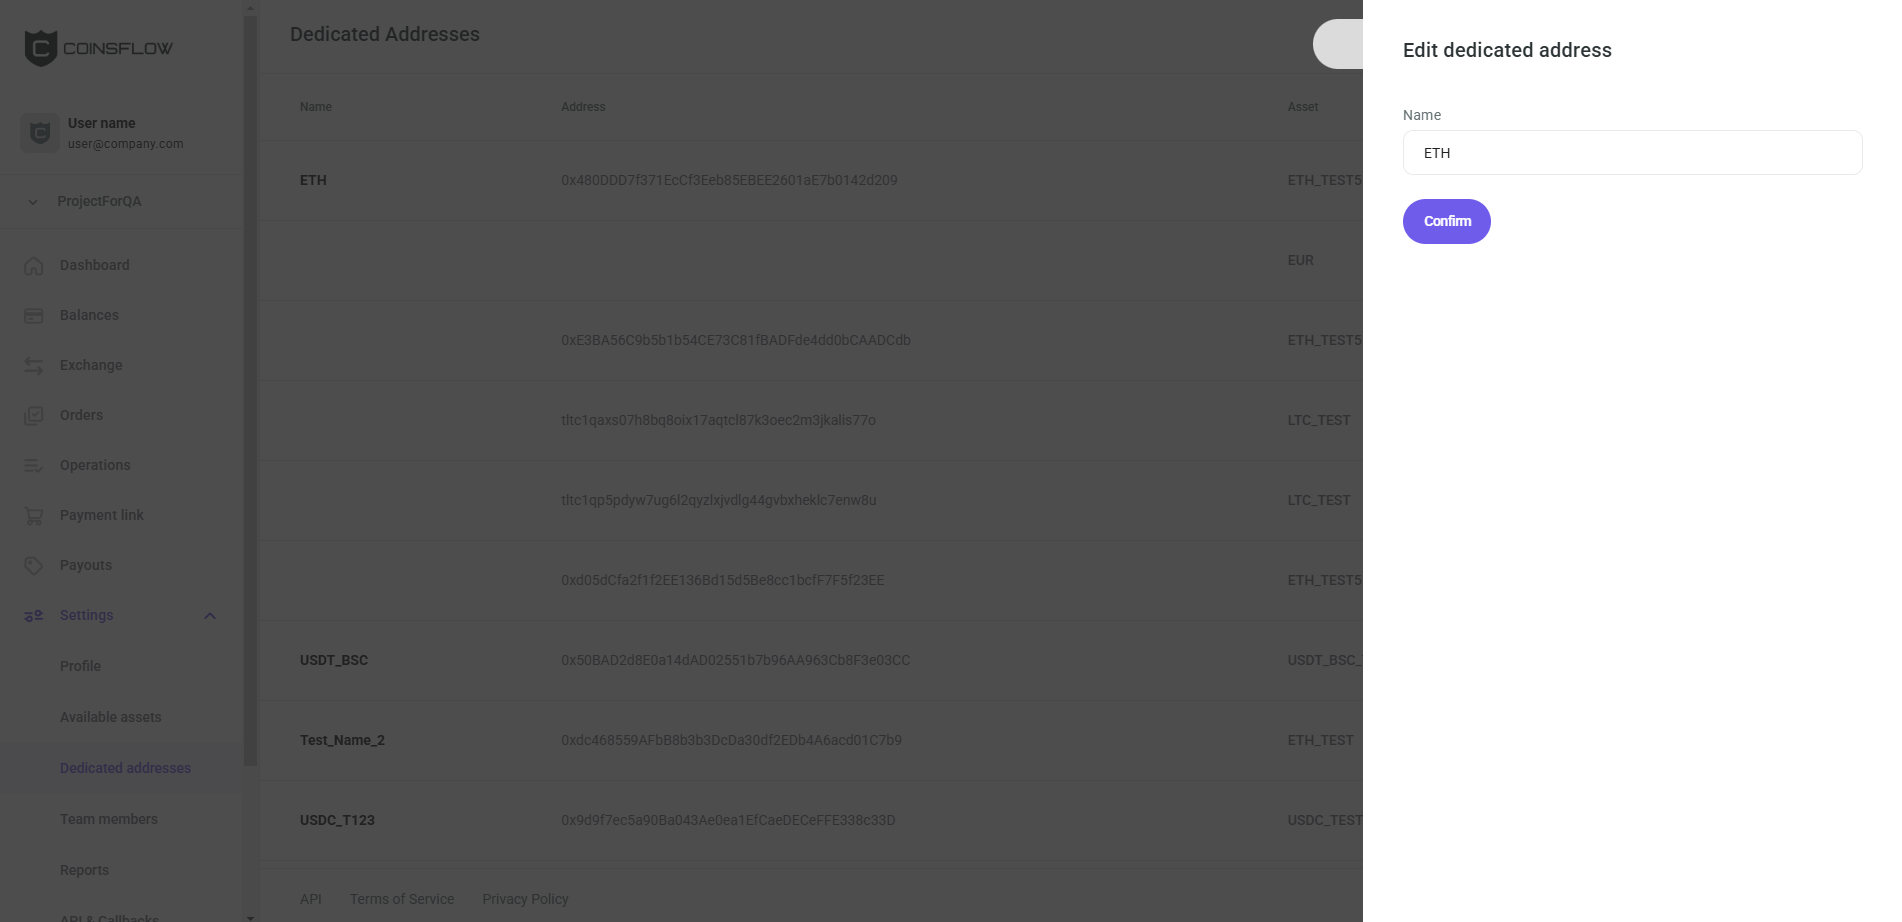
The "Edit dedicated address" pop-up card is displayed:
-
Insert the desired new name to associate with the dedicated address.
-
Click the "Confirm" button to proceed.
-
The dedicated address is updated and is displayed in the Dedicated addresses table.
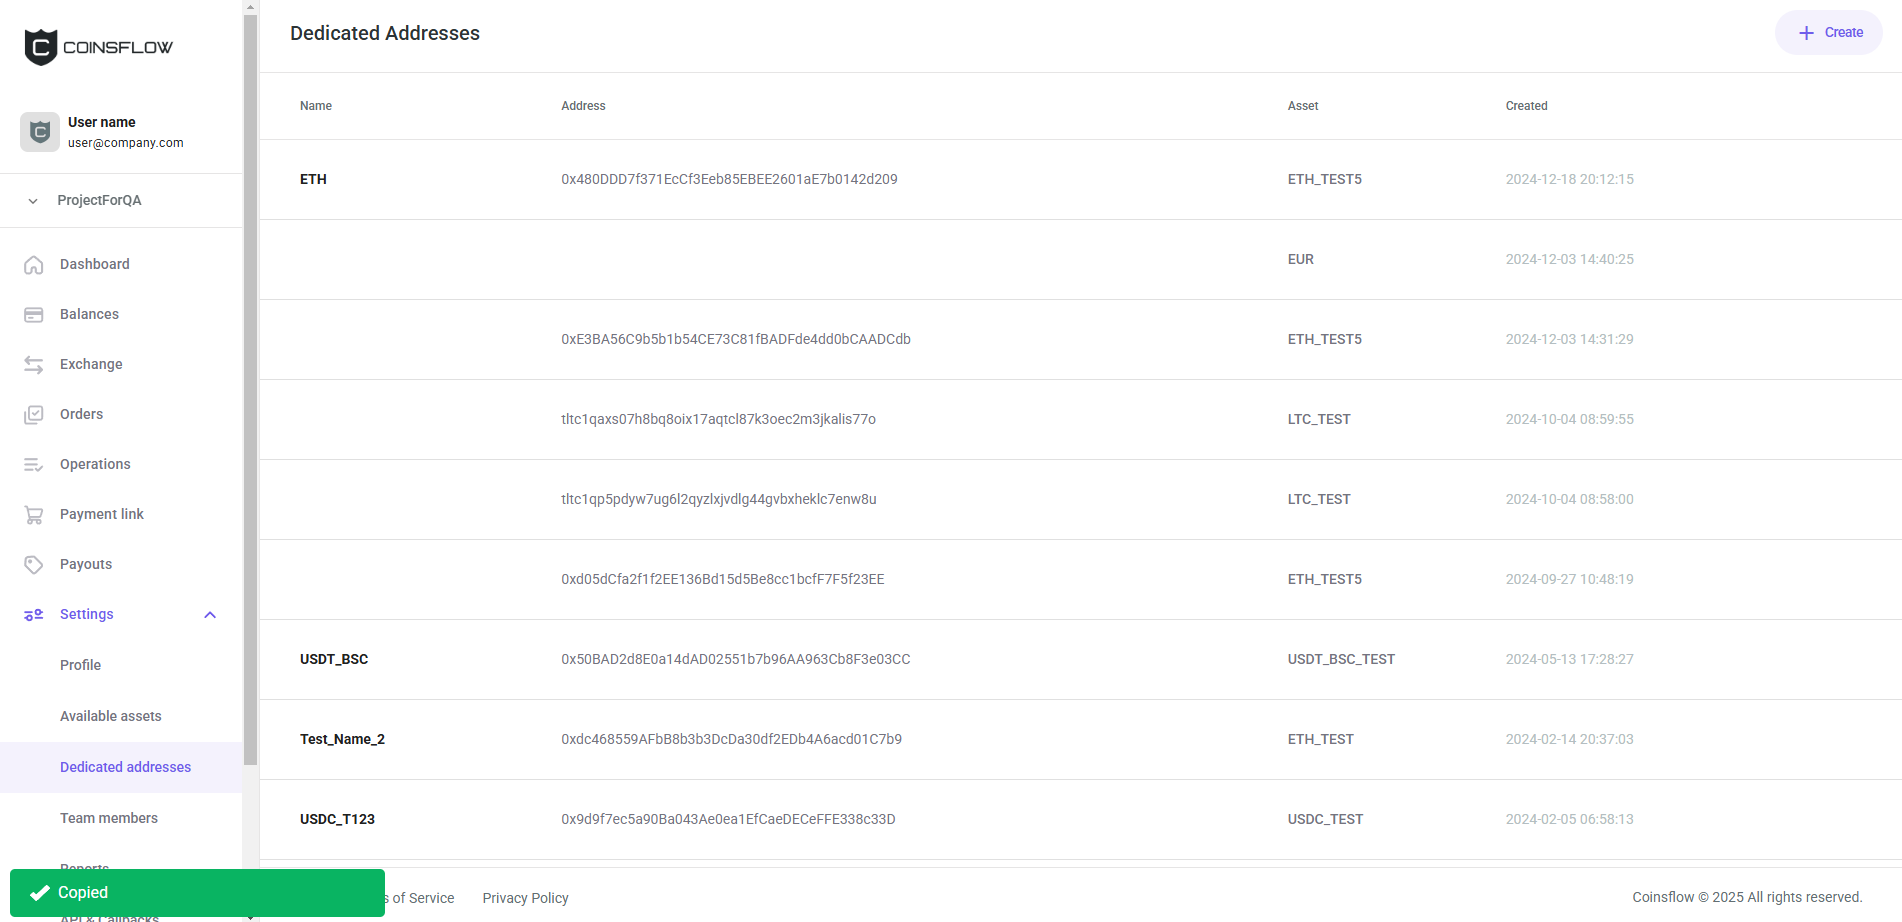
Copy a Dedicated Address
-
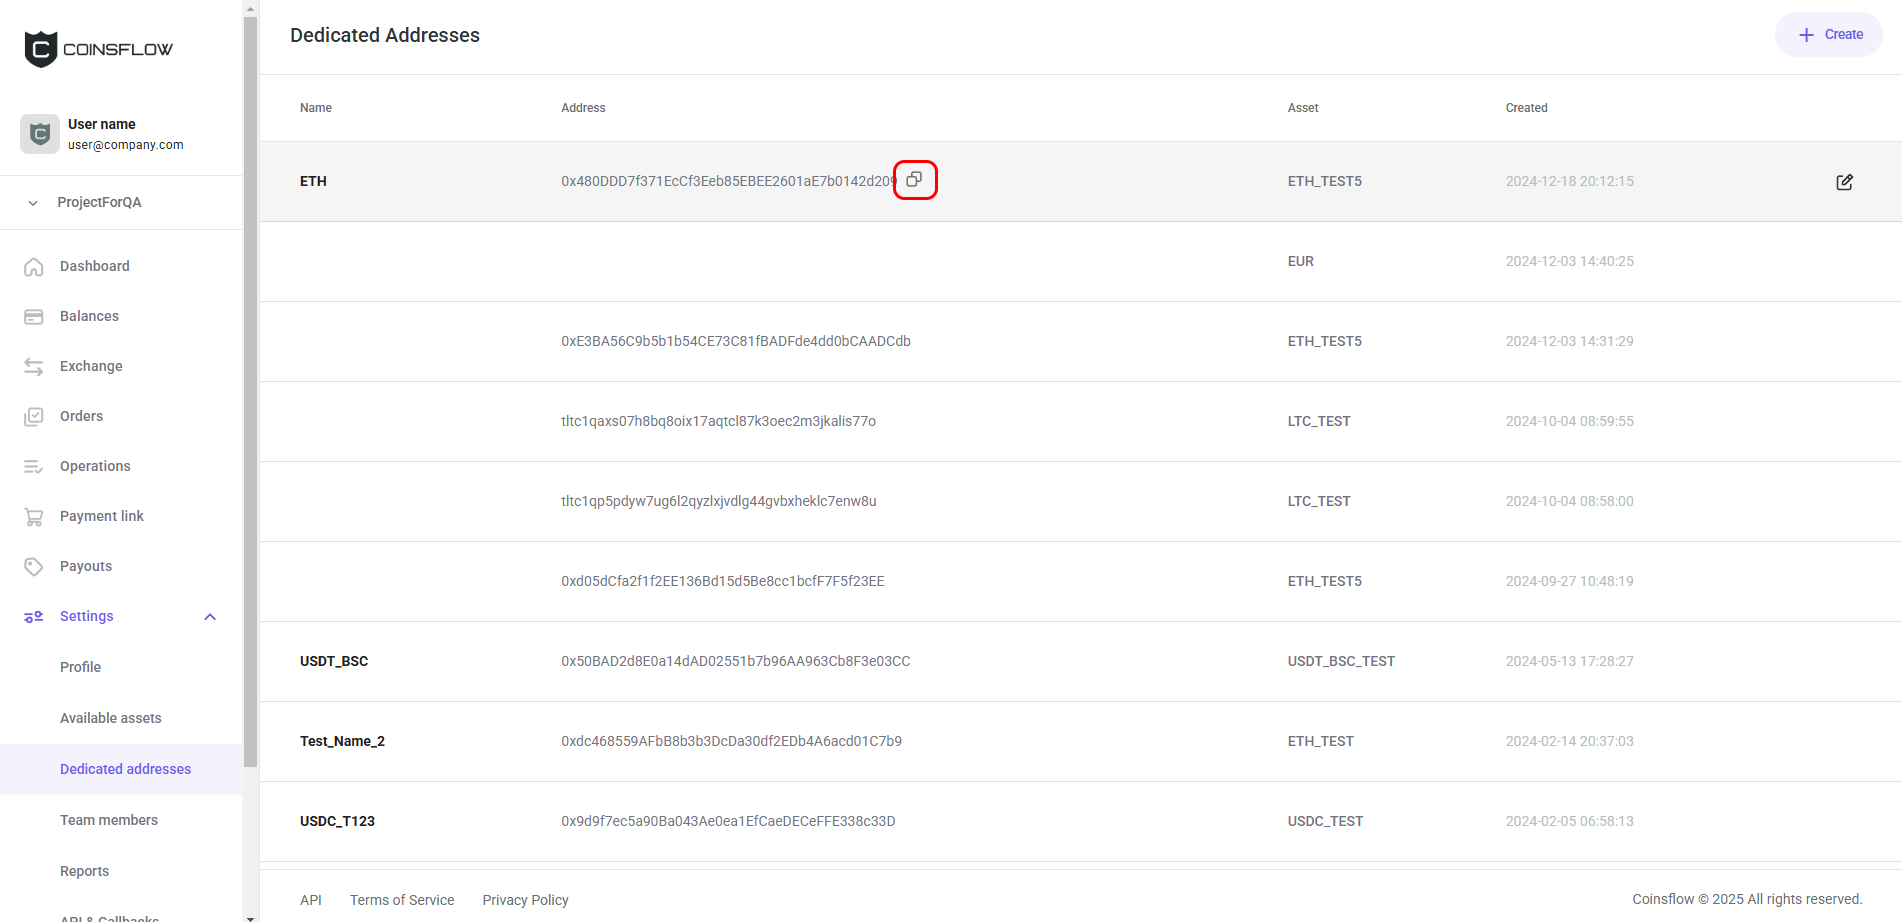
Hover over the desired dedicated address row:
-
Click on the Copy icon:
-
The dedicated address is copied and a notification in the bottom-left corner confirms the operation: