Payouts Tab
Payout is the the type of operation where you transfer money to an end-user’s account.
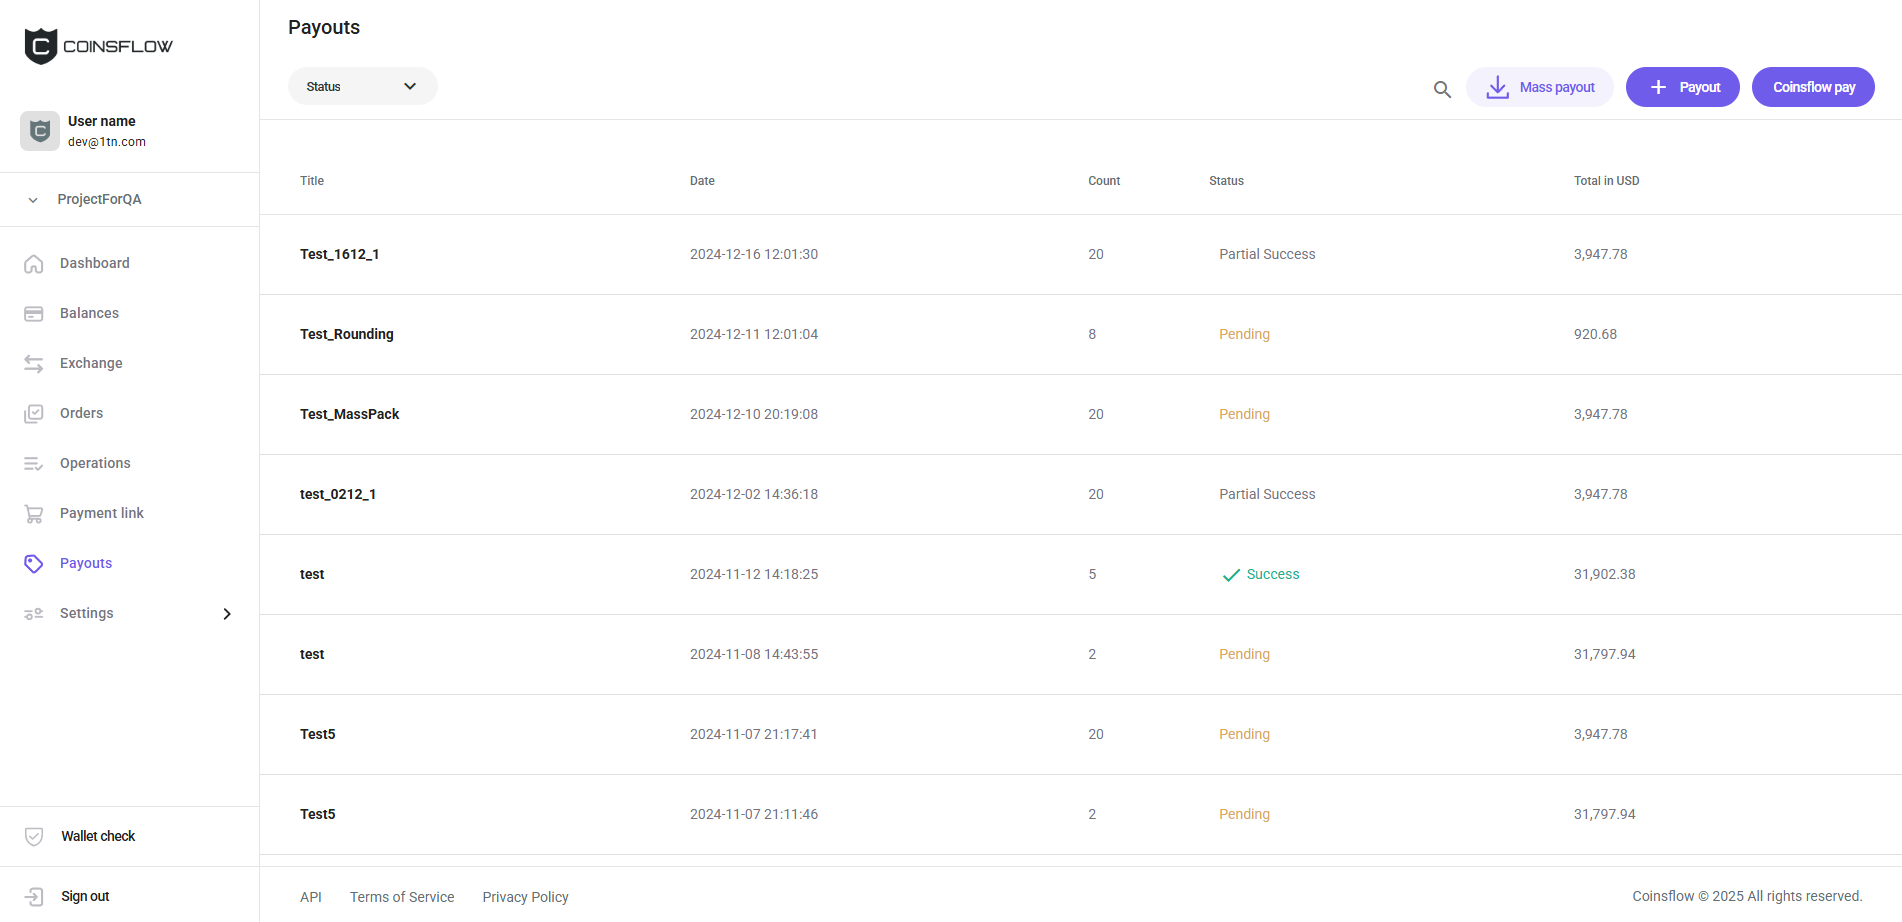
The "Payouts" table displays the following columns:
| Name | Description |
|---|---|
| Title | Displays the name given to the payout process as a way of identification on the platform. |
| Date | Displays the date and time the payout process was created. |
| Count | Displays the amount of payouts executed on this payout process (for mass payout purposes). |
| Status | Displays the current status of the payout process: Success, Partial success, Pending, Failed. |
| Approvals | Displays the approval progress for batches that require multiple approvals (e.g., "1/2 approvals"). Only shown when the project is configured to require more than one approval. |
| Total in USD | Displays the amount to be paid in USD. |
On the Payouts tab you can:
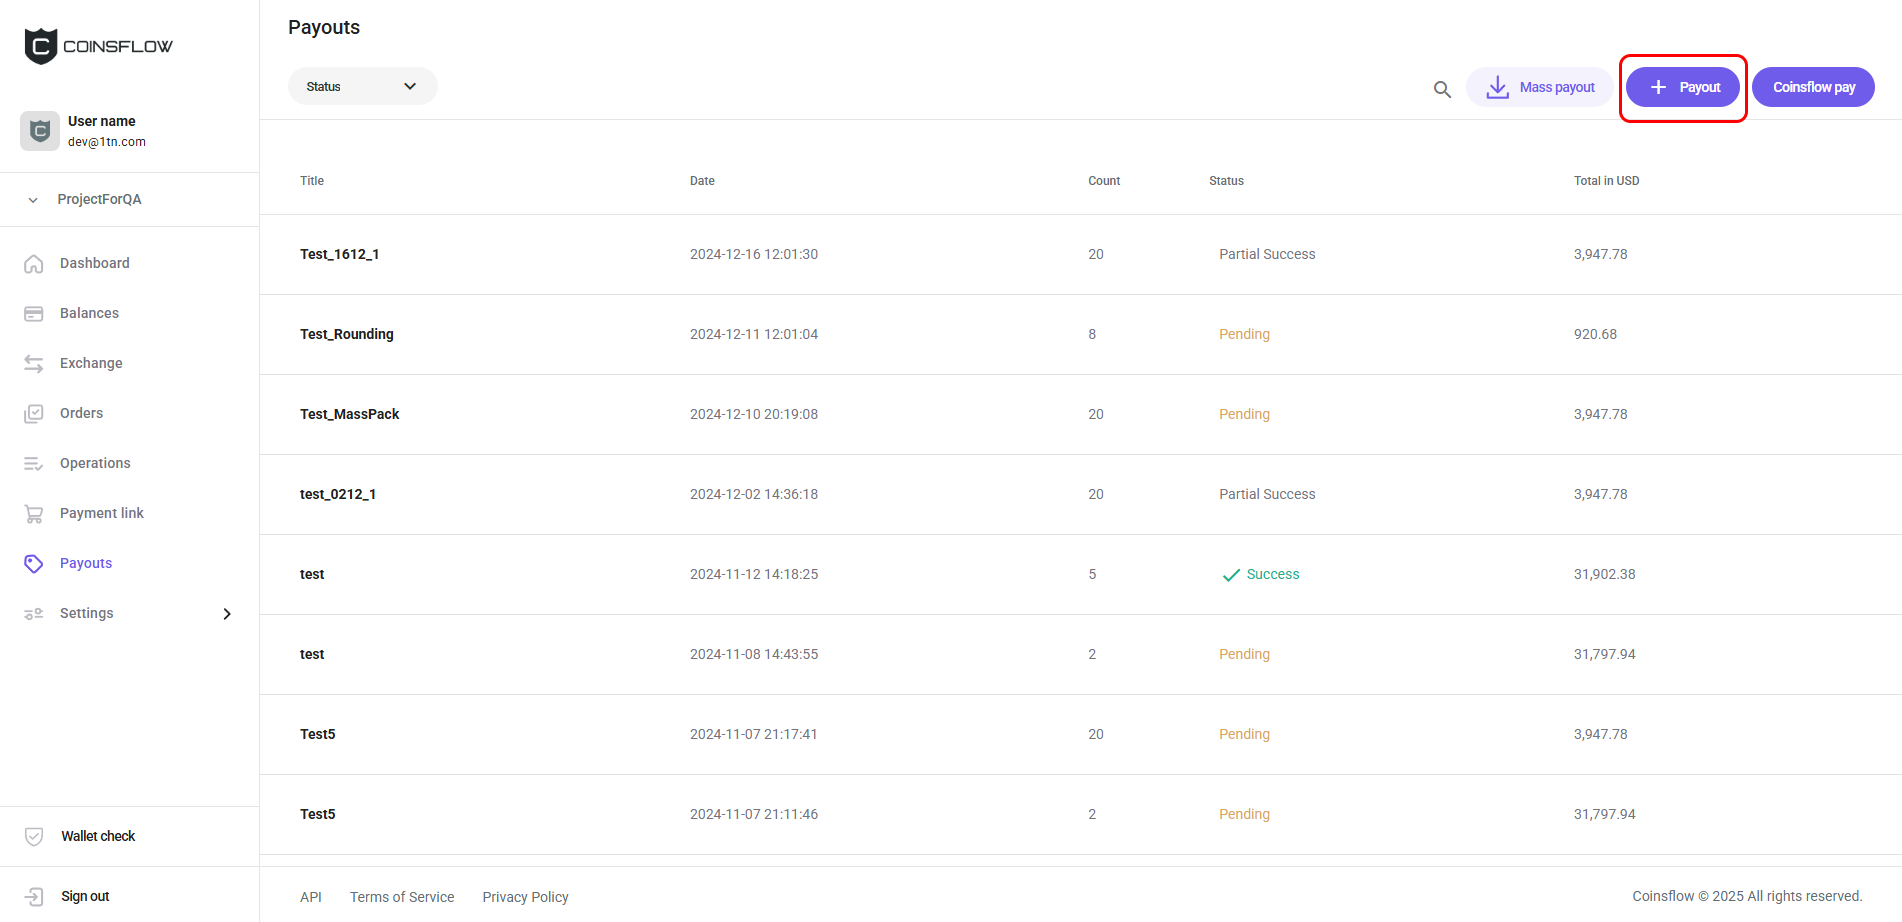
Create a Payout
-
Click on the Payout button:
-
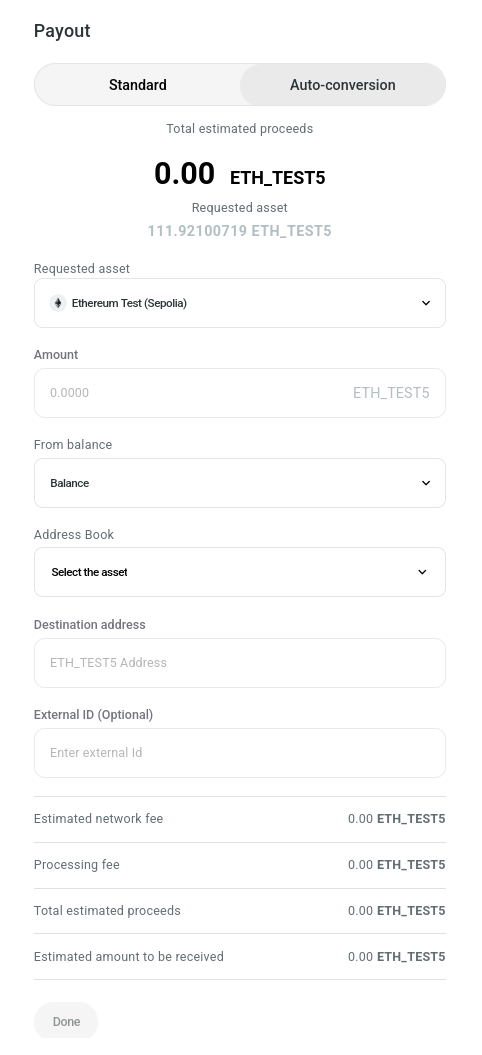
The Payout card is displayed:

-
Select the desired asset to use for the payout operation.
-
The Payout card expands:
-
Choose Standard or Auto-conversion payout: The latter allows you to specify the asset you want to pay out and the asset you would like to spend. The source asset will be exchanged for the requested asset automatically as part of the same operation.
-
In "Amount", insert the desired amount of crypto to transfer (from the available crypto for the selected cryptocurrency).
-
If you're creating an auto-conversion payout, select the asset you want to spend in the From balance field.
-
Select the the desired address to move the crypto to from the Address Book drop-down list or insert an address in the "Destination address".
-
In "External ID", insert the desired tag for internal purposes (for example, to have the payouts to a specific destination marked with the same tag). This field is optional and it can be left blank.
-
In "Wallet tag", insert the unique numerical code, required by some blockchains, to pair with the deposit address, as an additional Security measure. This field is only visible for some assets and is required when transferring to a centralized exchange.
-
Click on the checkbox to set as "true" if you want the network fees to be paid by the end user:
- If checked: The network fee amount is deducted from the inserted amount (the end user receives the amount minus the network fees).
This is only possible for the native asset of the network and not for the tokens.
- If unchecked: The network fees are added to the amount to pay for the payout operation.
- If checked: The network fee amount is deducted from the inserted amount (the end user receives the amount minus the network fees).
-
The "Estimated network fee" displays the fee to pay based on your asset selection.
-
The "Processing fee" displays the fee to pay based on your Settlement selections.
-
The "Total estimated proceeds" displays the total amount to pay for the Settlement.
-
The "Estimated amount to be received" displays the amount that the user is expected to receive.
-
Click on the "Done" button to proceed (the button becomes clickable when all required fields are filled).
-
Confirm the action with your one-time (2FA) password.
-
The payout operation is created and displayed on the "Payouts" table.
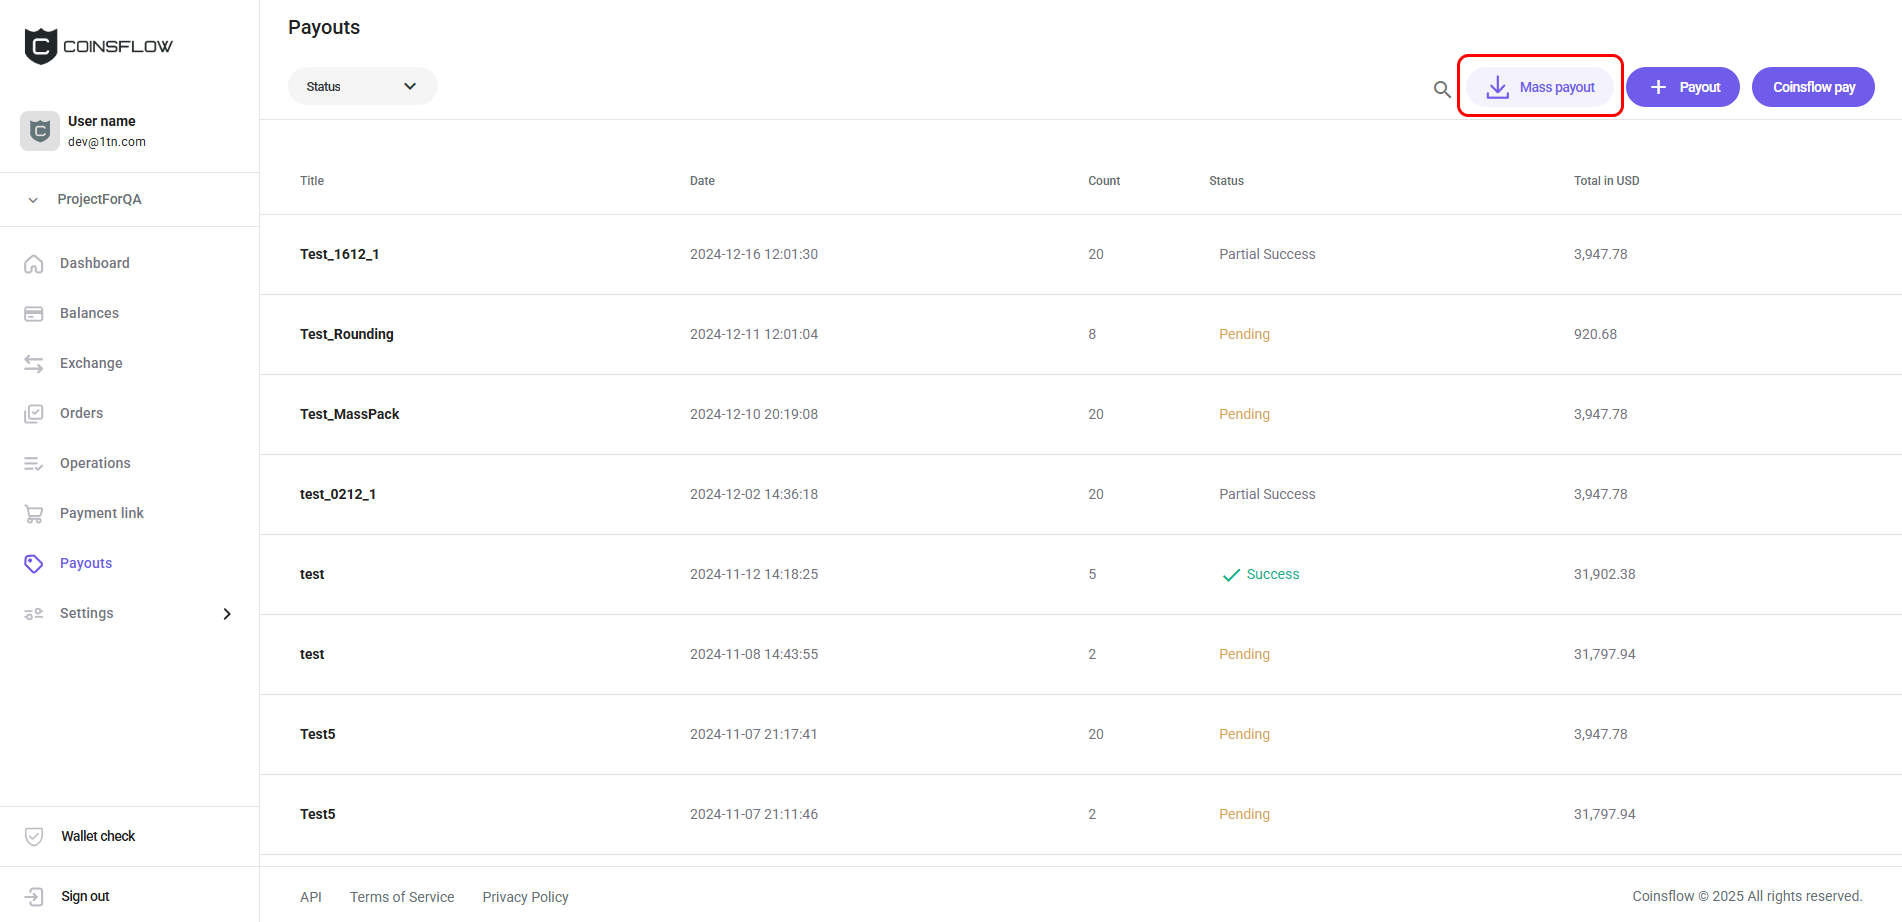
Create a Mass Payout
-
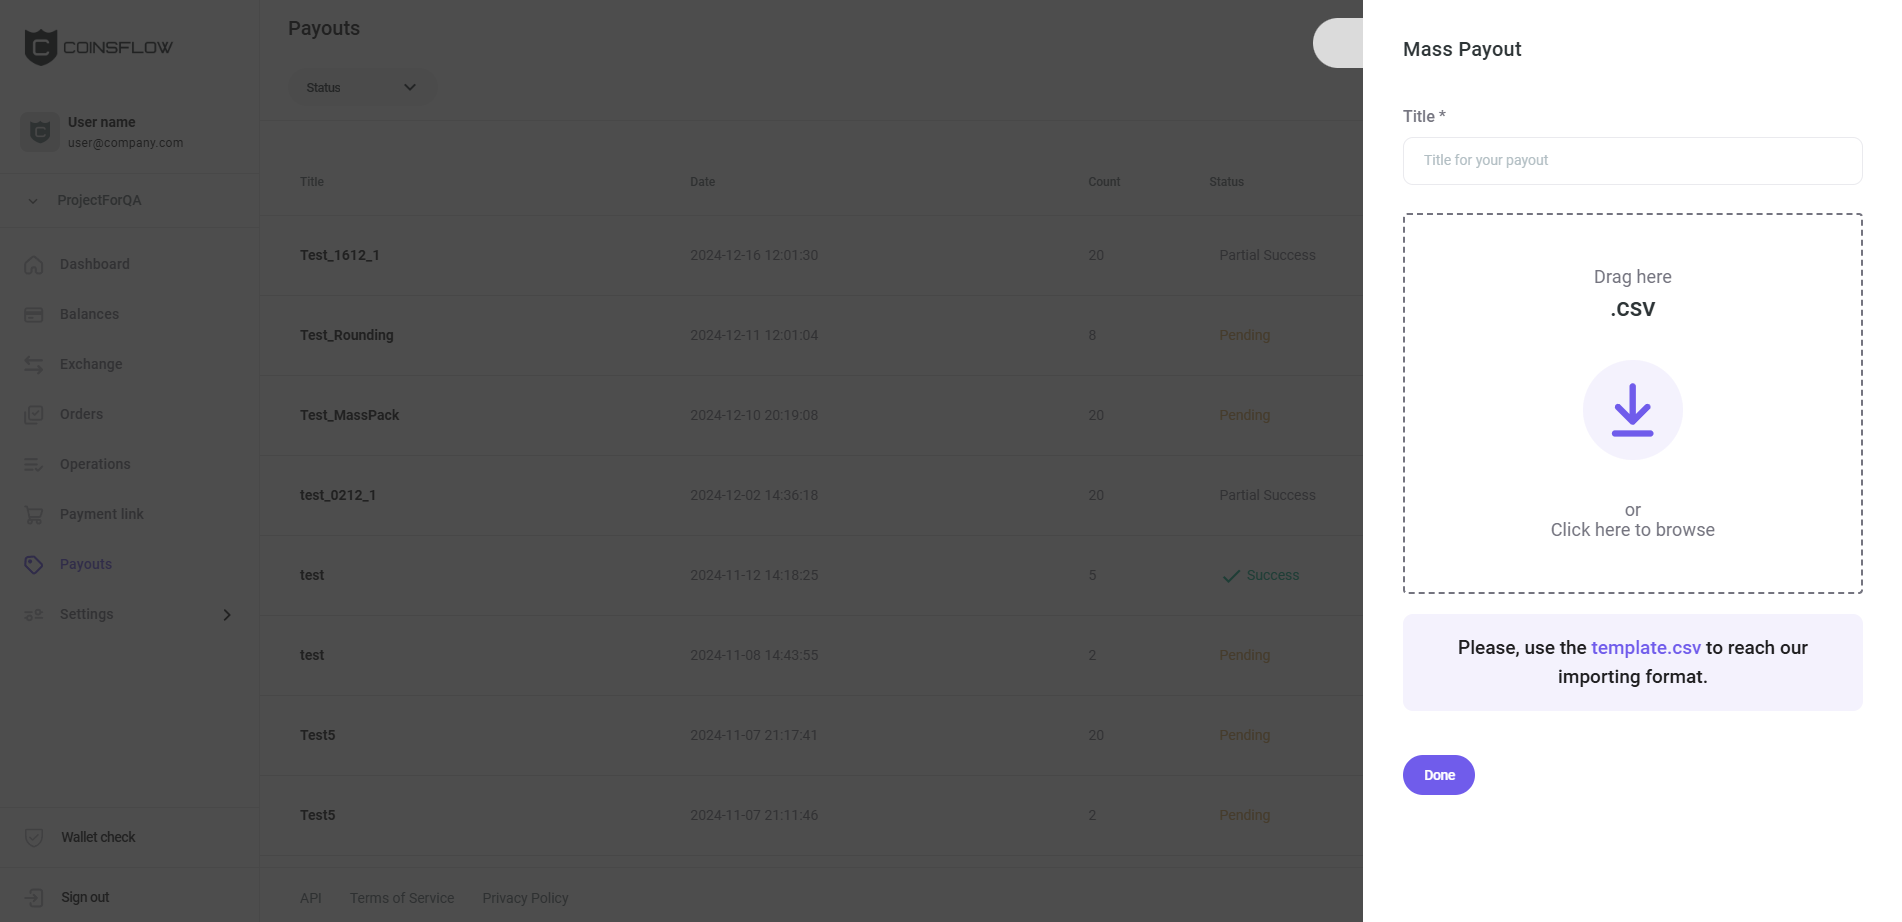
Click on the "Mass payout" button:
-
The "Mass payout" card is displayed:
-
Insert the desired name to identify the mass payout operation.
-
Drag and drop or select the desired CSV file to add.
The CSV file must comply with the expected template strcuture:
- destination: Insert the desired address to move the crypto to.
- amount: Insert the desired amount of crypto to transfer.
- asset: Insert the desired cryptocurrency (or fiat) use on the payout.
- treatedAsGrossAmount: Set to True if you want the network fees to be paid by the end user (The network fee amount is deducted from the inserted amount and the end user receives the amount minus the network fees) or False if you want to assume the network fees (the network fees are added to the amount to pay for the payout operation.)
- externalID: Insert the desired Internal ID (from your own system) to better keep track of these operations.
- requestedAmount: Insert the desired amount requested as payment in the selected asset (requested asset).
- requestedAsset: Insert the desired asset in which the requested amount is set as payment.
- walletTag: Insert the unique numerical code, required by some blockchains, to pair with the deposit address, as an additional Security measure. This field is only required by XRP and TON assets. If requestedAmount and requestedAsset are used, “amount” must remain empty.
Note on network fees: These apply only to native assets. For example, ETH is the native asset of the Ethereum blockchain, while USDC and MATIC are tokens built on top of Ethereum. The targetAsGrossAmount setting only works with assets that are native to their respective networks, such as ETH, BTC, or BNB.
To get the template file, click on the "use the template" link.
-
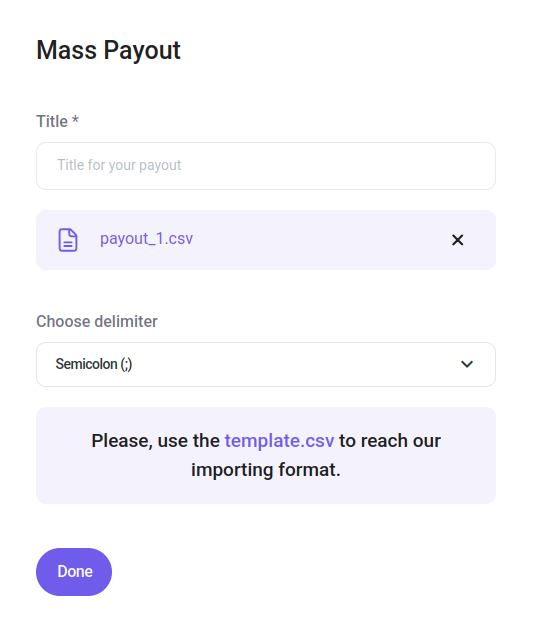
The file is displayed on the card and the "Delimiter" drop-down menu is displayed:
-
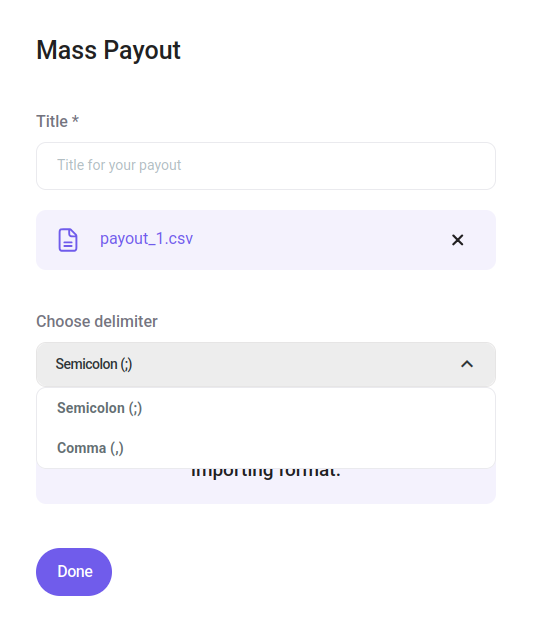
Select the columns delimiter, from the drop-down menu, on "Choose delimiter":
-
"Semicolon (;)" is set by default (Using the wrong delimeter fails the CSV upload).
-
Click on the Done button.
-
Confirm the action with your one-time (2FA) password.
-
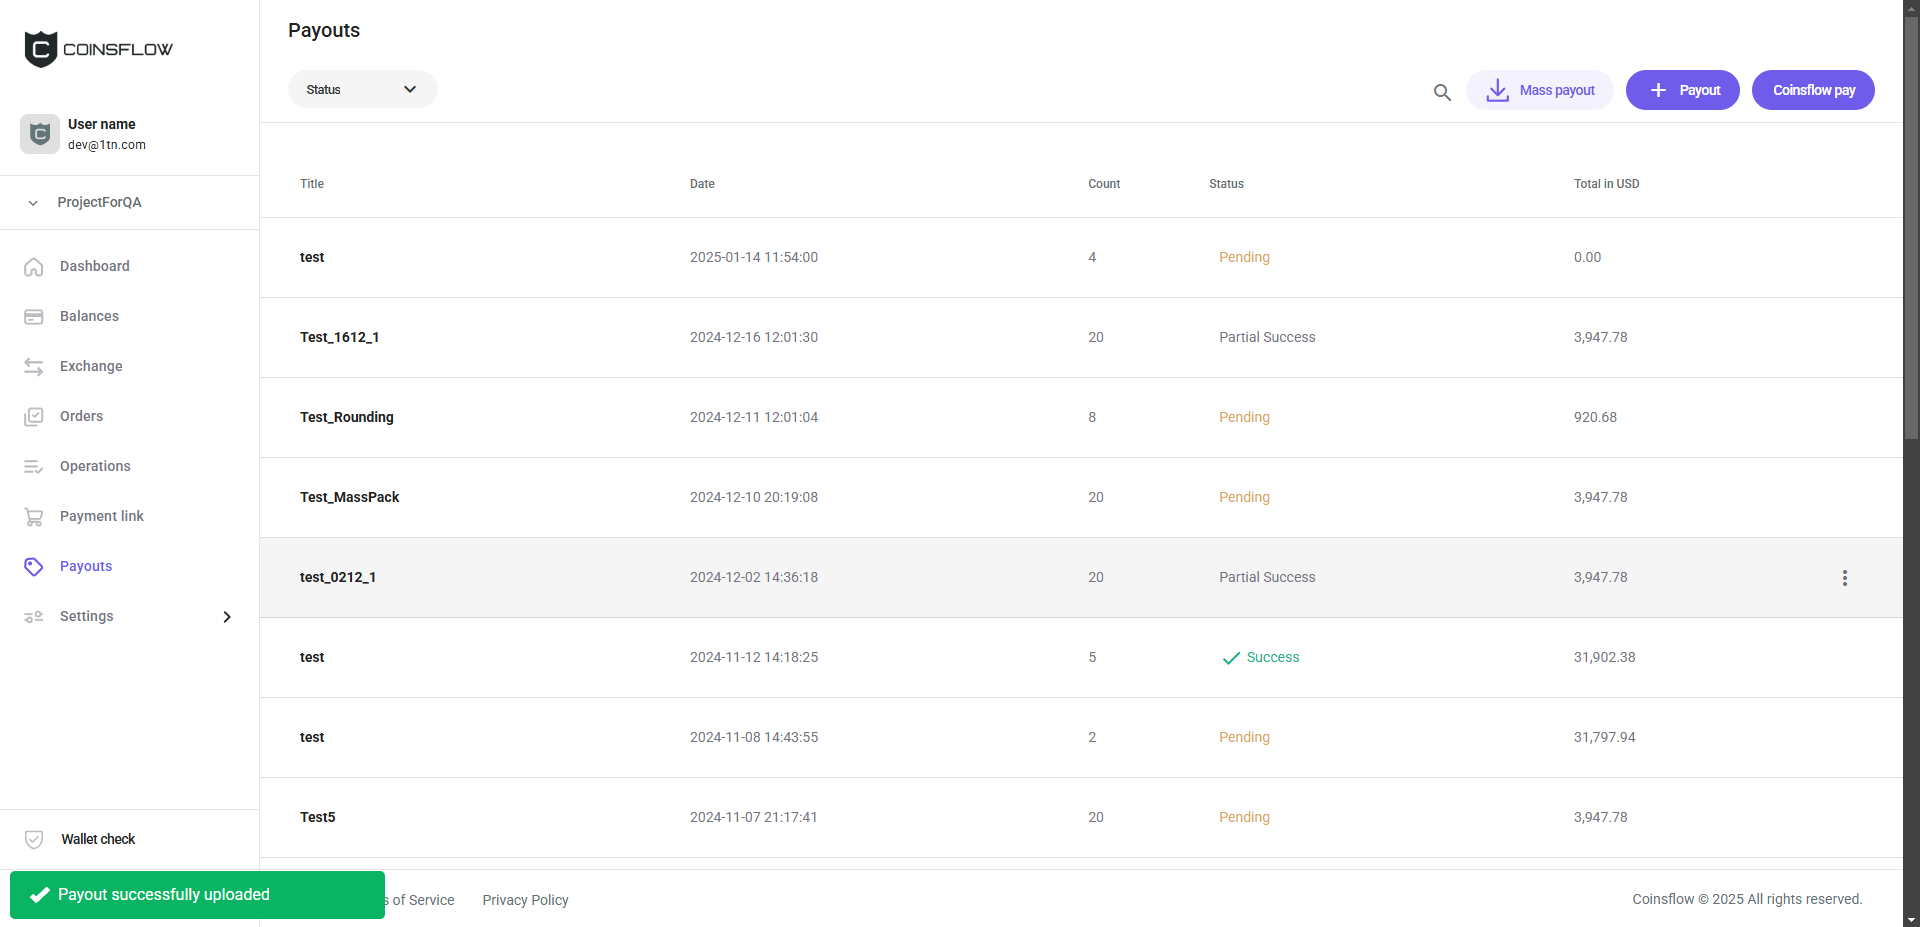
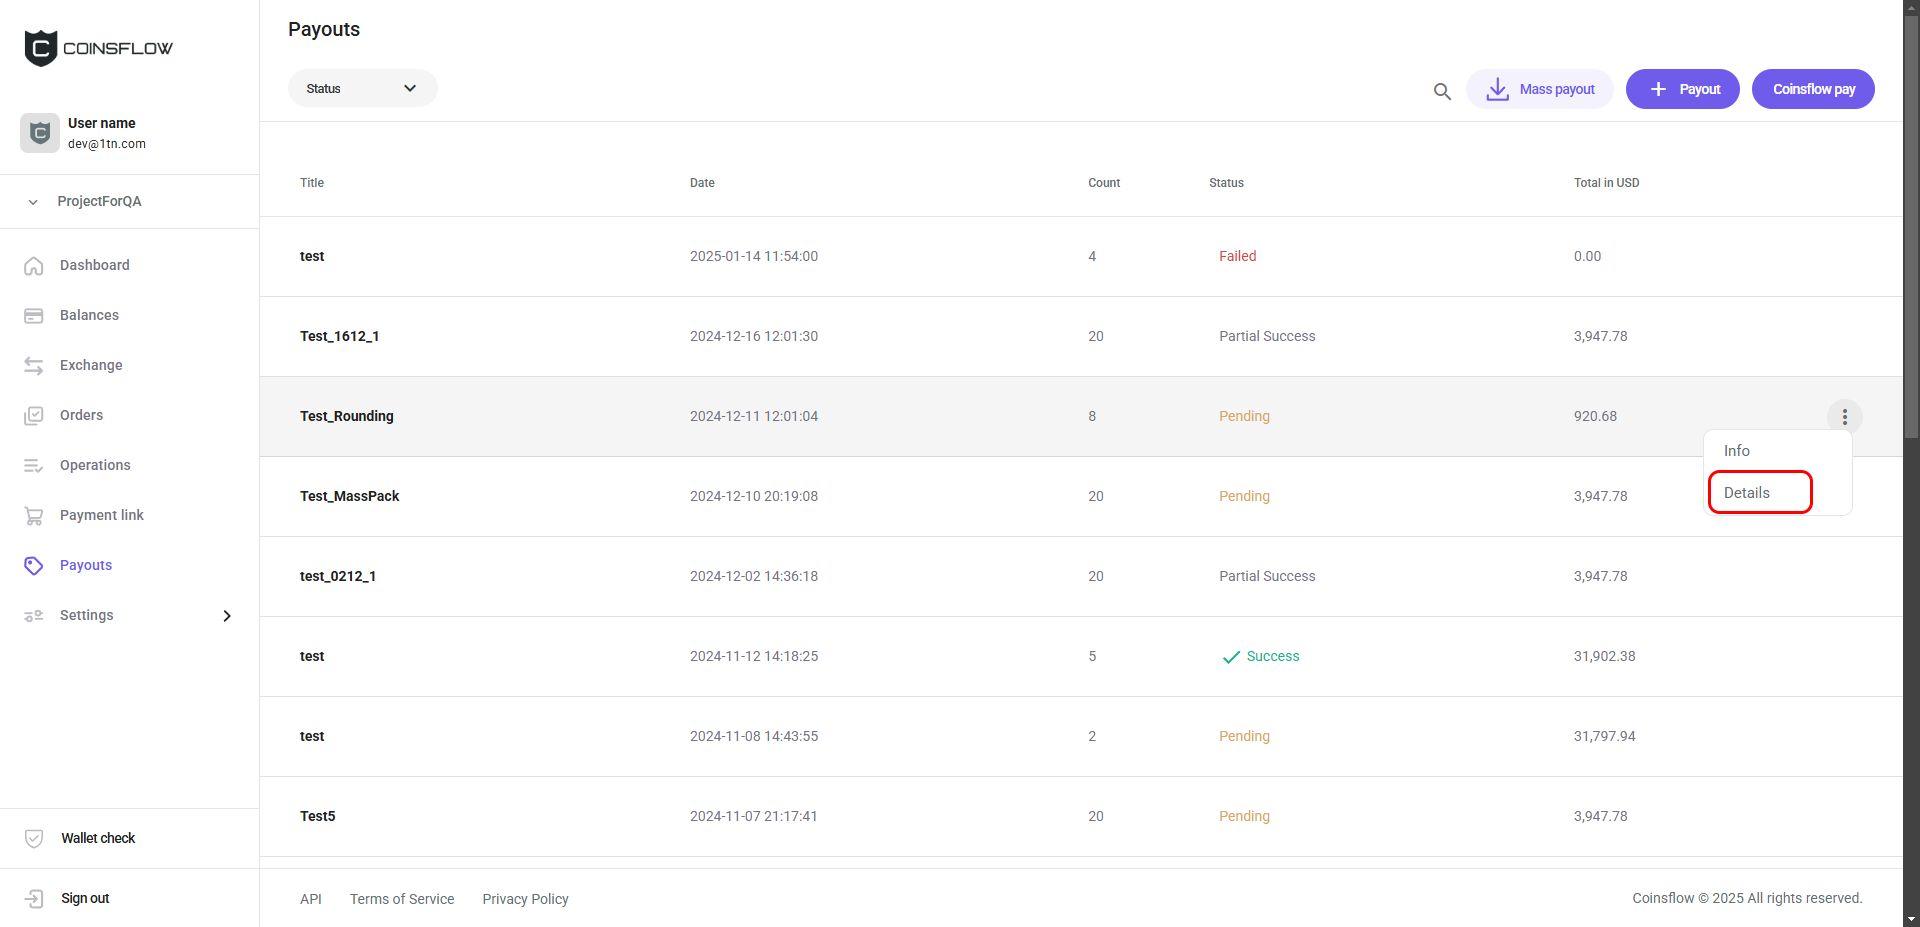
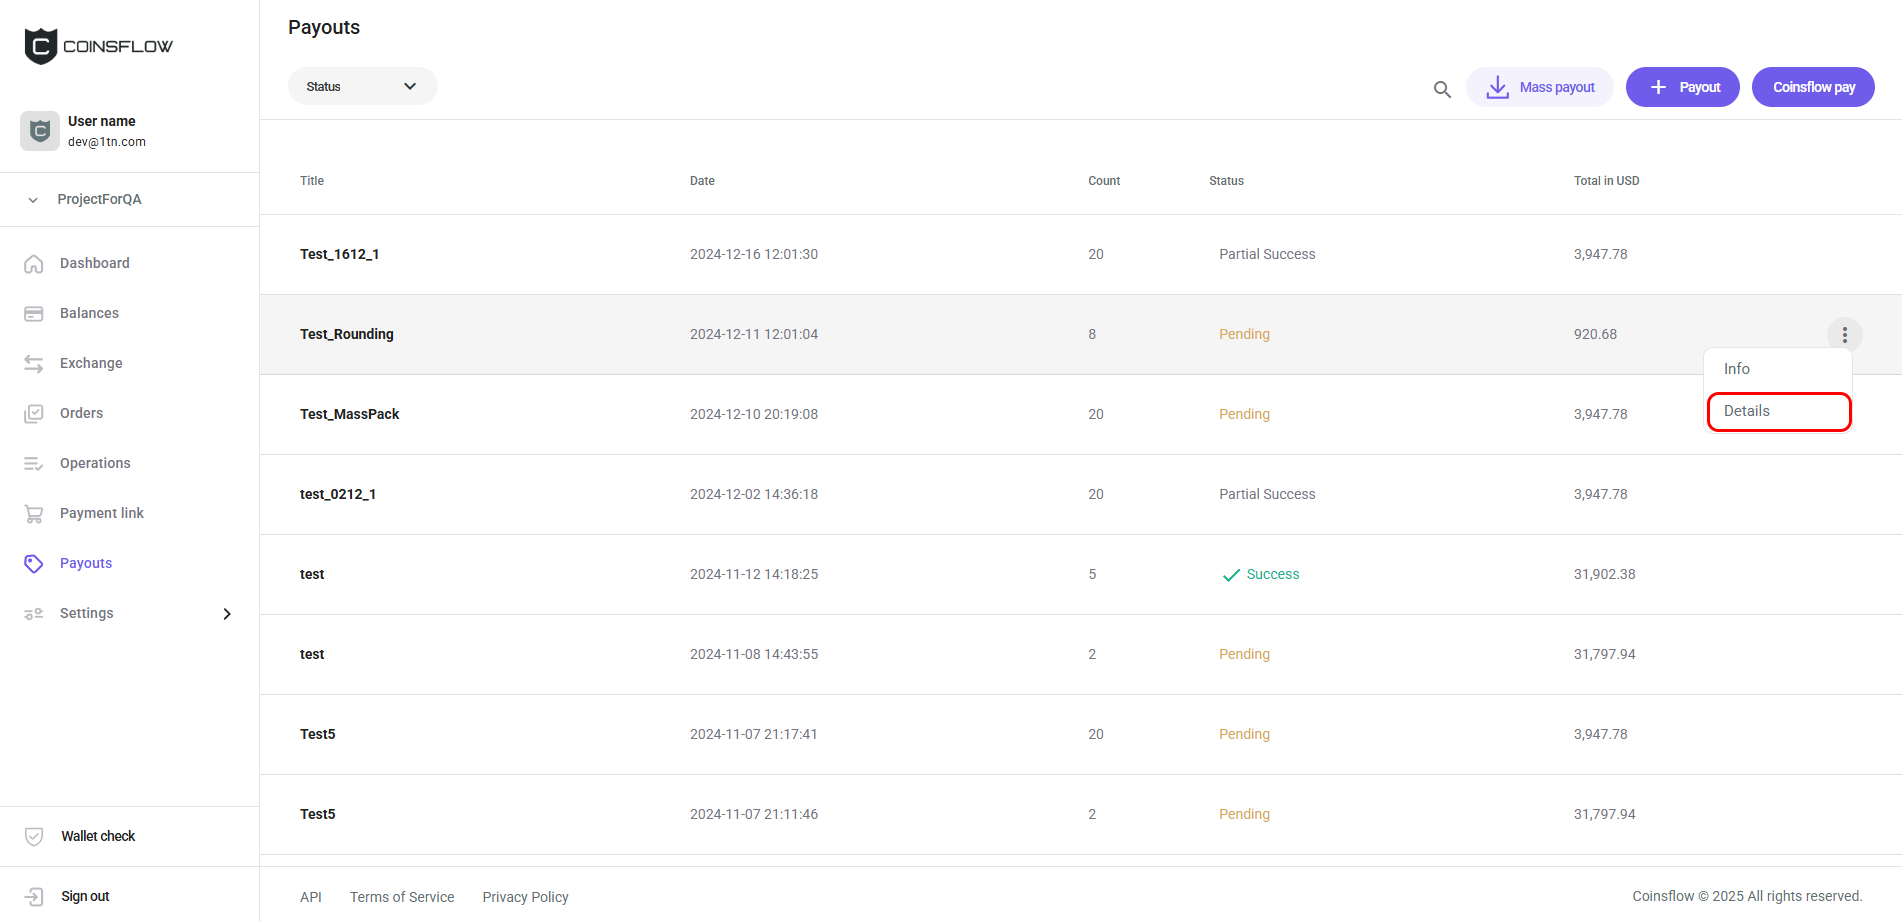
The mass payout operation is created and displayed on the "Payouts" table with a notification in the bottom-left corner of the screen confirming the success of the mass payout creation:
-
Hover over the new entry row, click on the three-dot "Options" button, and then on the "Details" button:
-
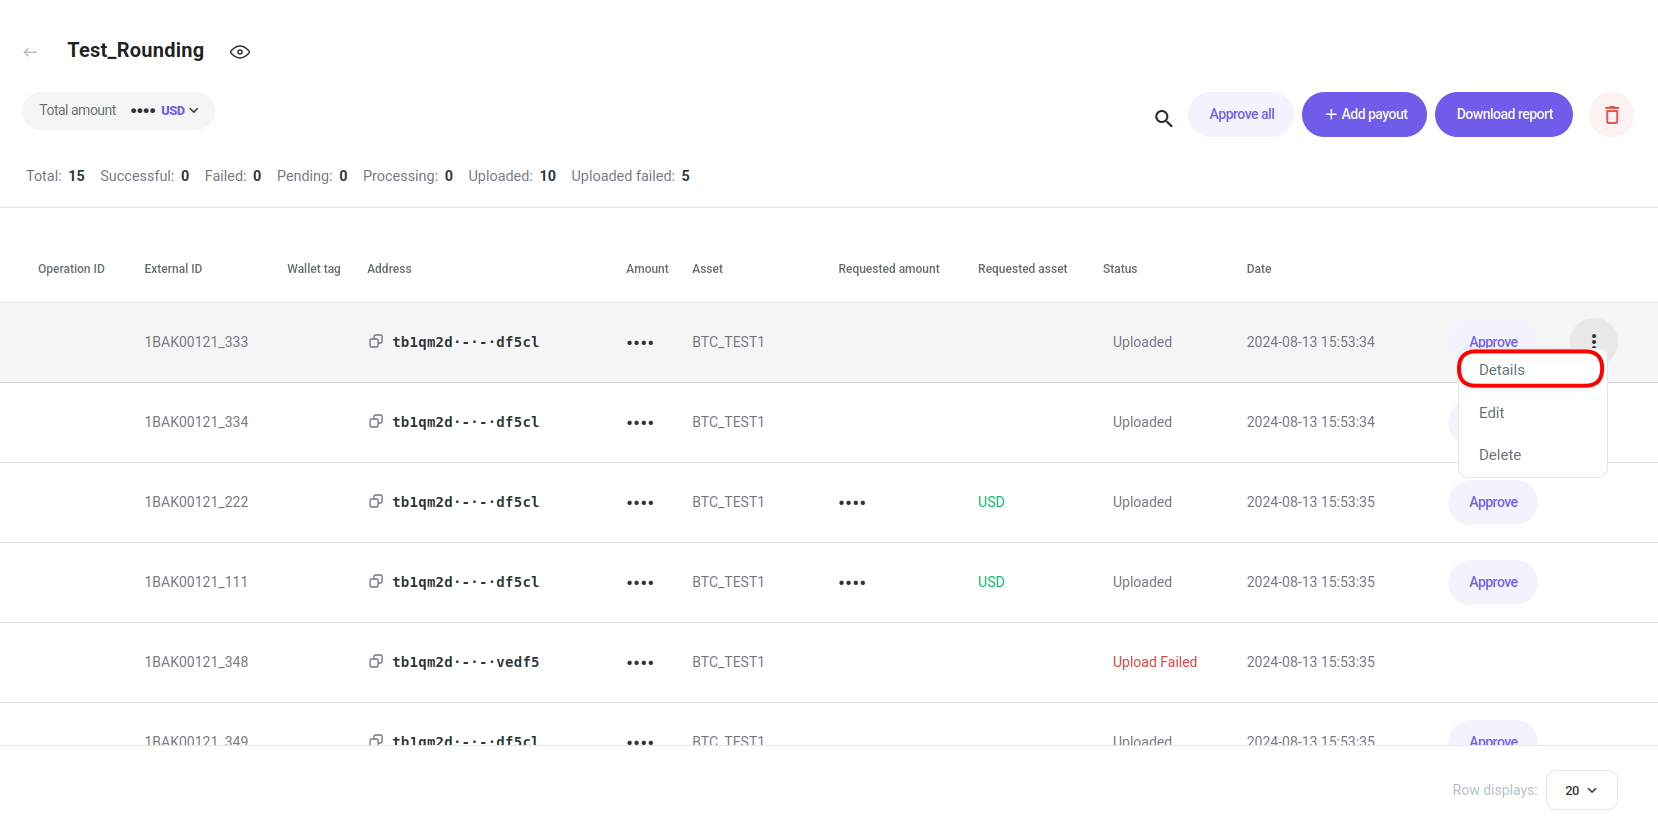
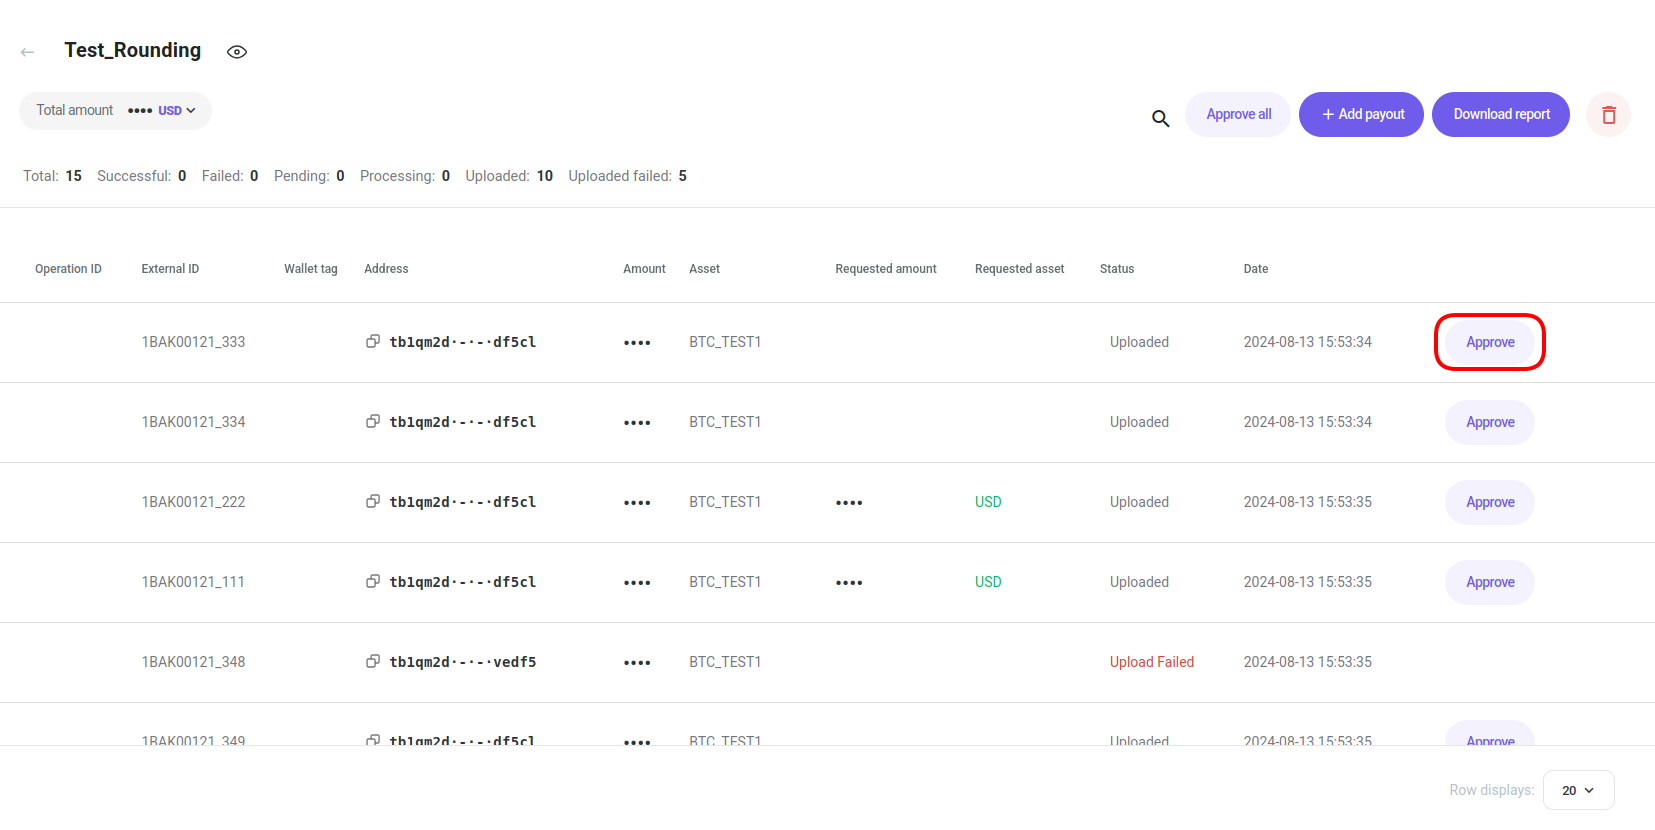
The entries of the mass payout list are displayed:
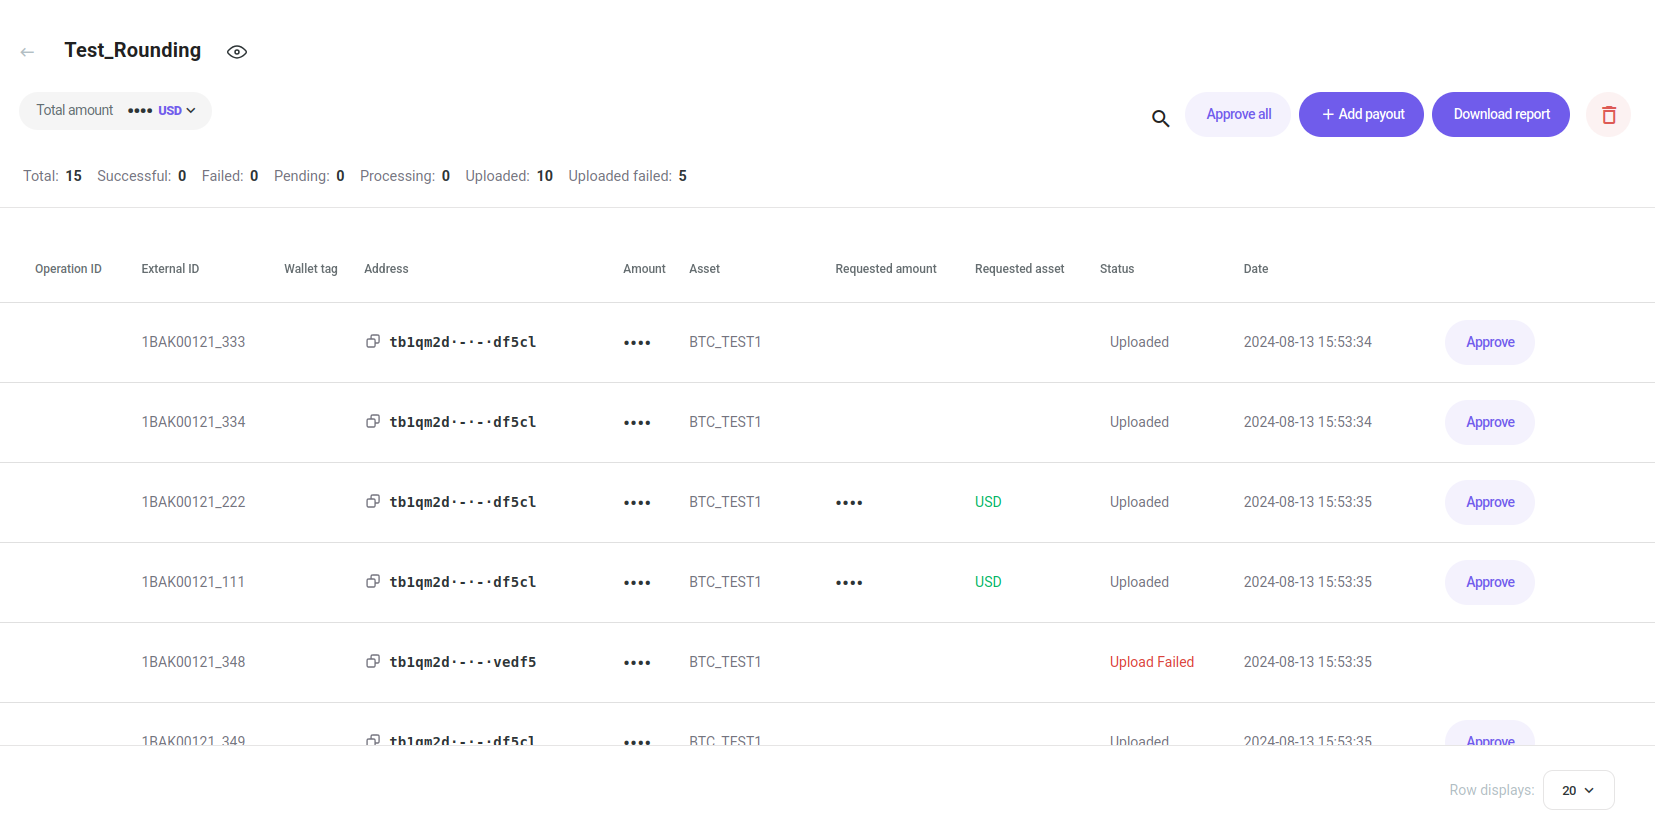
The entries are displayed in the same rows order as the uploaded file. This way it's easier to track mistakes in the initial file.
-
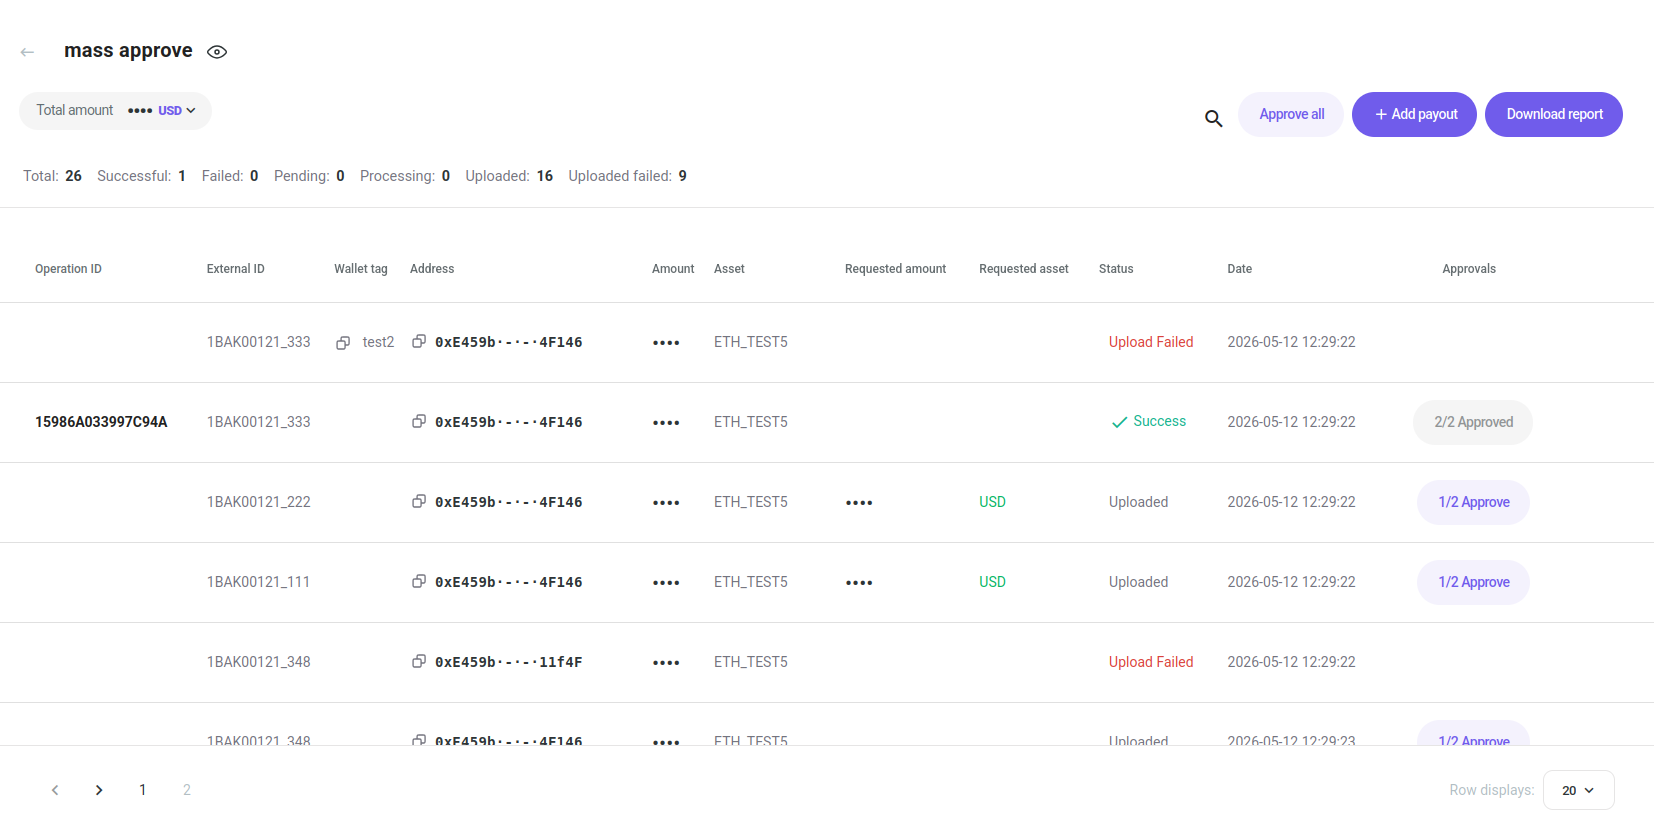
The status is "uploaded" because it is waiting for approval to proceed. If the project requires multiple approvals, each entry displays an approval counter (e.g., "1/2") and the batch executes only once all required approvals have been collected.
-
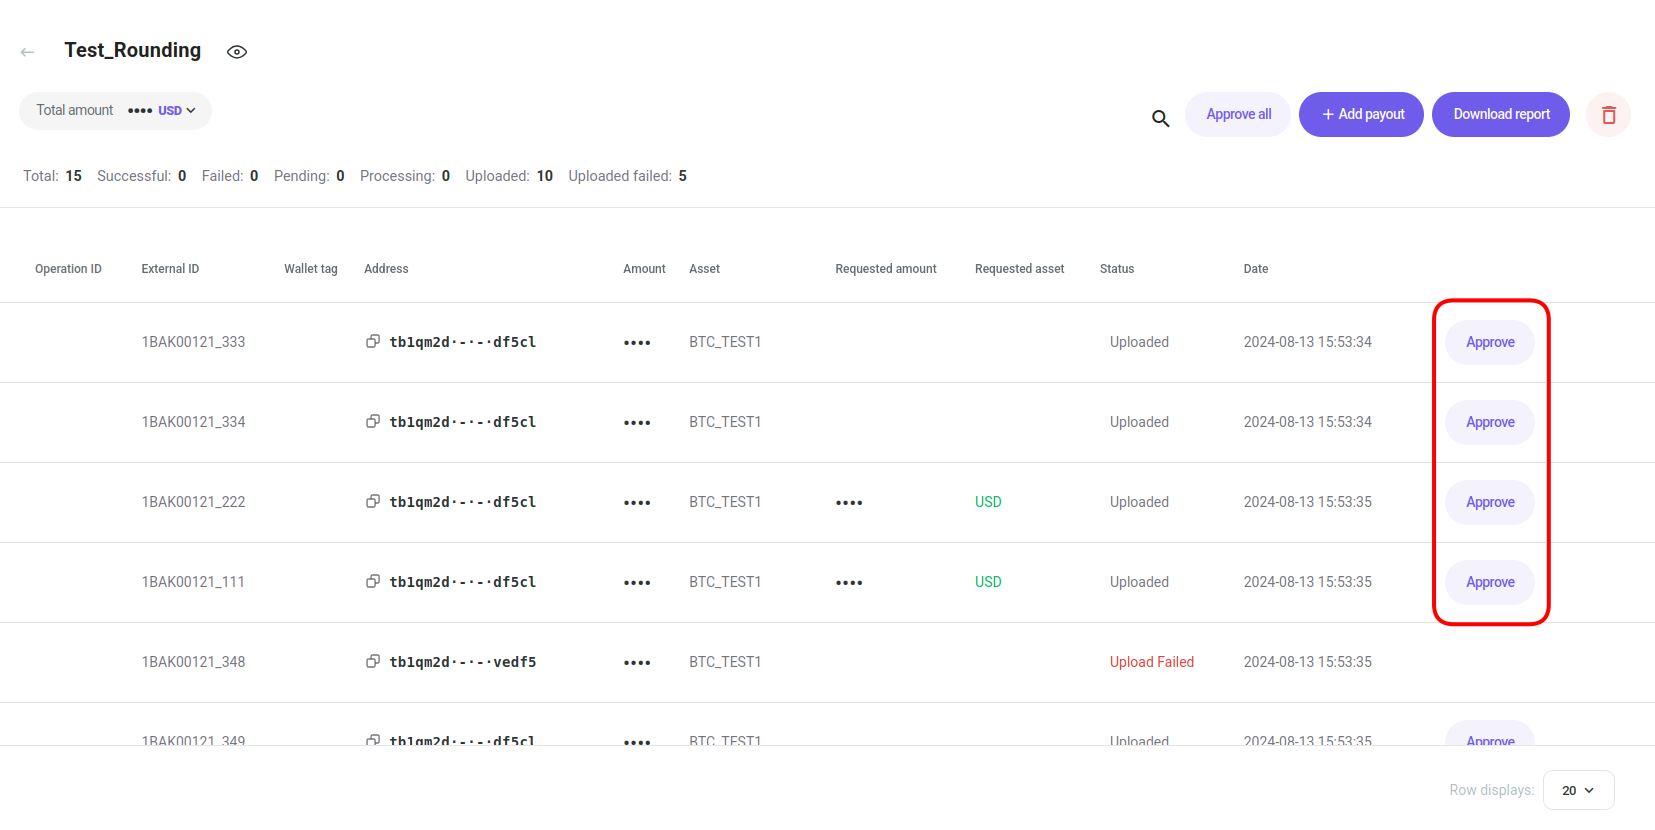
Click on the "Approve" button of the desired entry to confirm:
-
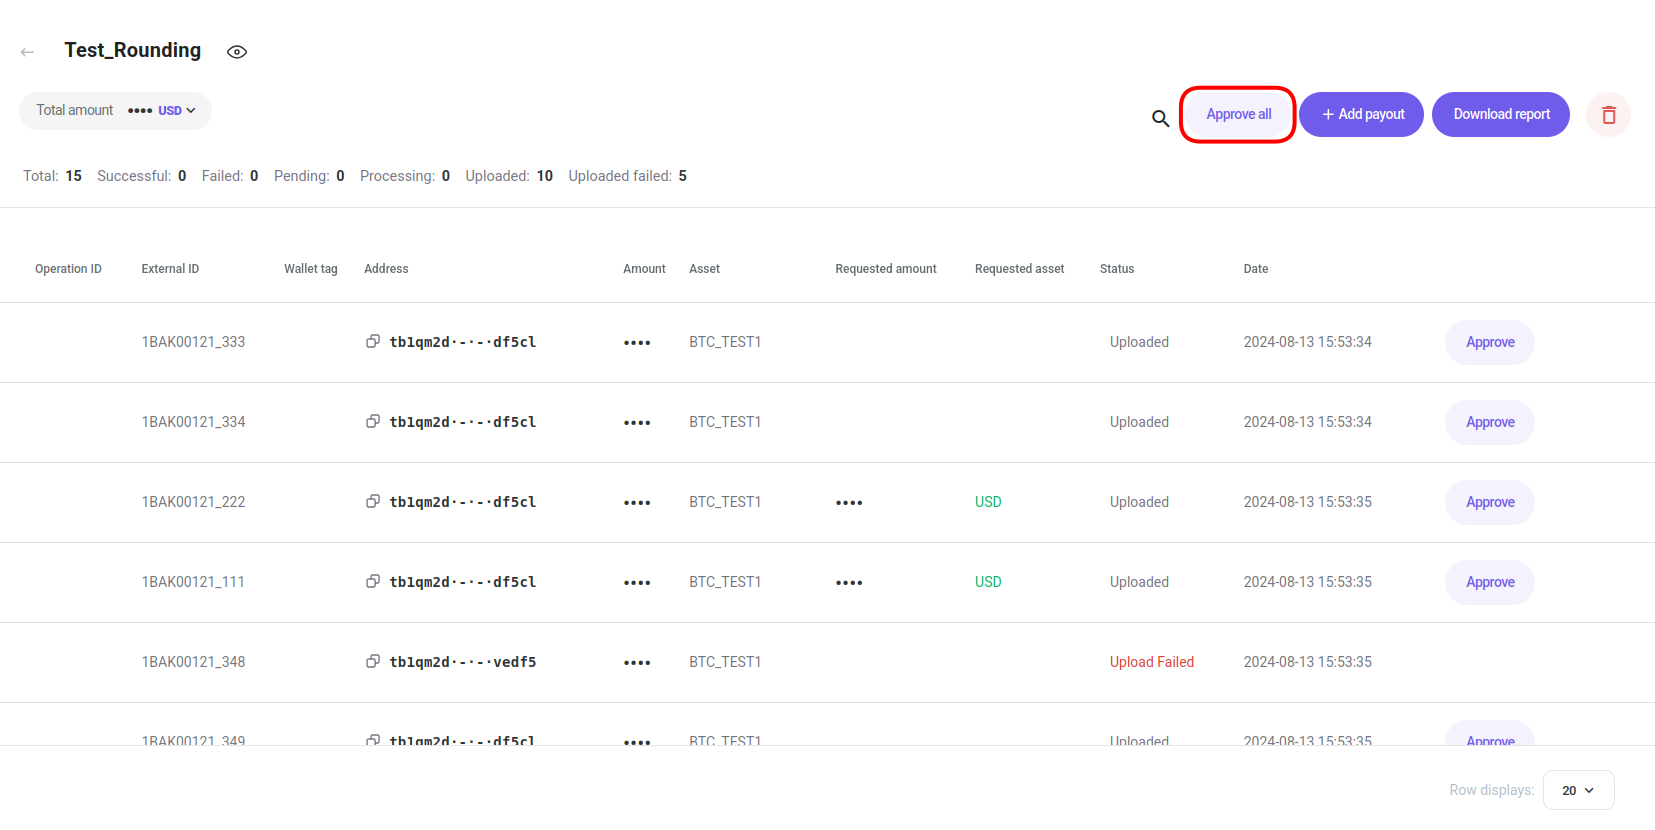
You can click on "Approve all" to proceed with all entries:
-
Confirm the action with your one-time (2FA) password.
Validation of the address is done in ETH network (including tokens) and BTC network. It is cross-check validated that the asset specified in the upload file is a match with the address.
Example: If the asset USDT (Ethereum network) is specified and an invalid Ethereum address is provided an “invalid address error” is displayed.
Filter the Payouts Table
There are two ways of filtering the "Payouts" table:
- Search bar:
-
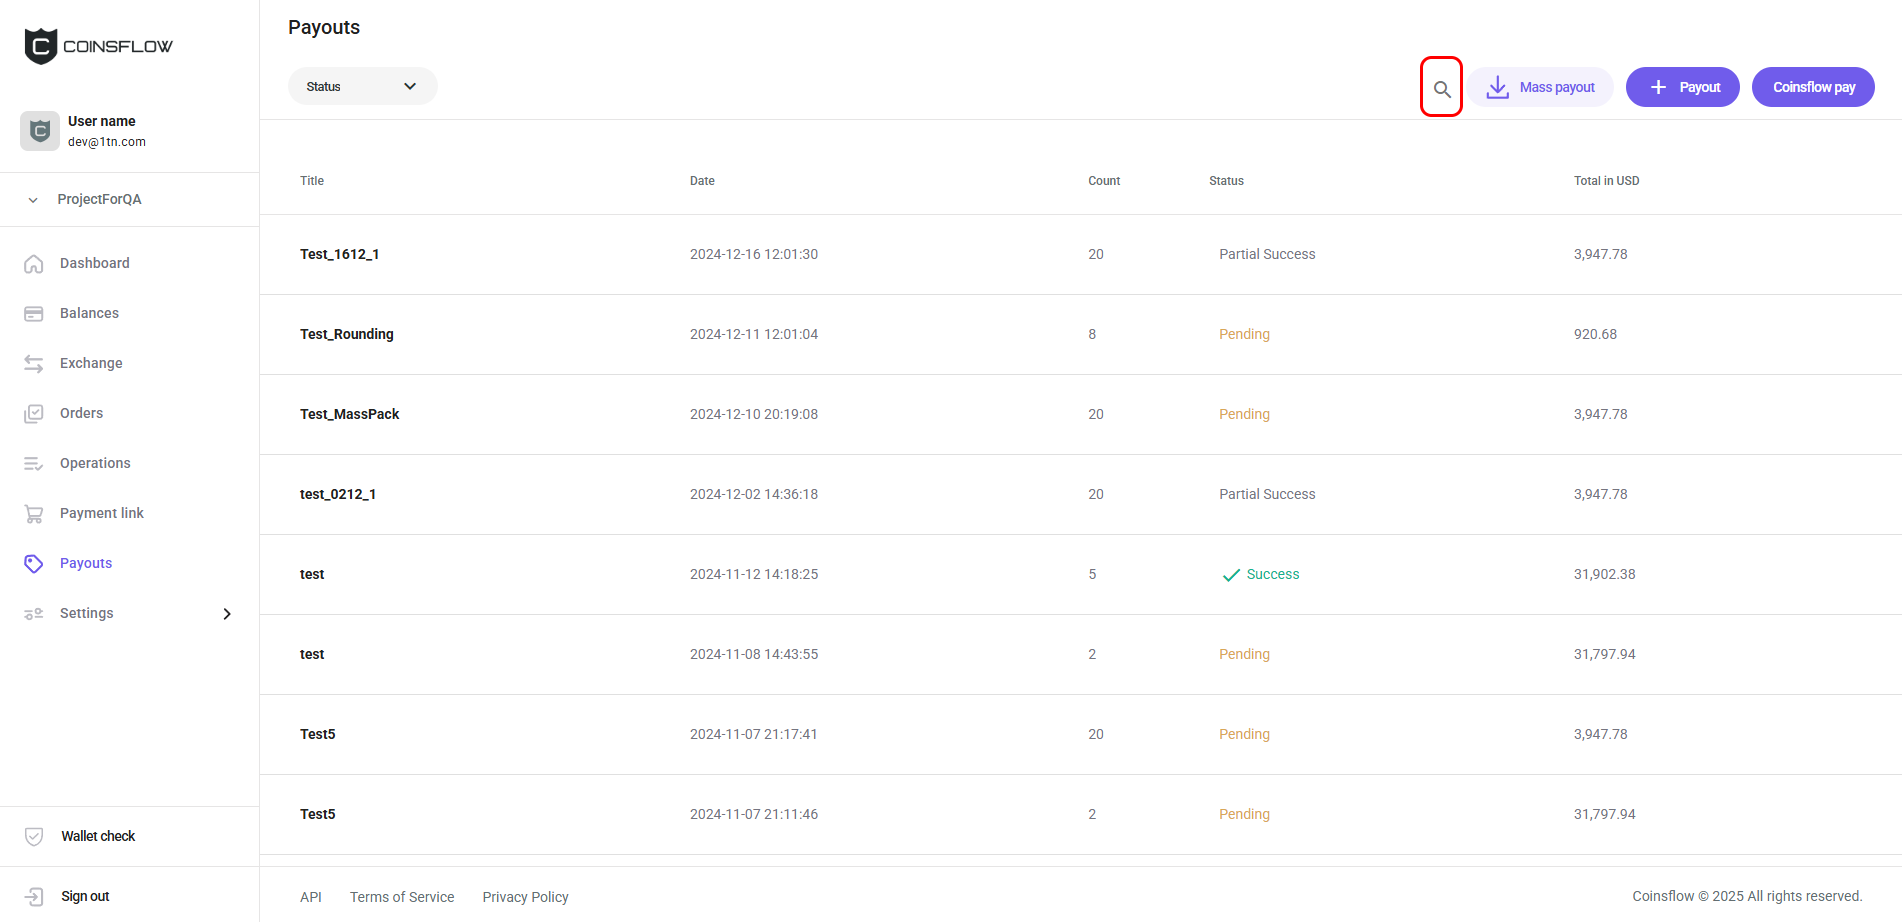
Click on the Search icon:
-
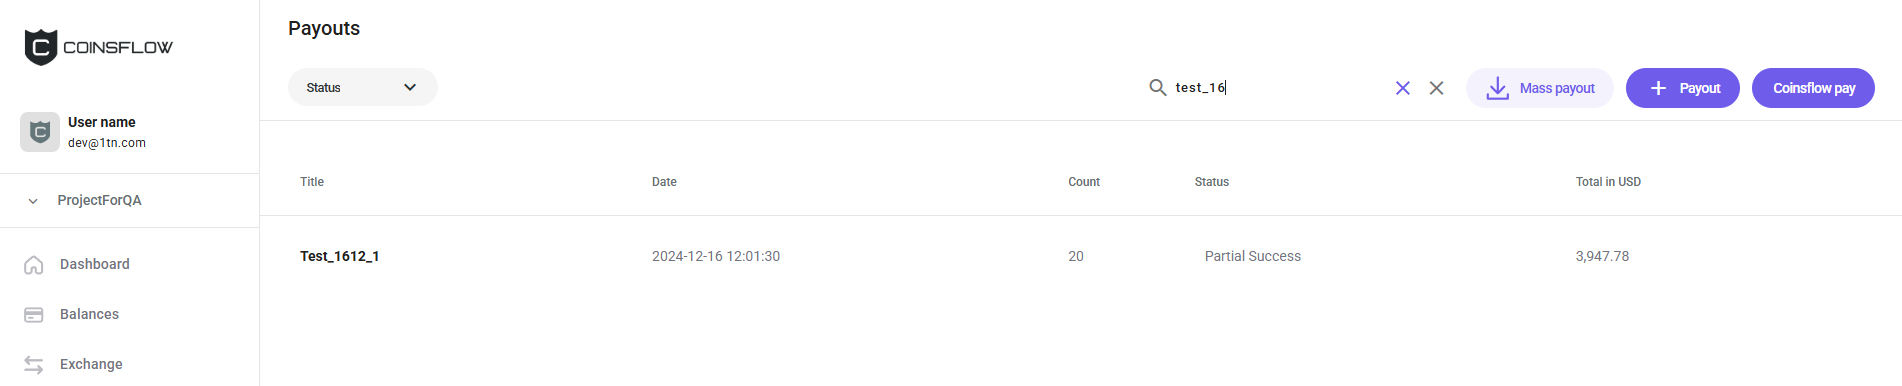
Insert the desired value into the search bar:

You can search by title, address, external tag.
-
The table displays only the entries that match the inserted text:
- Filter selection:
-
- In the top-left corner of the screen you have a drop-down menu:
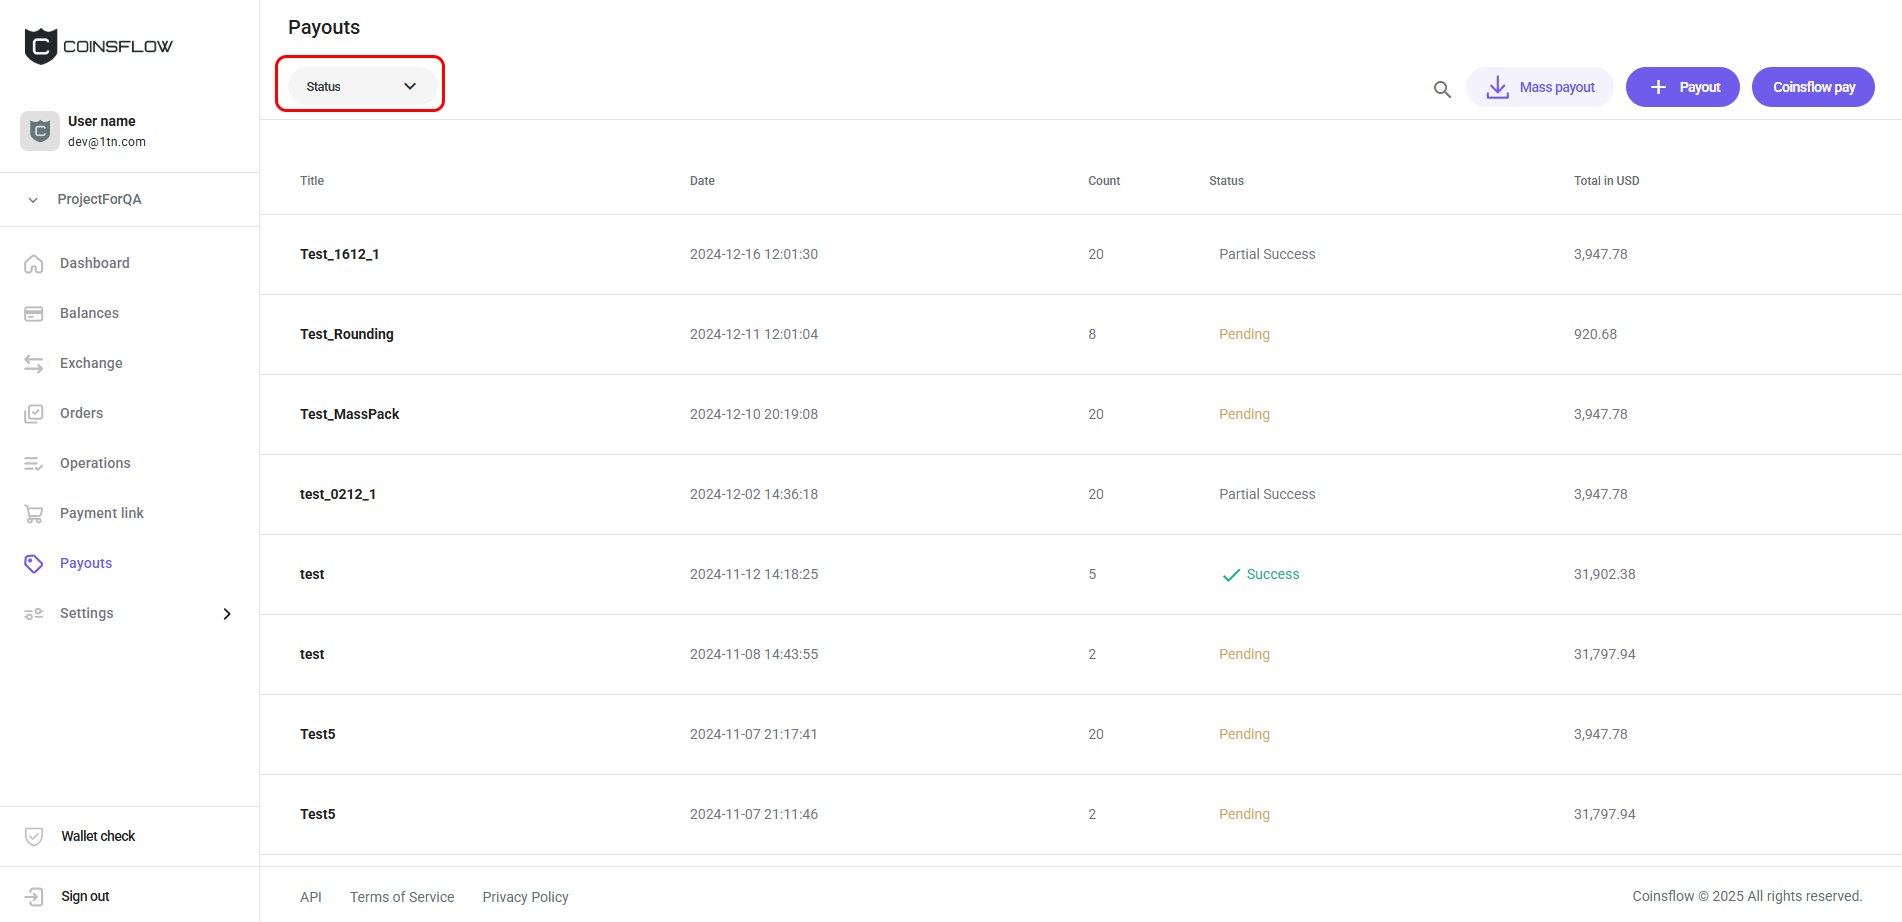
-
Click on the desired status from the drop-down menu.
-
The table only displays the entries that match the selected status.
Click the title of the desired column to sort the table in ascending or descending order based on that column’s values.
See the Payout Operation Info
-
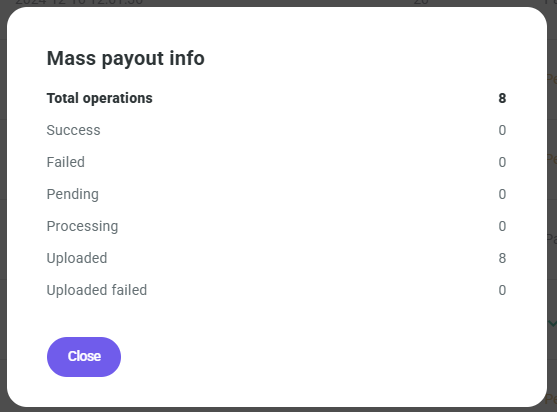
Hover over the new entry row, click on the three-dot "Options" button, and then on the "Info" button:
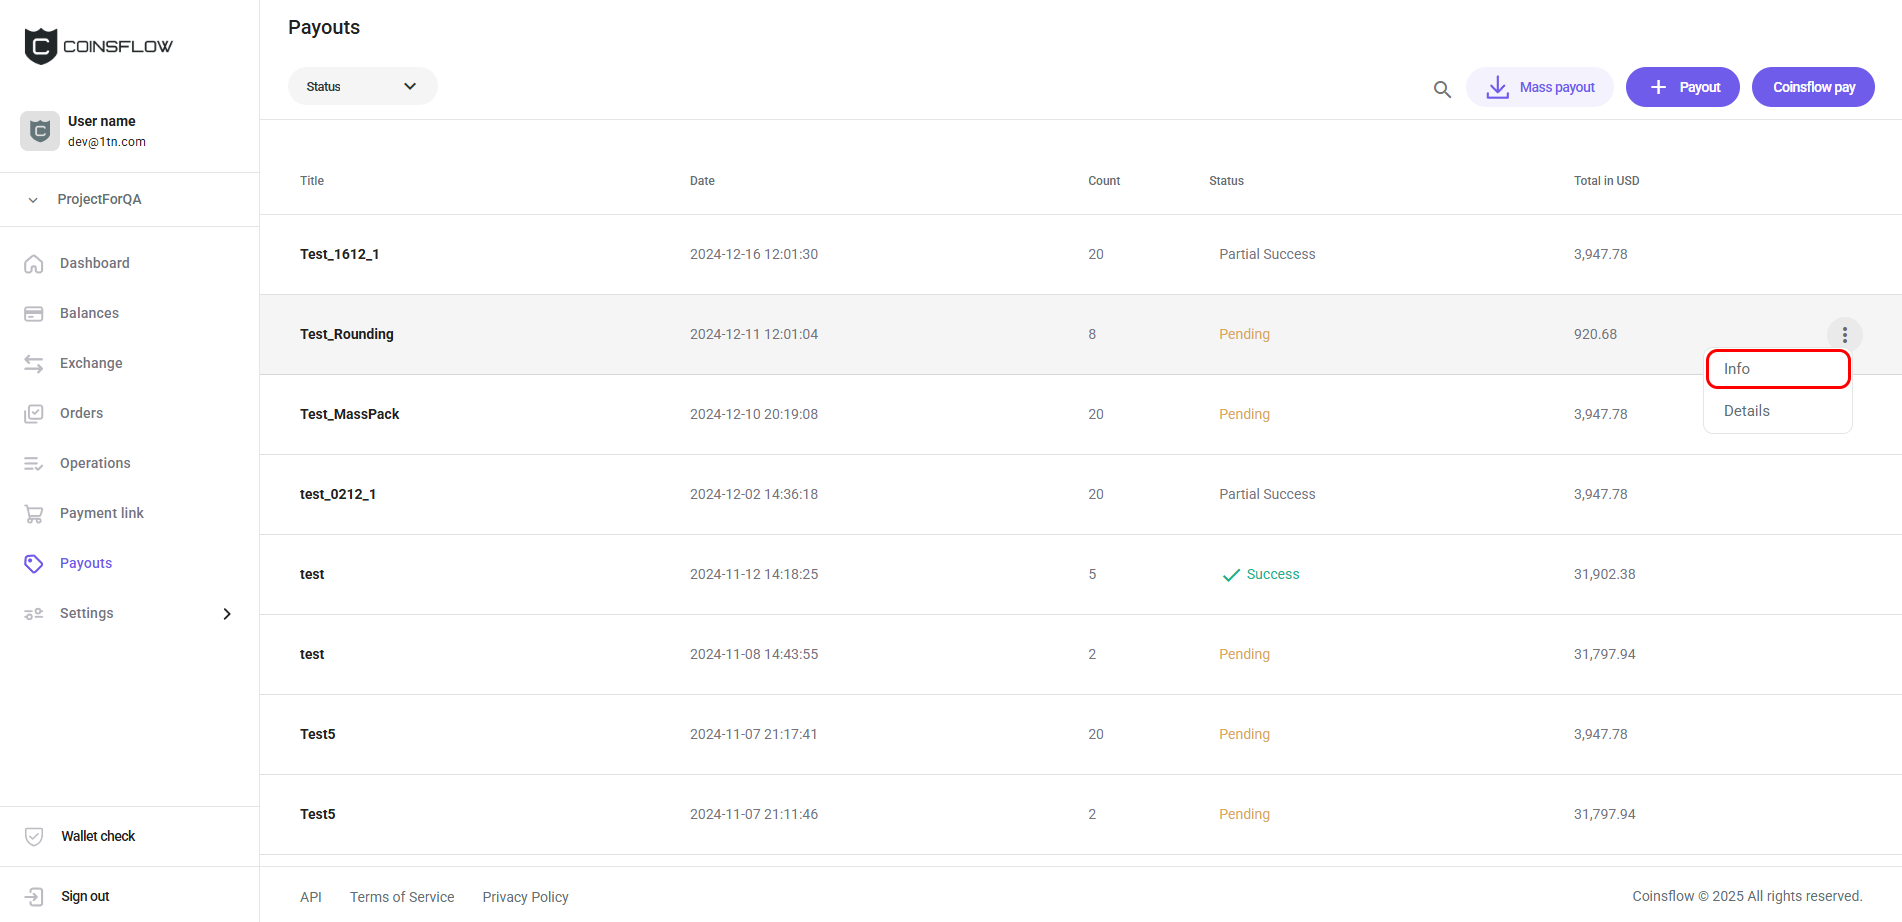
-
The "Payout info" card is displayed:
See the Mass Payout Operation Info
-
Hover over the new entry row, click on the three-dot "Options" button, and then on the "Details" button:
-
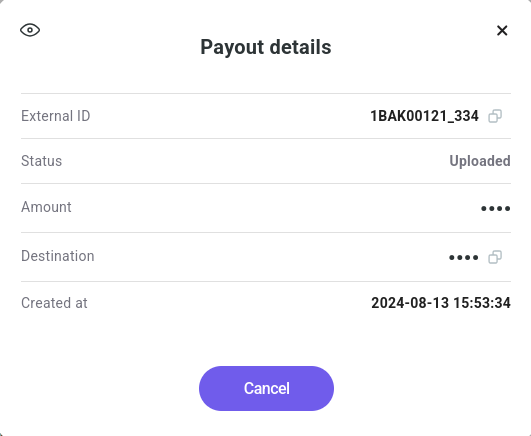
The page displays the entries of the mass payout operation. There hover over the desired entry row, click on the three-dot "Options" button of the desired payout, and then on Details in the drop-down menu:
-
The "Payout details" card is displayed:
Approve a Payout
-
Hover over the new entry row, click on the three-dot "Options" button, and then on the "Details" button:
-
The page displays the entries of the mass payout operation. There click "Approve" next to the desired payout:
-
Confirm the action with your one-time (2FA) password.
You can approve all payouts by clicking on the "Approve all" button:
If the project is configured to require multiple approvals, the Approve button reflects the current approval state and becomes disabled once you have already approved an entry. The batch executes automatically once all required approvals are collected.
Add a Mass Payout Entry
-
Hover over the mass payout you want to add an entry to, click on the three-dot "Options" button, and then on the "Details" button:
-
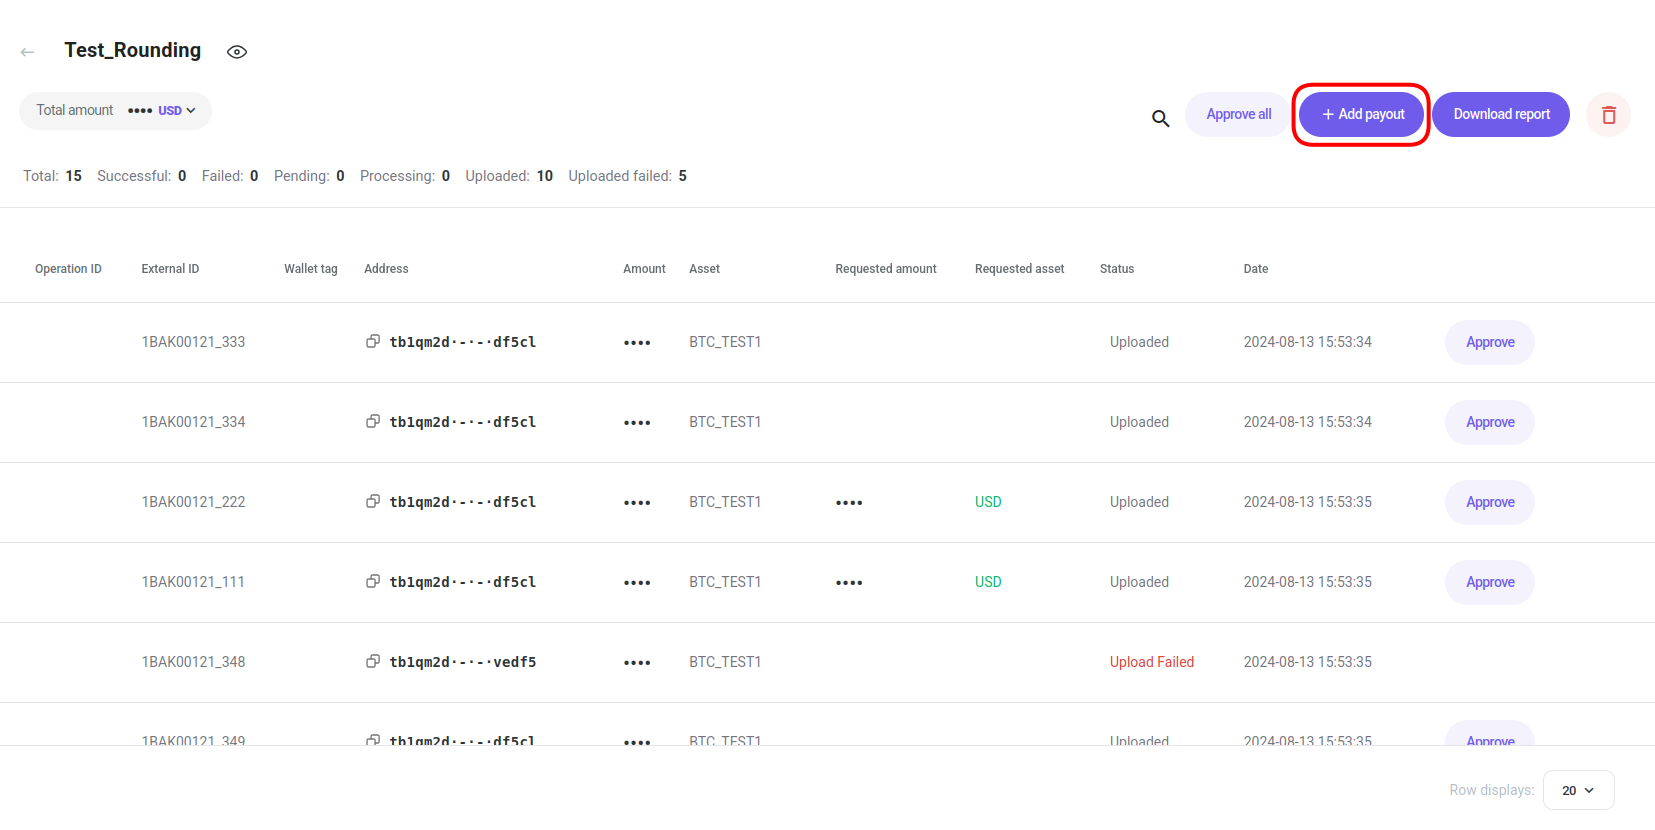
The page displays the entries in the mass payout operation. There click the Add payout button:
-
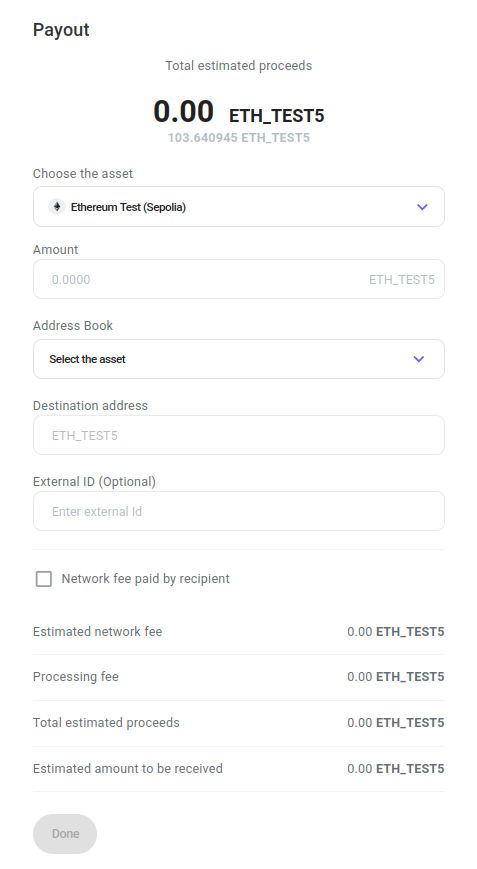
The Payout card is displayed:

-
Select the desired asset to use for the payout operation.
-
The Payout card expands:
-
In "Amount", insert the desired amount of crypto to transfer (from the available crypto for the selected cryptocurrency).
-
Select the the desired address to move the crypto to from the Address Book drop-down list or insert an address in the "Destination address".
-
In "External ID", insert the desired tag for internal purposes (for example, to have the payouts to a specific destination marked with the same tag). This field is optional and it can be left blank.
-
In "Wallet tag", insert the unique numerical code, required by some blockchains, to pair with the deposit address, as an additional Security measure. This field is only visible for some assets and is required when transferring to a centralized exchange.
-
Click on the checkbox to set as "true" if you want the network fees to be paid by the end user:
- If checked: The network fee amount is deducted from the inserted amount (the end user receives the amount minus the network fees).
This is only possible for the native asset of the network and not for the tokens.
- If unchecked: The network fees are added to the amount to pay for the payout operation.
- If checked: The network fee amount is deducted from the inserted amount (the end user receives the amount minus the network fees).
-
The "Estimated network fee" displays the fee to pay based on your asset selection.
-
The "Processing fee" displays the fee to pay based on your Settlement selections.
-
The "Total estimated proceeds" displays the total amount to pay for the Settlement.
-
The "Estimated amount to be received" displays the amount that the user is expected to receive.
-
Click on the "Done" button to proceed (the button becomes clickable when all required fields are filled).
-
Confirm the action with your one-time (2FA) password.
-
The payout operation is created and displayed on the "Mass Payout details" table.
Edit a Payout
-
Hover over the new entry row, click on the three-dot "Options" button, and then on the "Details" button:
-
The page displays the entries in the mass payout operation. There hover over the desired entry row, click on the "Options" button of the desired payout, and Click on Edit from the drop-down menu:

-
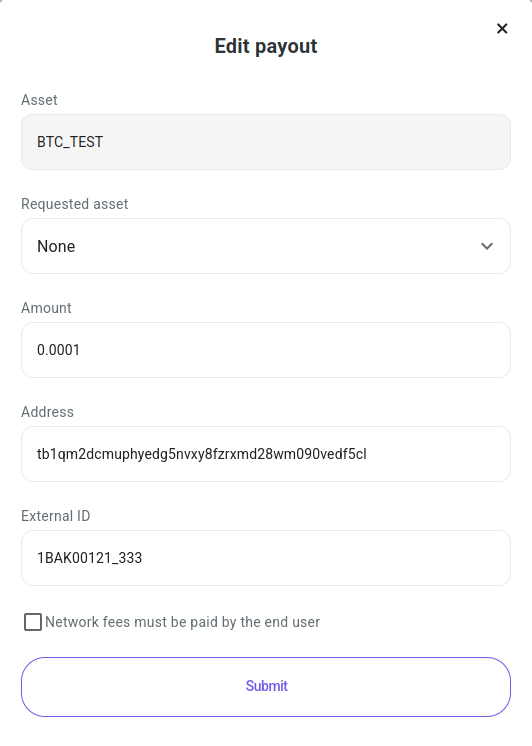
The Edit payout card is displayed:
-
Edit the payout. The following fields are available to edit:
- Requested asset: Select the desired asset from the drop-down menu.
- Amount: Insert the desired amount of the selected asset.
- Address: Insert the desired address to send the amount to.
- External ID: Insert the desired external tag for external purposes.
- Network fees must be paid by the end user checkbox: for supported assets.
-
Click on the Submit button to proceed.
-
The payout entry is changed and displayed in the Mass Payout details table.
Delete a Mass Payout entry
-
Hover over the new entry row, click on the three-dot "Options" button, and then on the "Details" button:
-
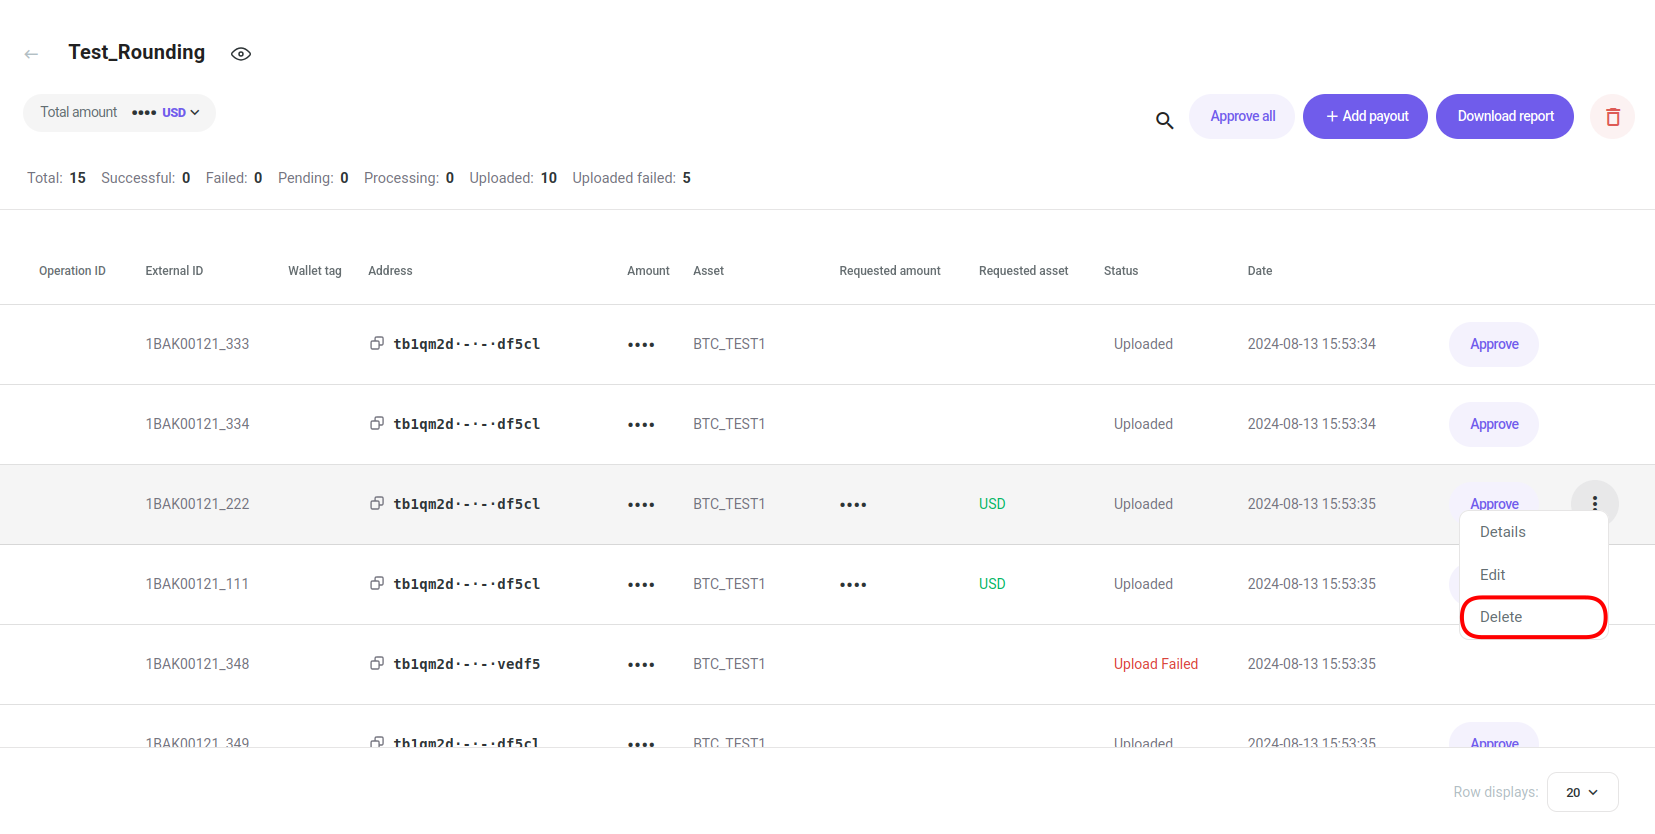
The page displays the entries in the mass payout operation. There hover over the desired entry row, click on the "Options" button of the desired payout, and Click on Delete from the drop-down menu:
-
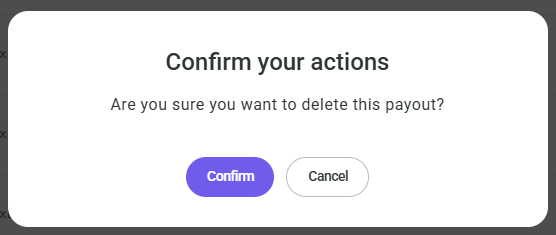
A pop-up card is displayed requiring confirmation:
-
Click on the Confirm button to proceed.
-
The mass payout entry is deleted and removed from the "Mass Payout details" table.
The "Delete" button is only available if the entry is in PENDING status.
Retry Failed Payouts
-
Hover over the new entry row, click on the three-dot "Options" button, and then on the "Details" button:
-
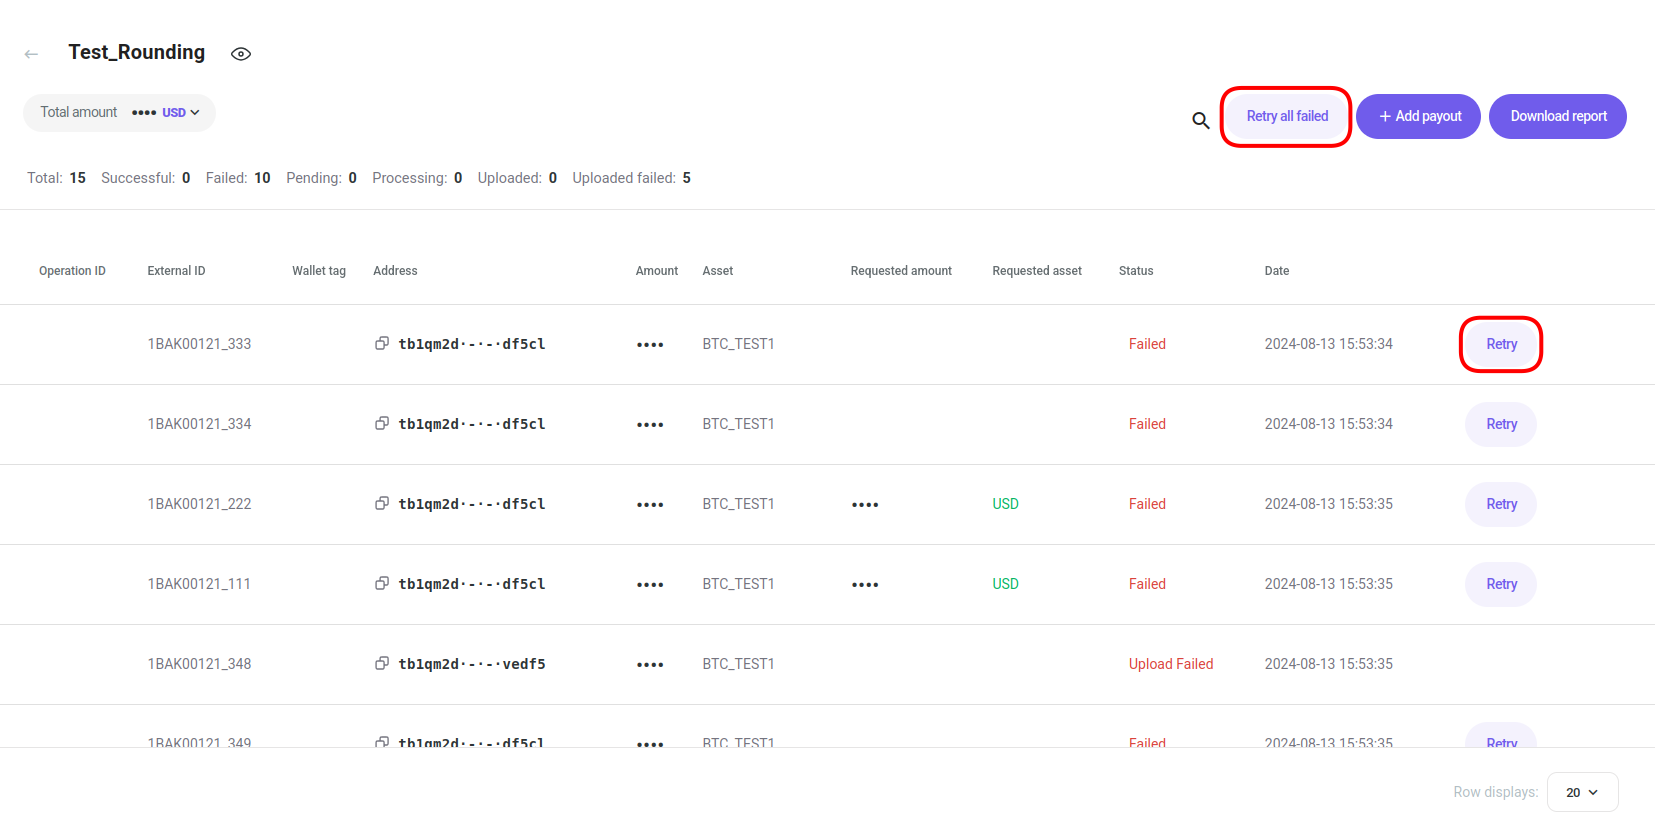
The page displays the entries in the mass payout operation. There click on the Retry all failed button, or on the Retry button of a single payout entry you want to retry:
Download Mass Payout Report
-
Hover over the new entry row, click on the three-dot "Options" button, and then on the "Details" button:
-
The page displays the entries in the mass payout operation. There click on the Download report button:

Using Coinsflow Pay
-
Click on the "Coinsflow pay" button:
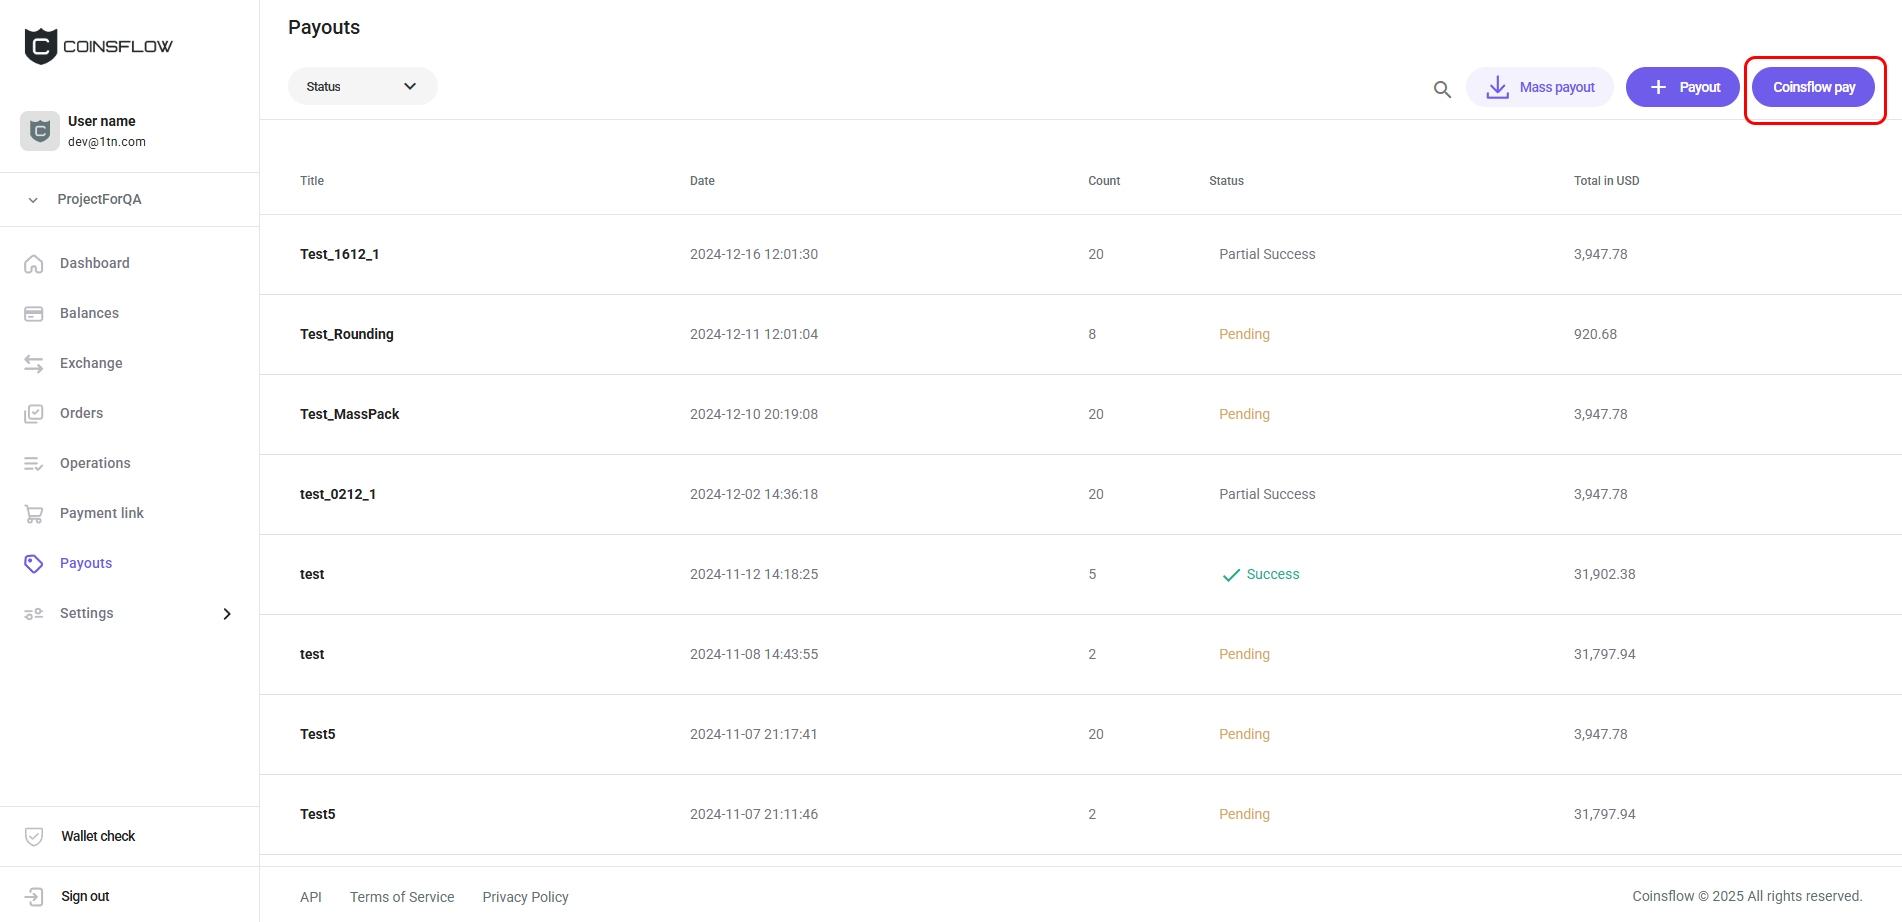
-
The Coinsflow pay card is displayed:
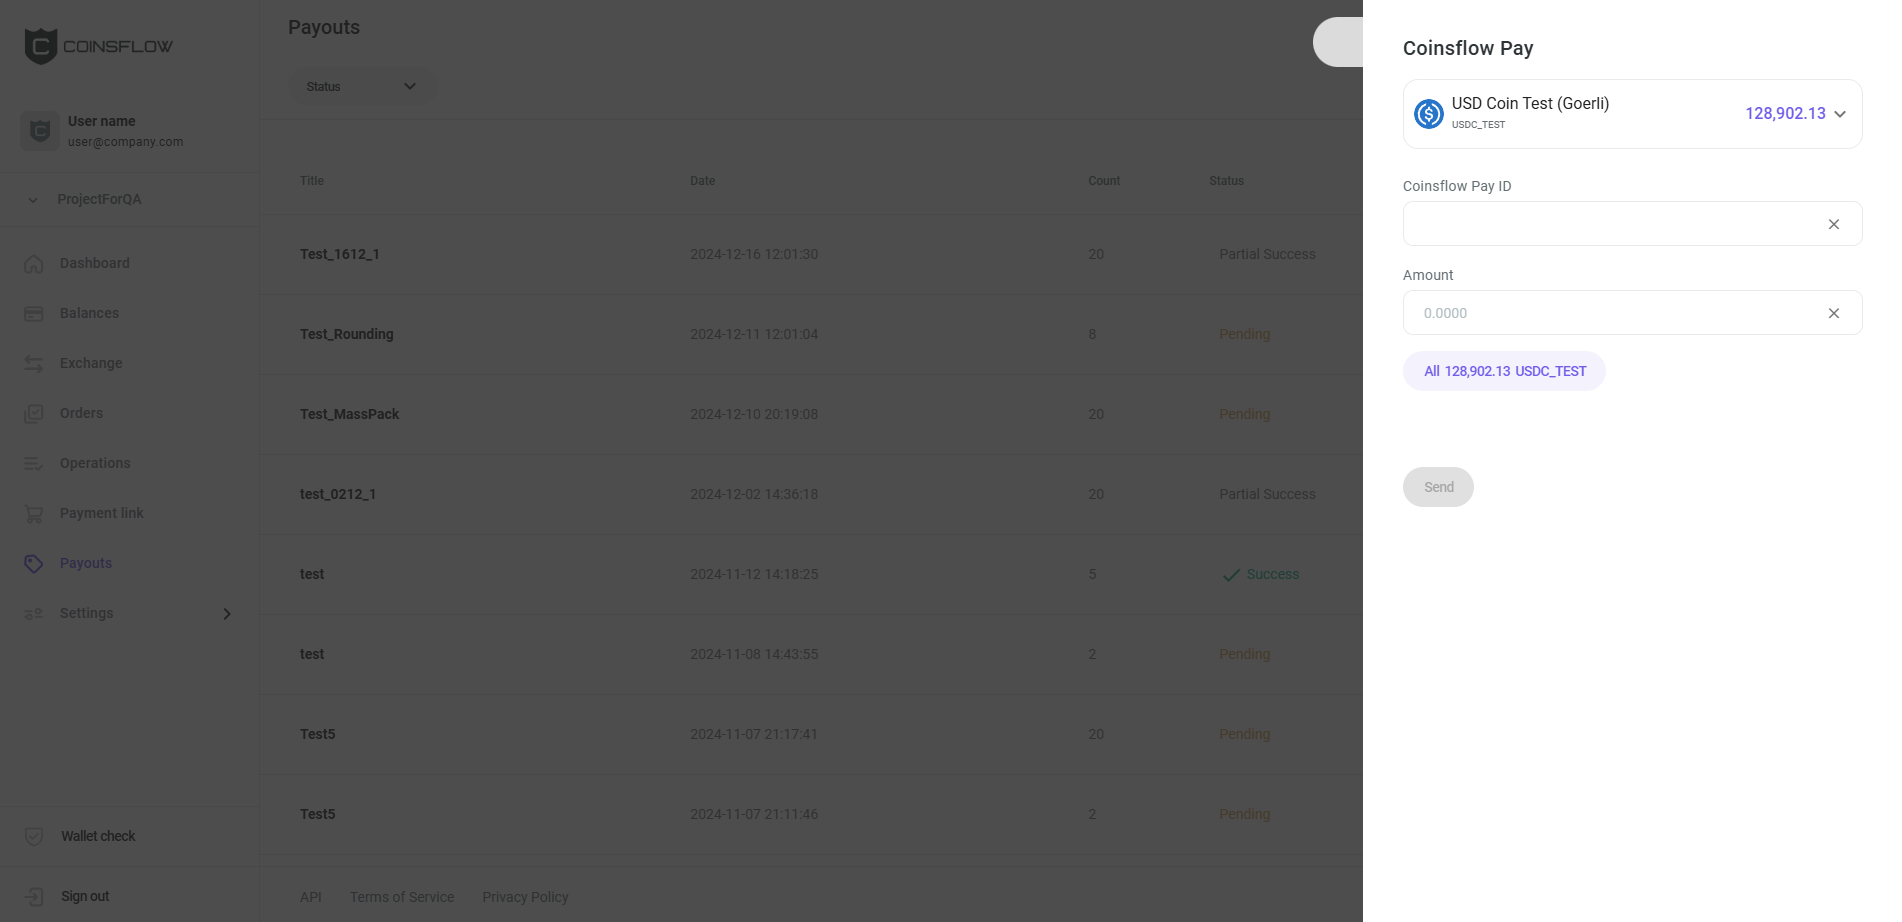
-
Select the desired asset to transfer (if it is not displayed already).
-
Insert the desired Coinsflow pay id to transfer the asset to.
-
Insert the desired amount of the selected asset to transfer to (click on the "All" button to transfer the total amount of the asset).
-
Click on the "Send" button to proceed.
-
Confirm the action with your one-time (2FA) password.
-
The inserted amount of the selected asset is transferred to the indicated project.
-
The operation is created and displayed on the Operations table, on the Operations tab, under the Outgoing transfer type (the recipient sees the same operation with the Incoming transfer type). The amount used on the pay operation is subtracted from the balance of the selected asset and the balance of that asset is updated on the Balances table on the Balances tab.