API & Callback Tab
The API & Callbacks tab allows you to configure backend keys and URL for proper monitoring and access to the service.
The API & Callback tab has the following sections with the available actions:
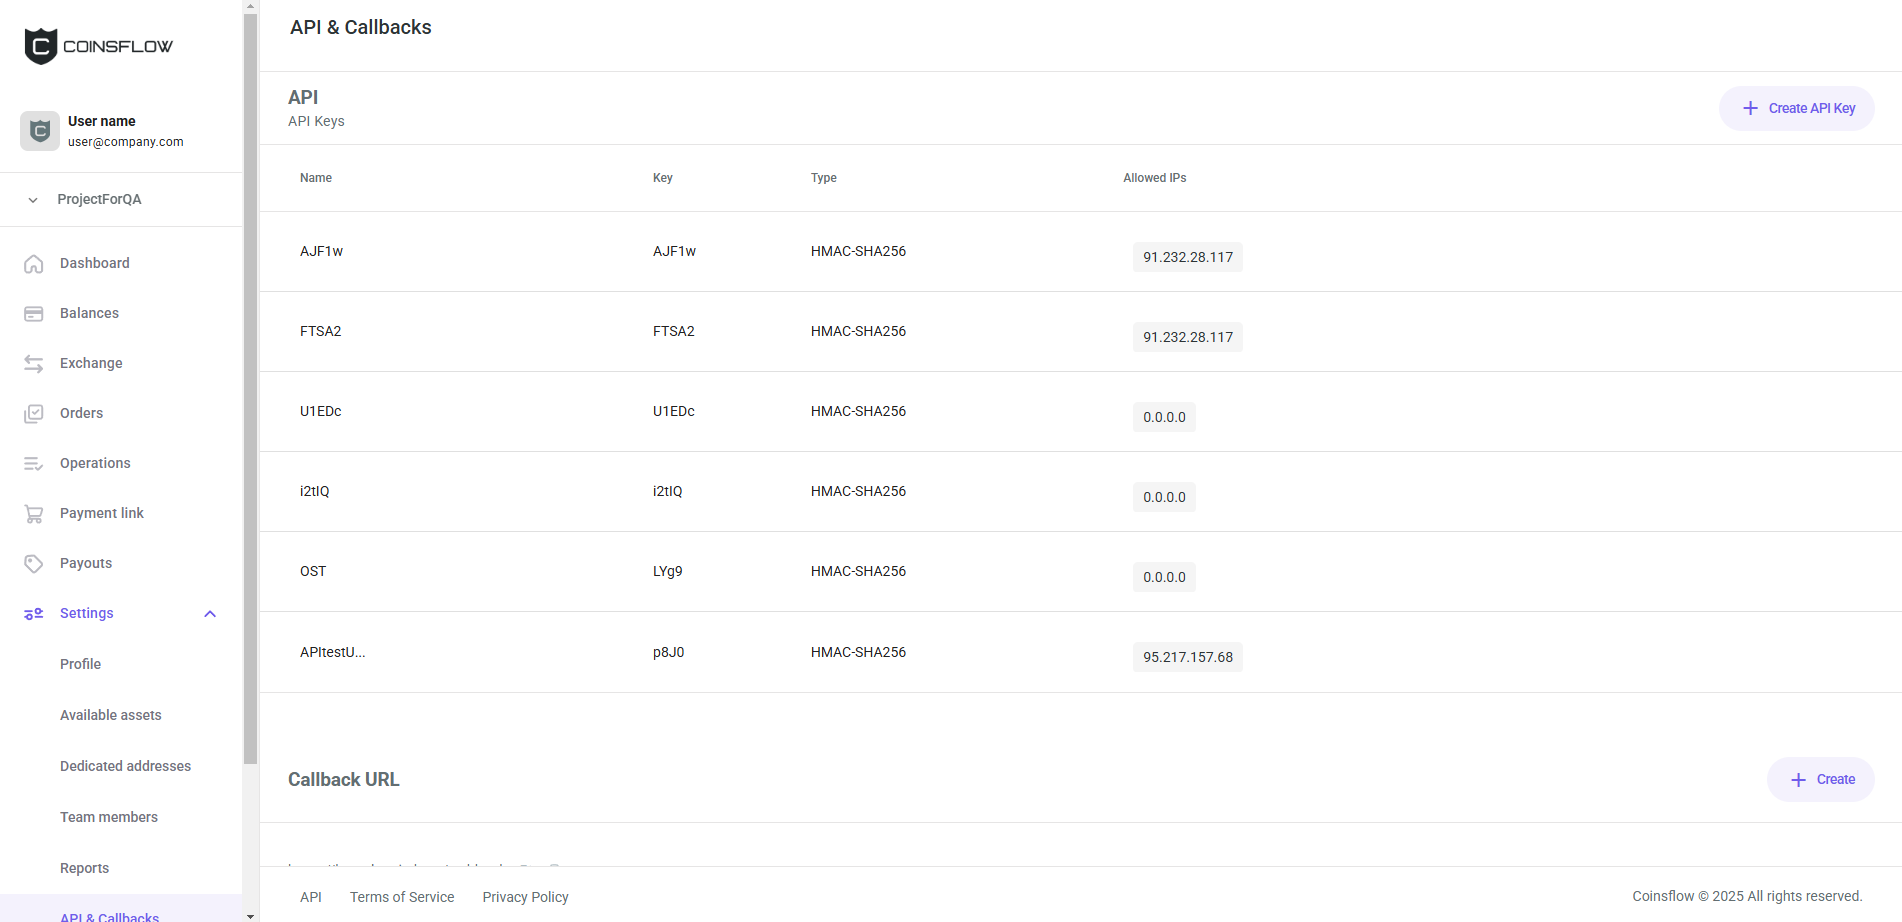
API
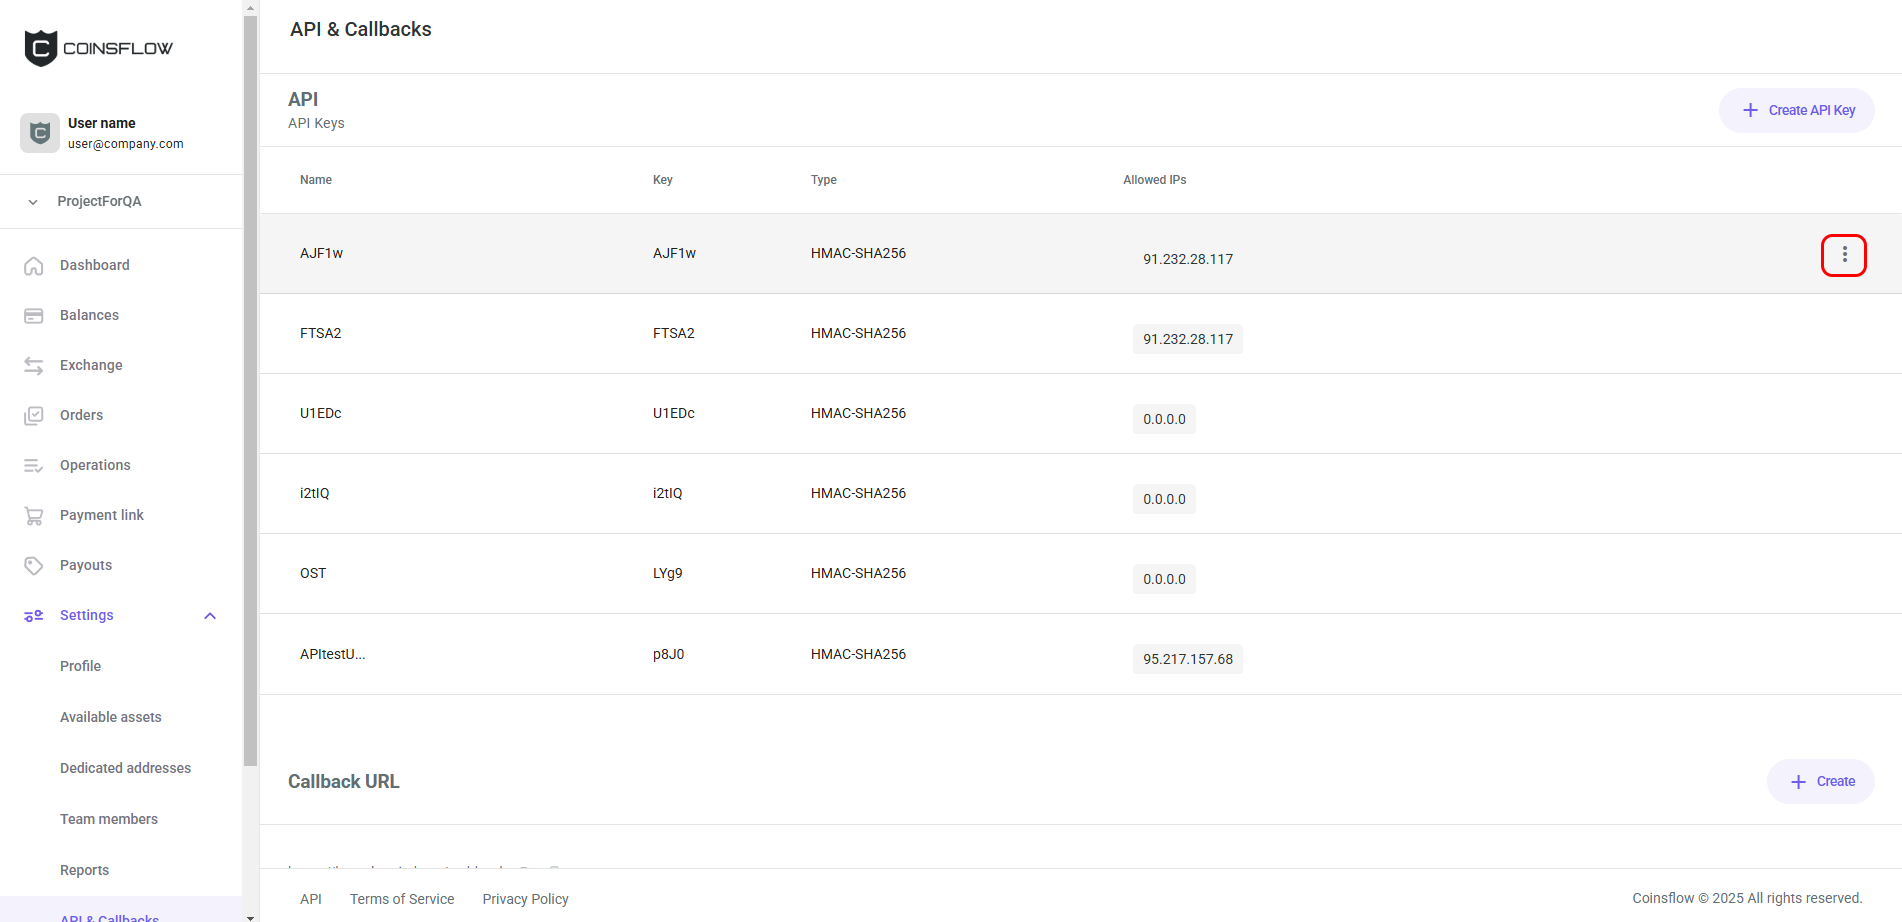
The "API Keys" table displays the following columns:
| Name | Description |
|---|---|
| Name | Displays the name that identifies the API key on the platform. |
| Key | Displays the unique code that identifies the API key. |
| Type | Displays the signature key type. |
| Allowed IPs | Displays the list of IPs whitelisted for the API key. |
| Permissions | Displays the set of permissions granted to the API key. |
On the API section you can:
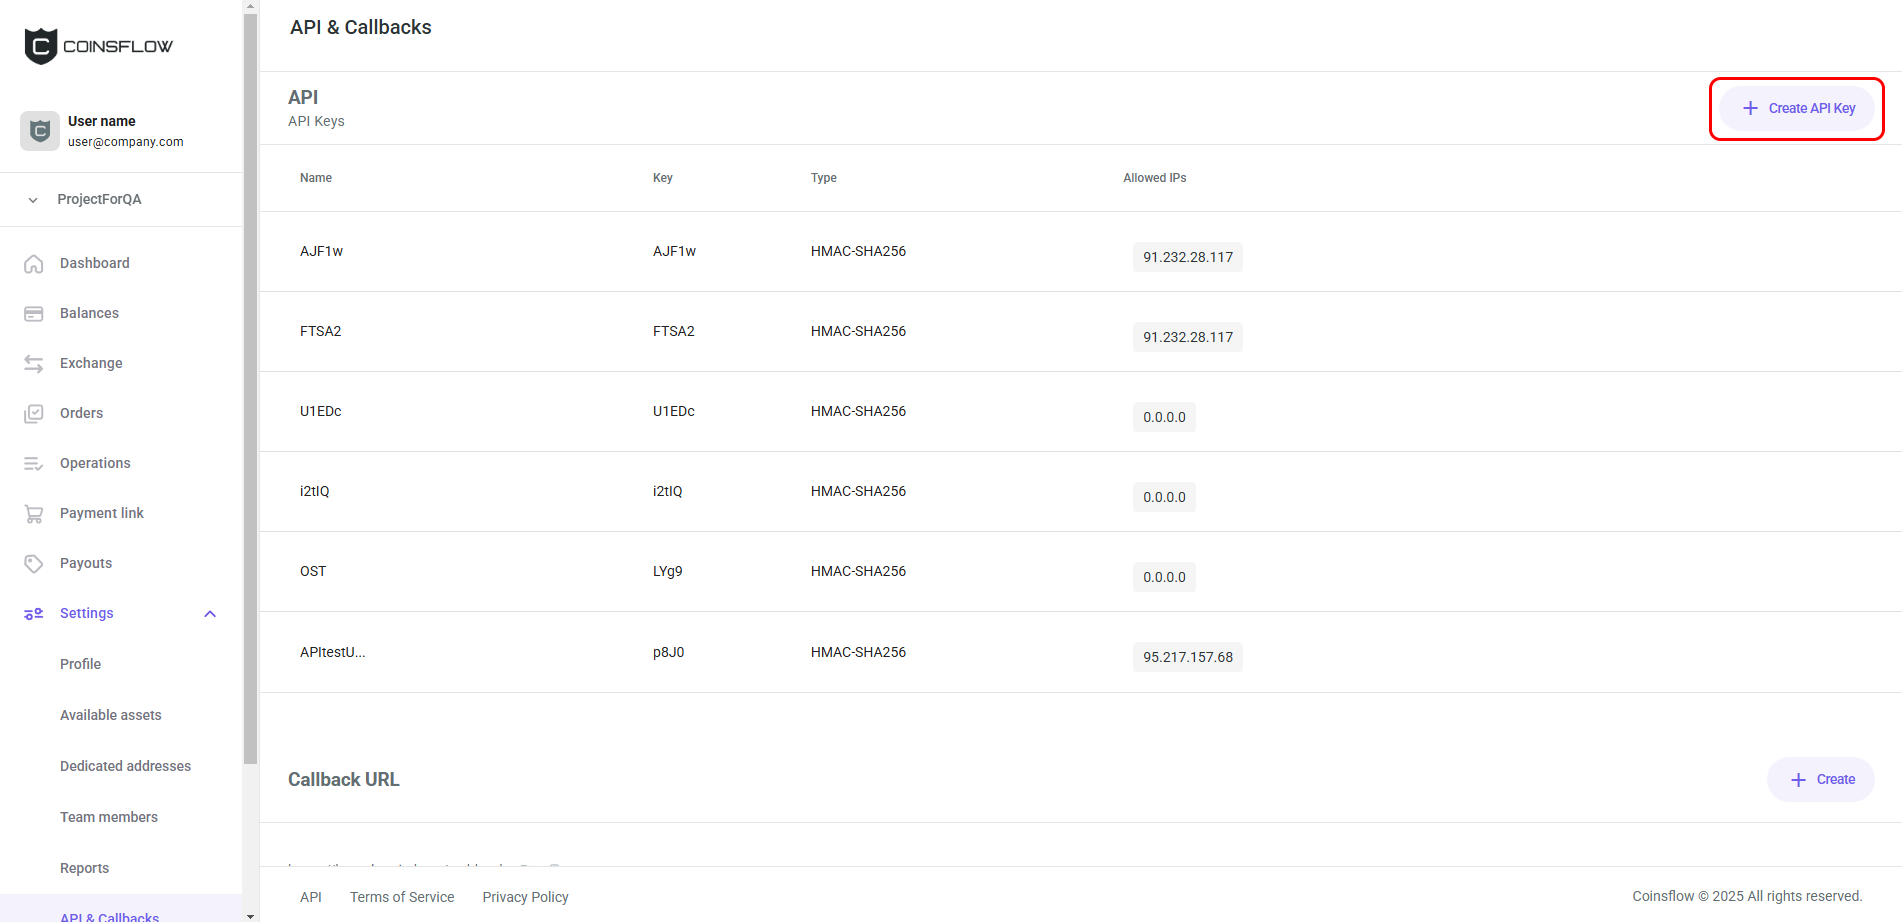
Create an API Key
-
Click on the "Create API key" button:
-
The "Creat API Key" card is displayed:

-
Insert the desired name to identify the API key on the platform.
-
Insert the desired whitelisted IP's (You can insert as many IPs as needed, separated by commas e.g.: "10.10.0.0/24,94.26.3.133").
If left empty, all IP addresses are allowed, without any restrictions.
-
Select the desired permissions to grant to the API key from the "Permissions" list.
-
Click on the "Save" button to proceed.
-
The API key is associated with your account and displayed in the API Keys table.
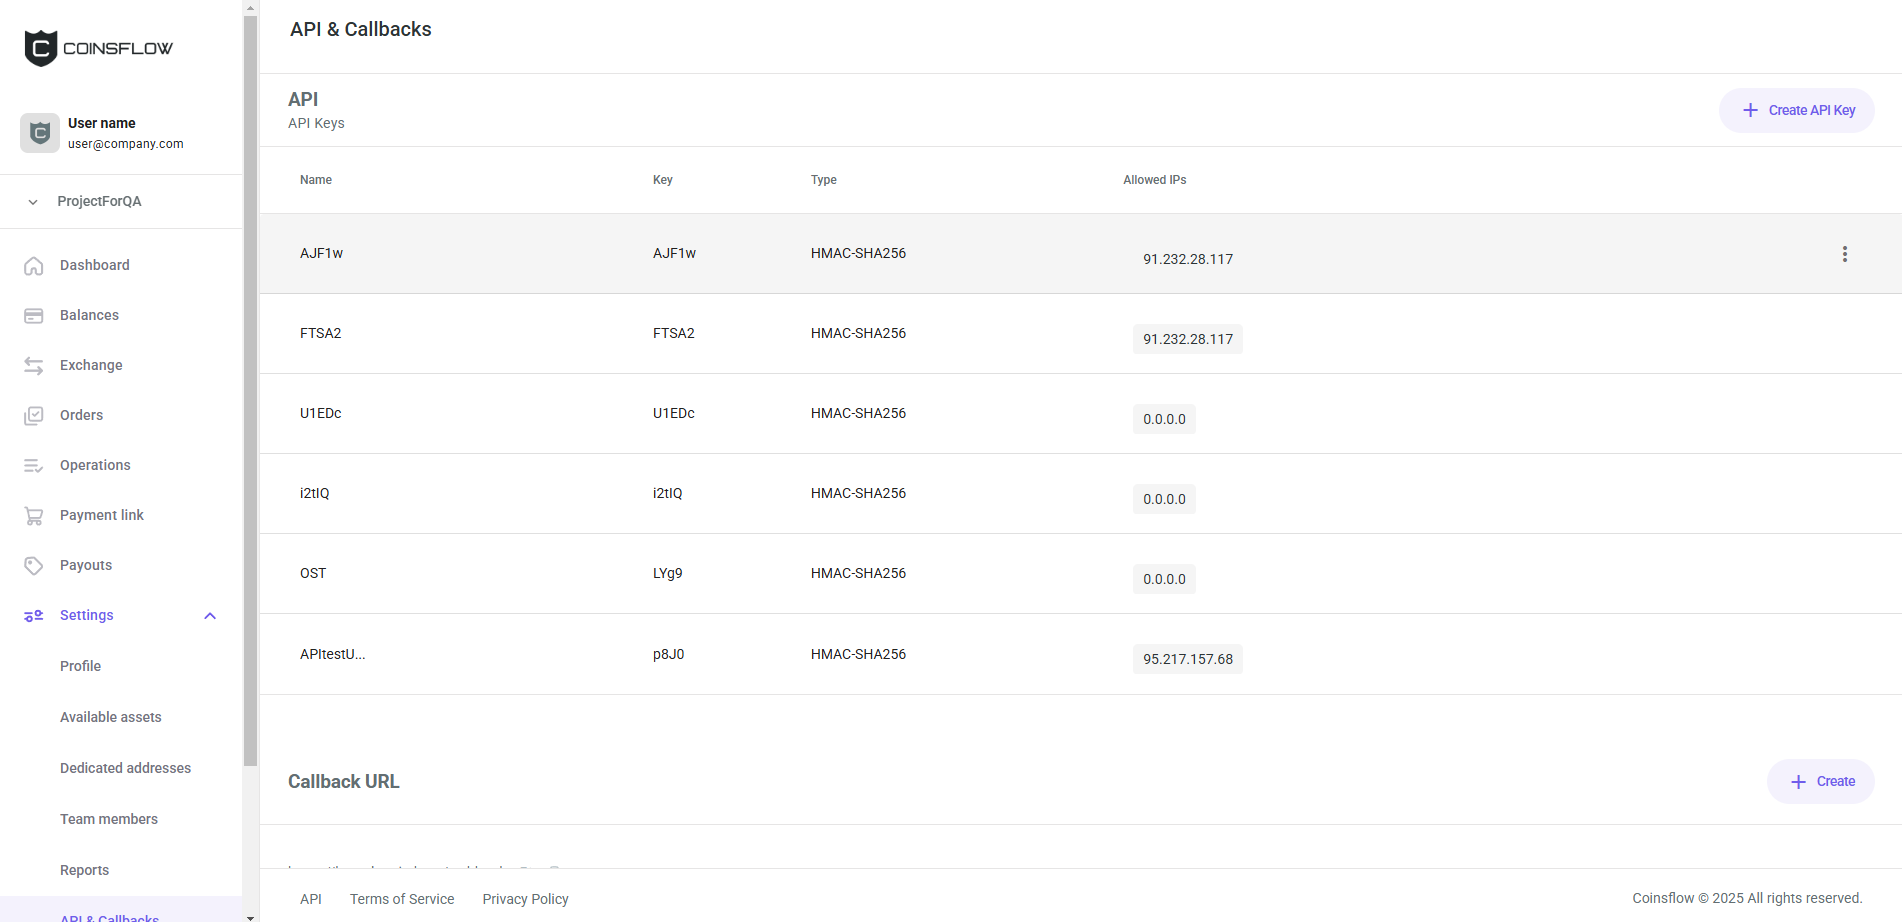
Edit an API Key
-
Hover over the desired API key:
-
Click on the "Options" button of the desired row:
-
Click on "Edit" from the drop-down menu:

-
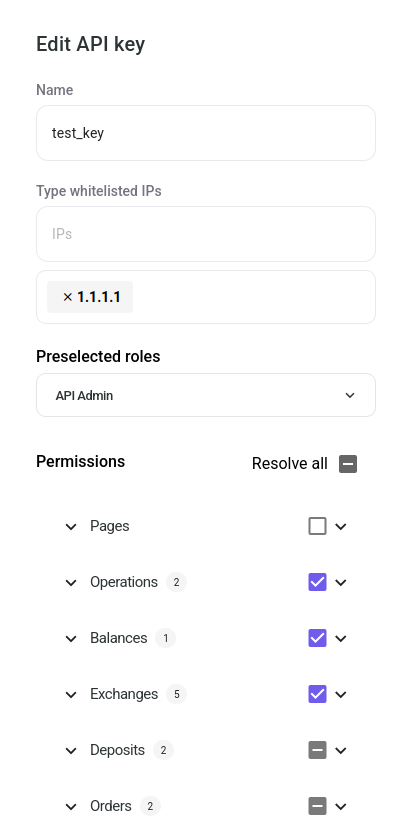
The "Edit API key" card is displayed:
-
Insert the desired new name to asscoiate with the API key.
-
Insert the new IPs to whitelist.
-
Adjust the permissions in the "Permissions" list as needed.
-
Click on the "Save" button to proceed.
-
The API key is updated and displayed with the new information in the API keys table.
Delete an API Key
-
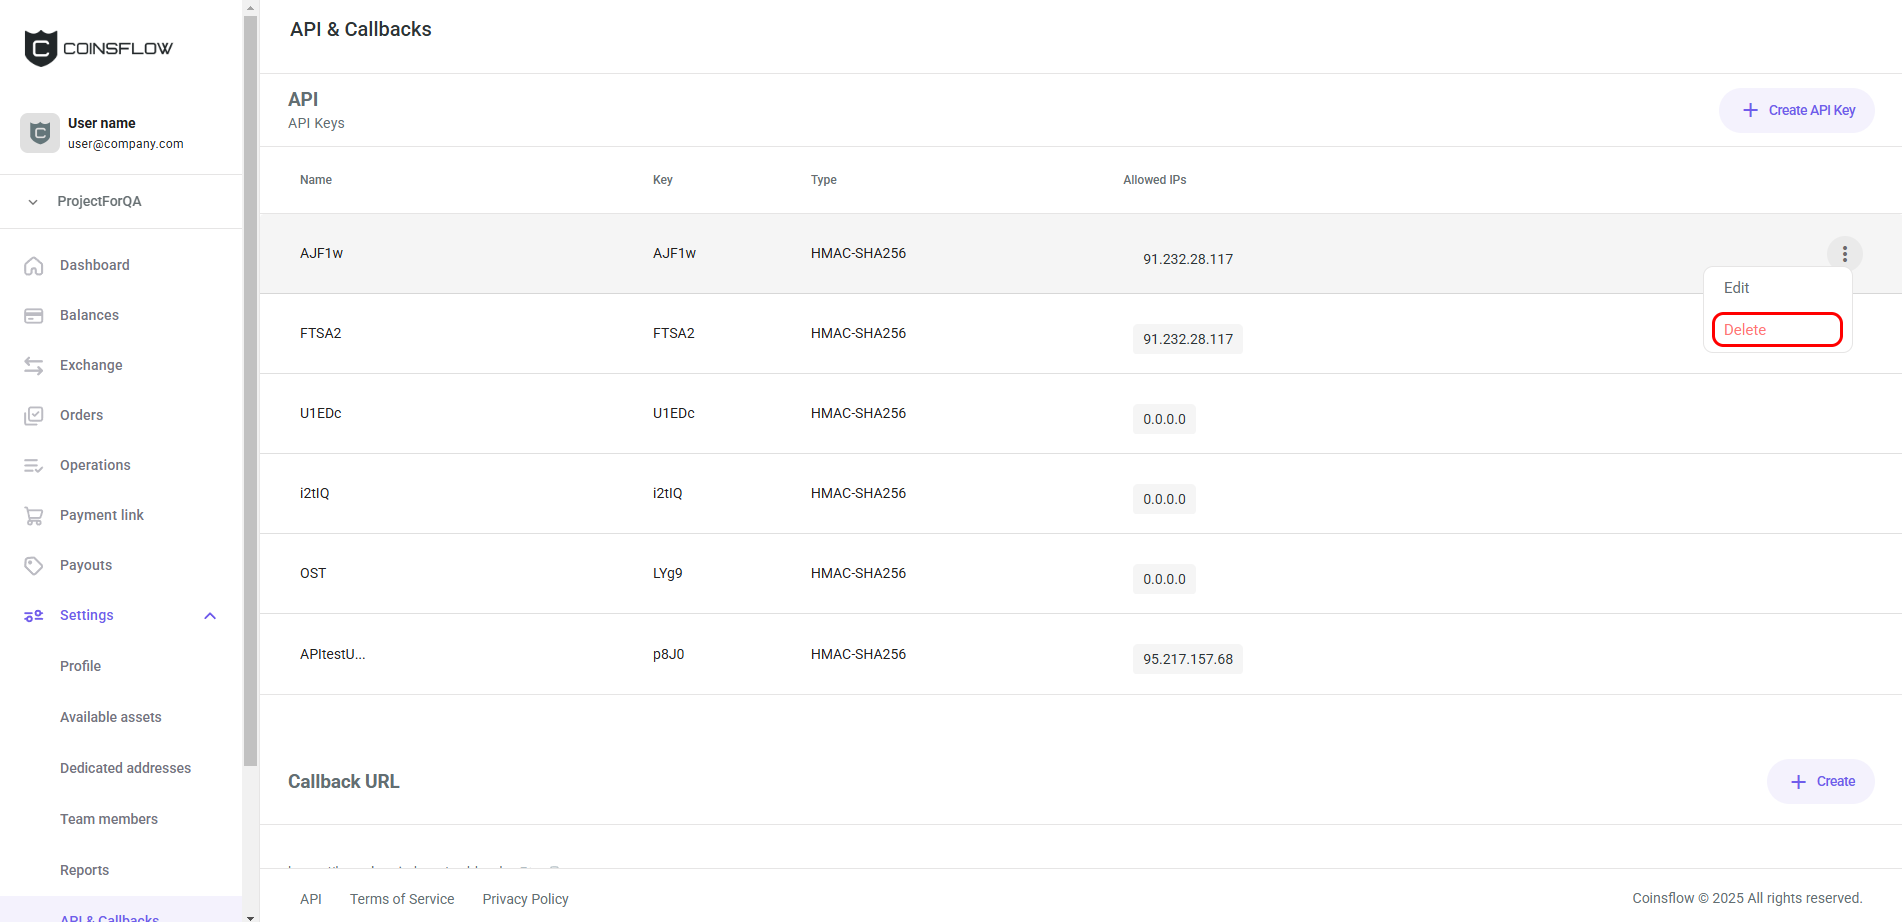
Hover over the desired API key:
-
Click on the "Options" button of the desired row:
-
Click on "Delete" from the drop-down menu:
-
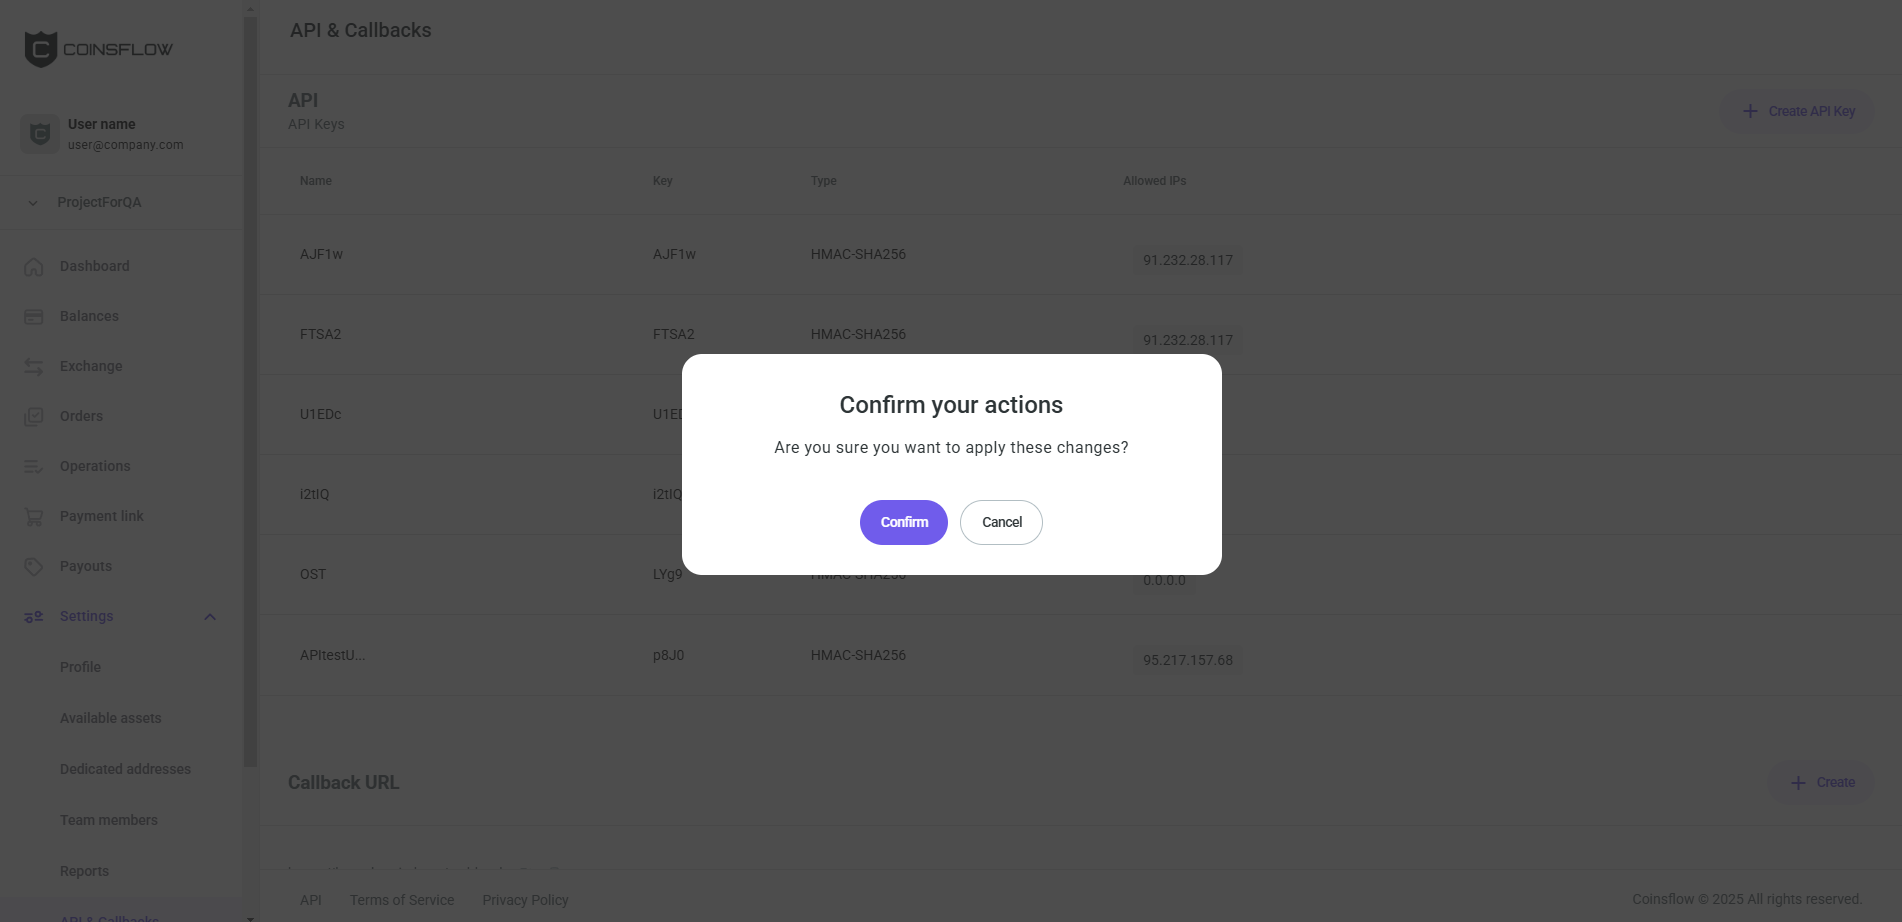
A confirmation pop-up card is displayed:
-
Click on the confirm button to proceed.
-
The API key is deleted and removed from the API keys table.
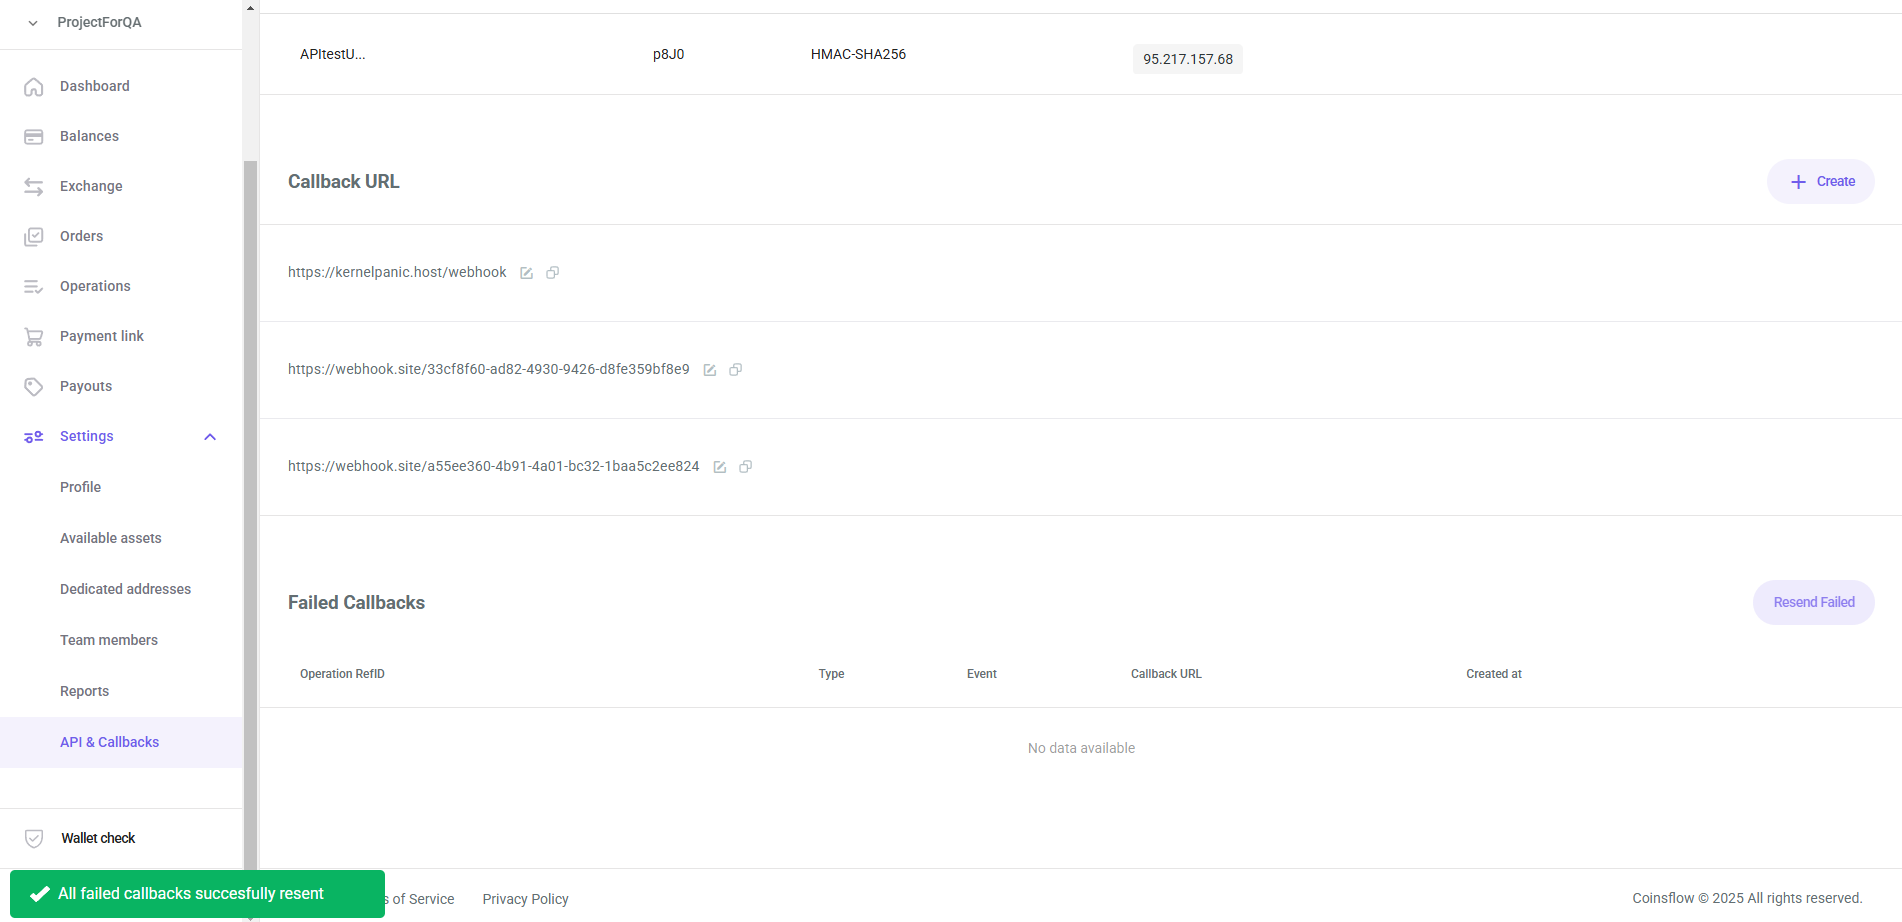
Callback URL
Callback is a server response that happens when an event is triggered. This way the system executes something when a specific event occurs. Callback url is the url path to where the response is directed to. For each event a callback url is required.
To learn more about callbacks, click here.
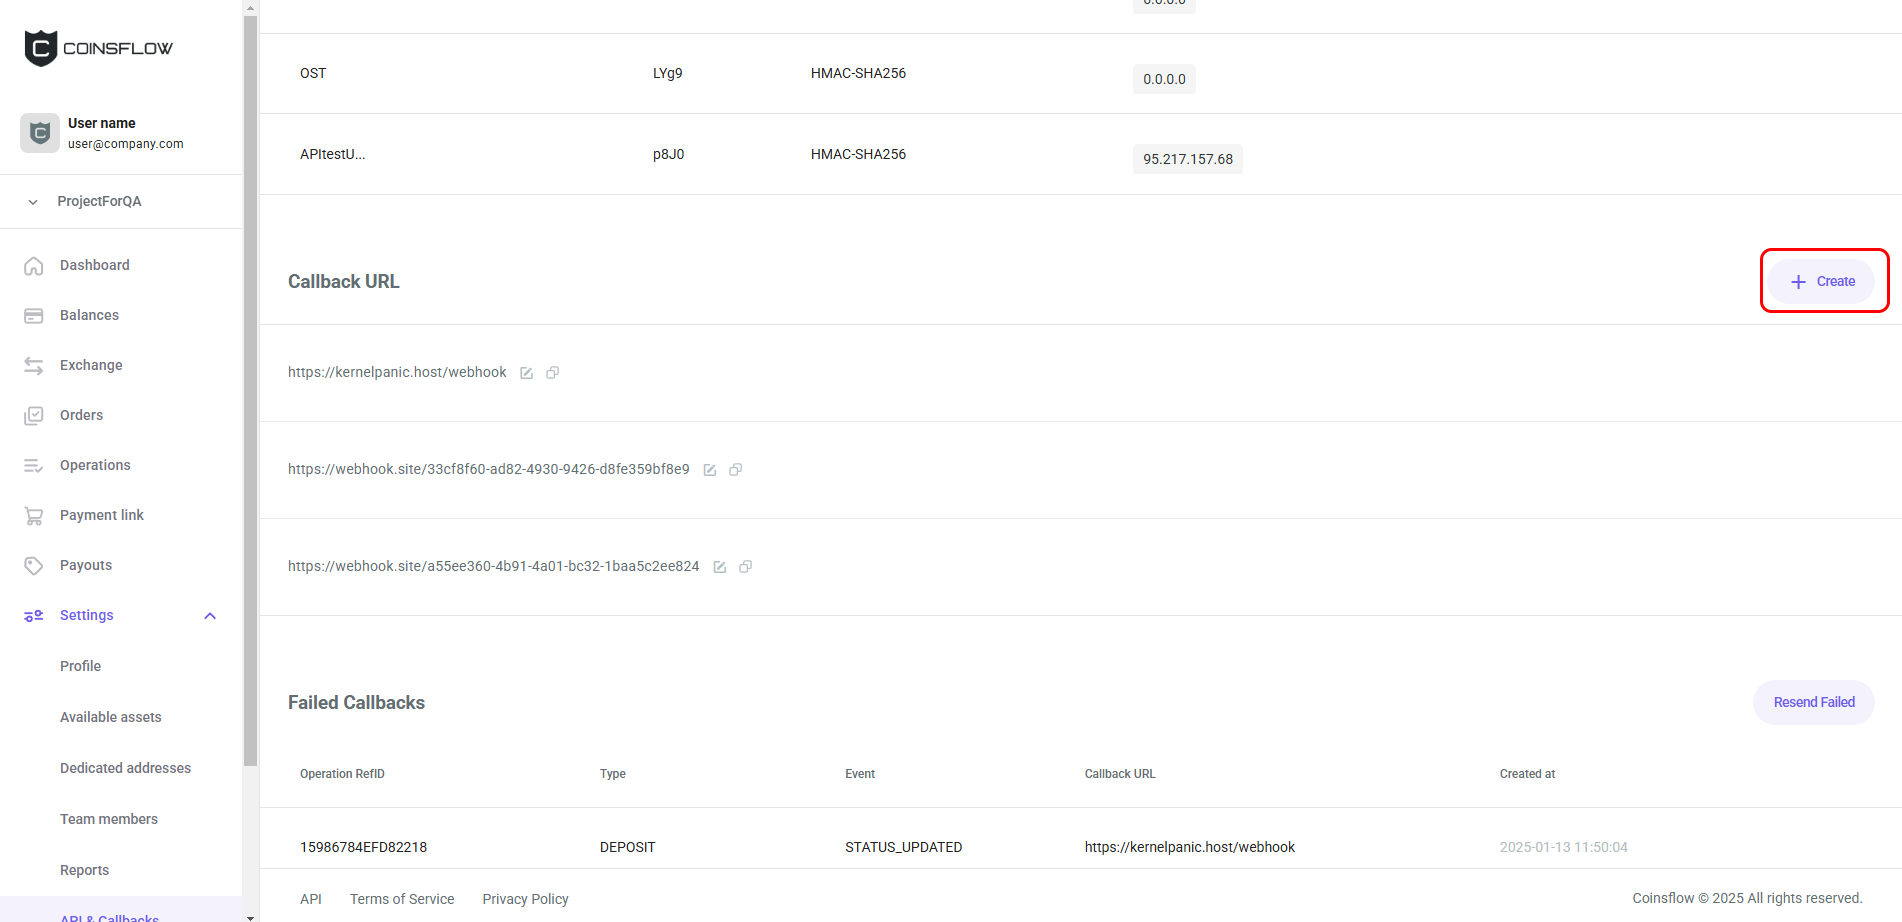
On the Callback URL section you can:
Add a Callback URL
-
Click on the "create" button:
-
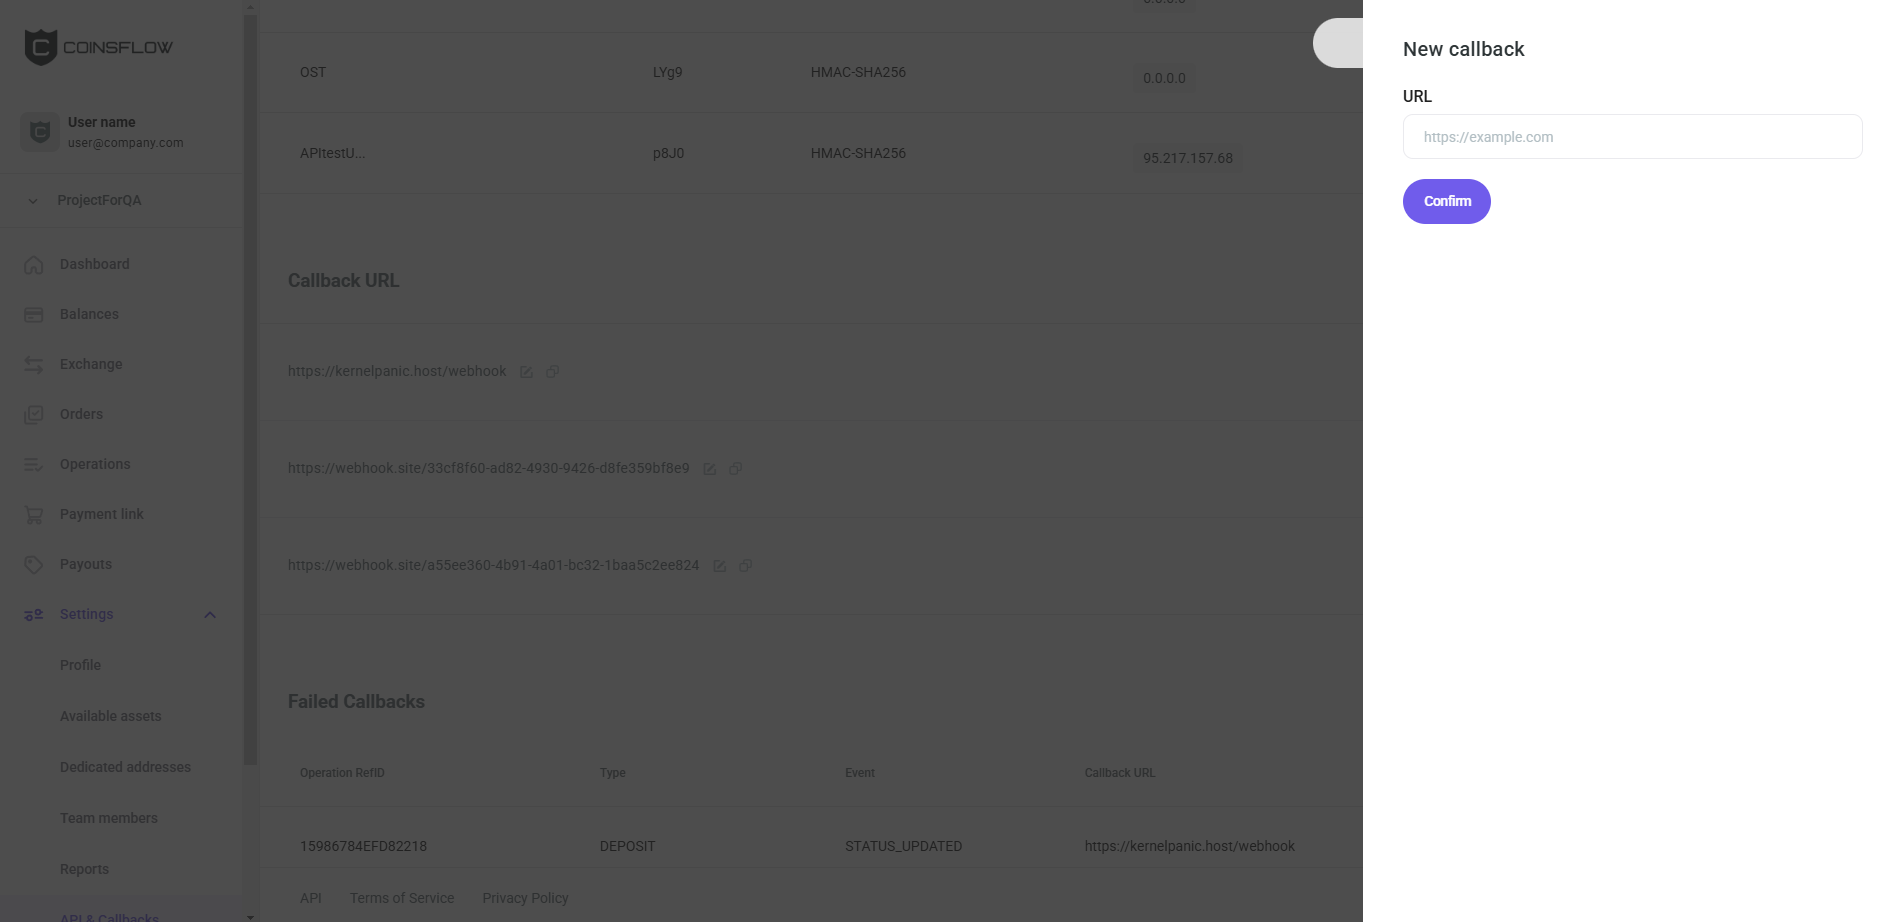
The "New callback" card is displayed:
-
Insert the desired url for the callback.
-
Click on the "Confirm" button to proceed.
-
The new callback url is displayed on the "Callbacks URL" table.
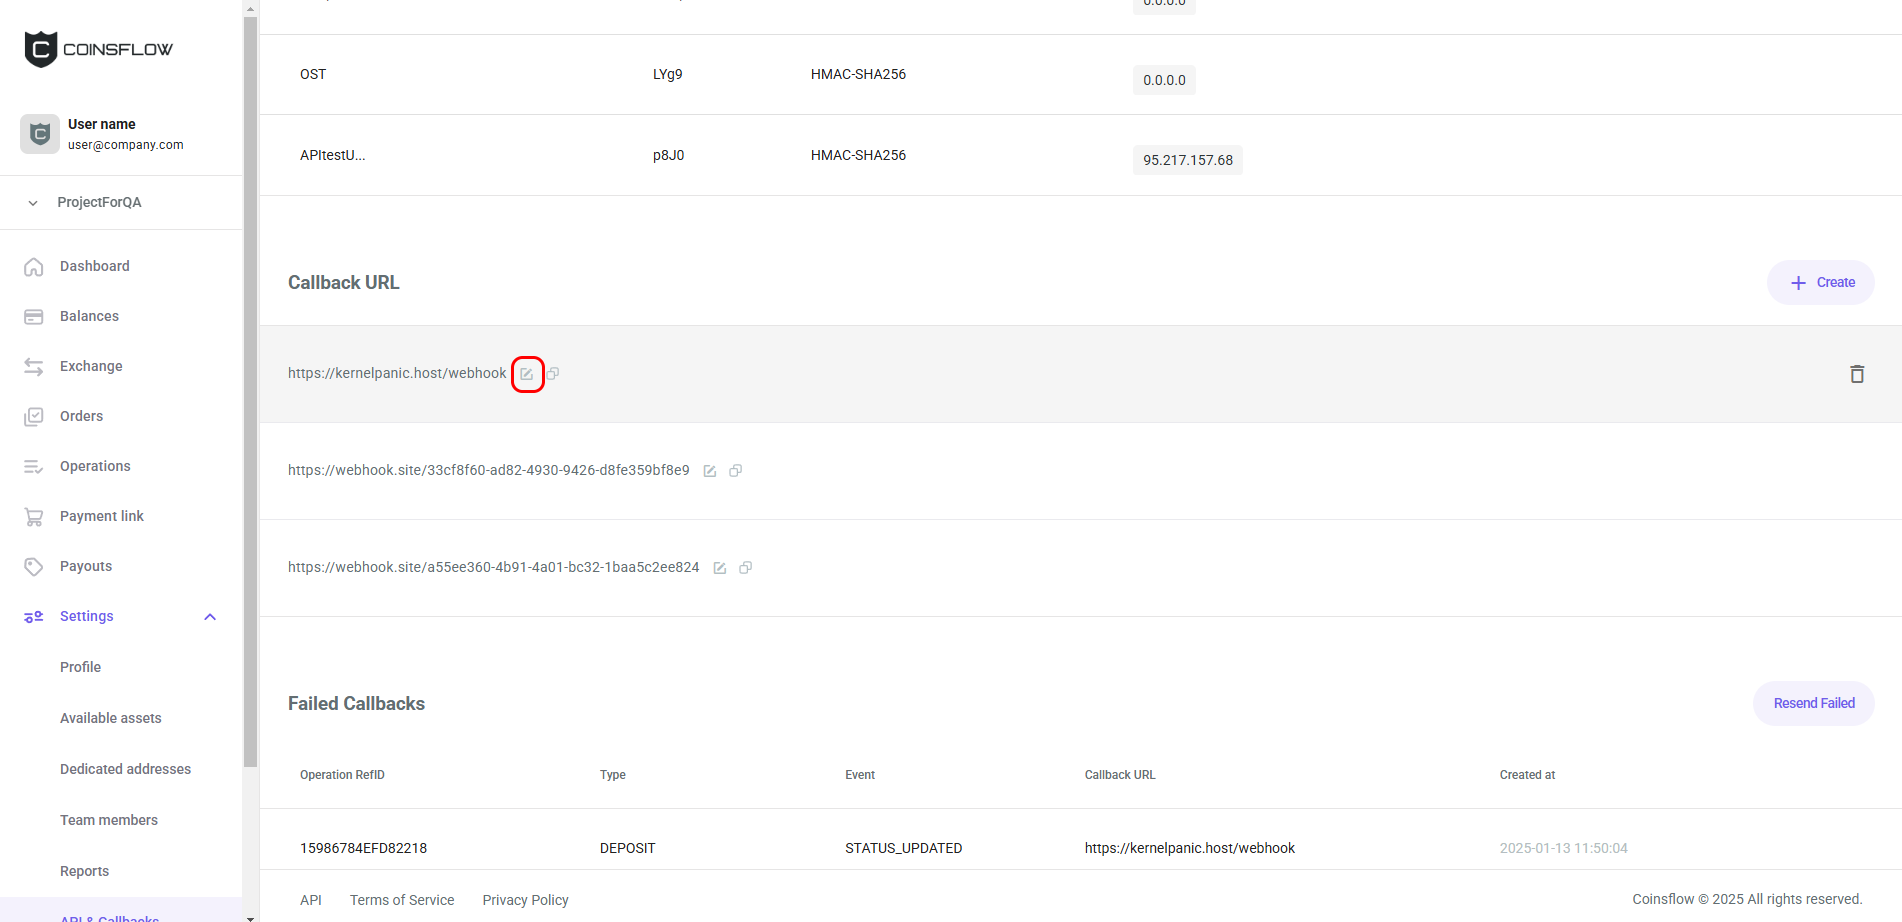
Edit a Callback URL
-
Hover over the desired callback URL row:

-
Click on the "Edit" button of the desired callback url row:
-
The "Edit callback" card is displayed:

-
Insert the desired url.
-
Click on the "Confirm" button to proceed.
-
The edited callback url is displayed in the "Callbacks URL" table.
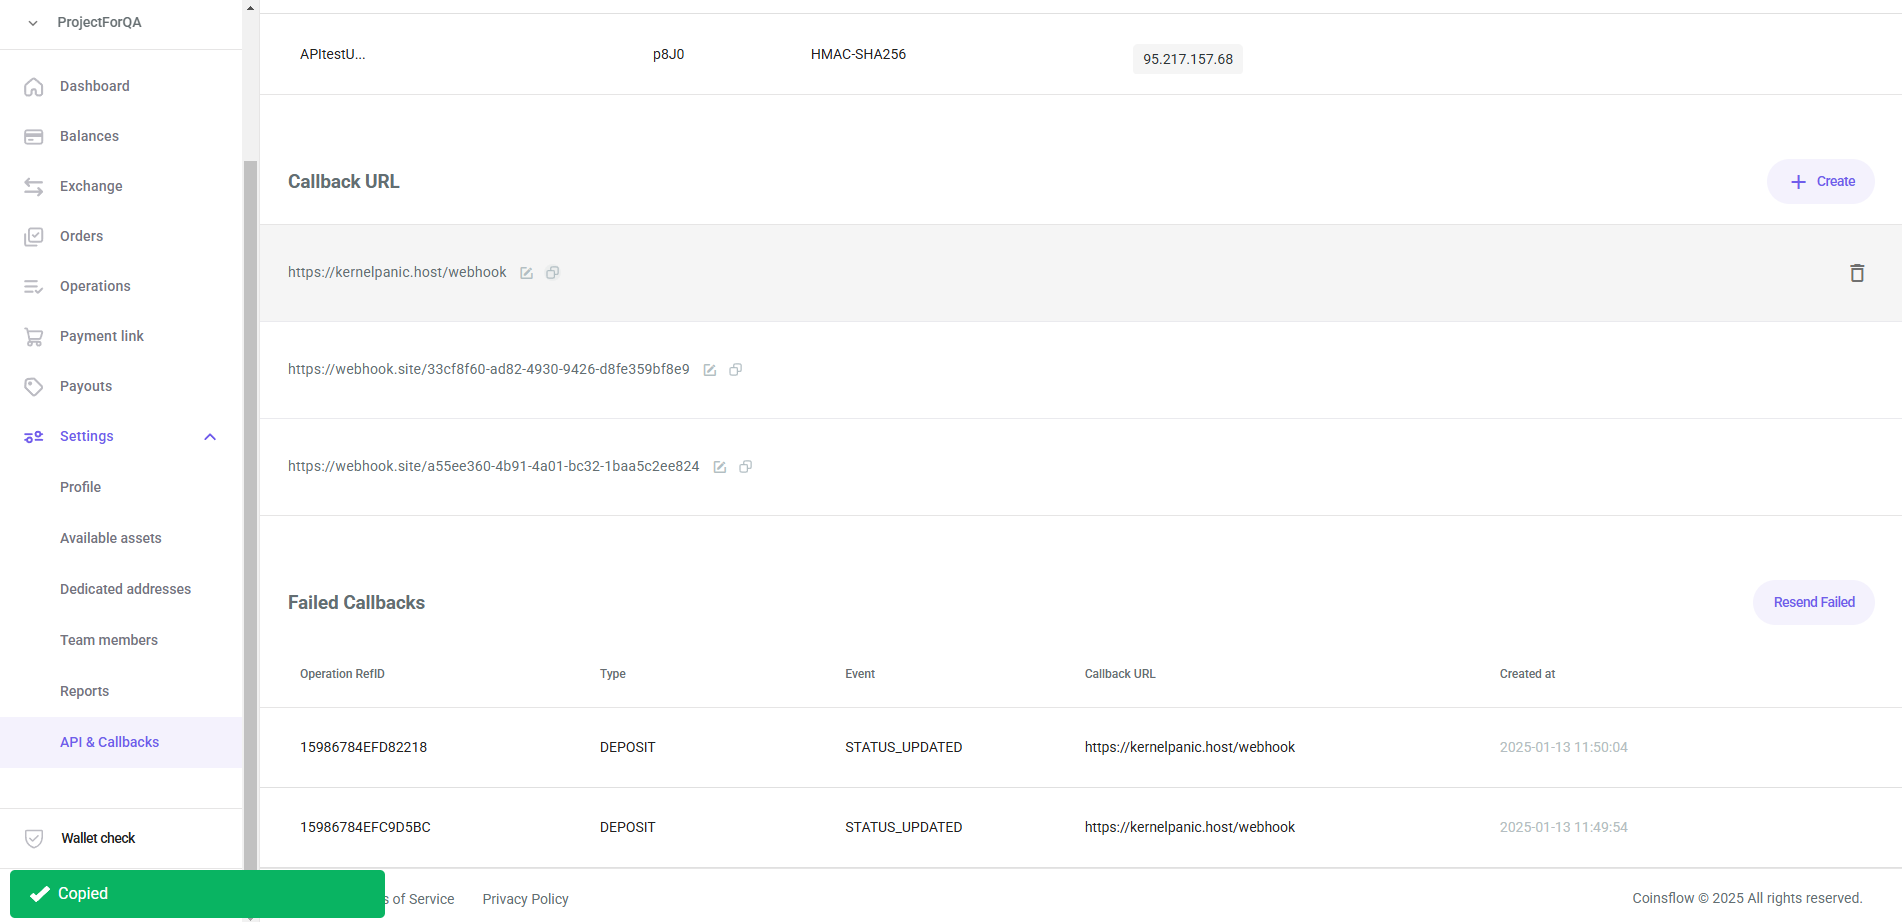
Copy a Callback URL
-
Hover over the desired callback URL row:
-
Click on the "Copy" button of the desired callback url row:

-
The callback URL is copied and a notification confirms it:
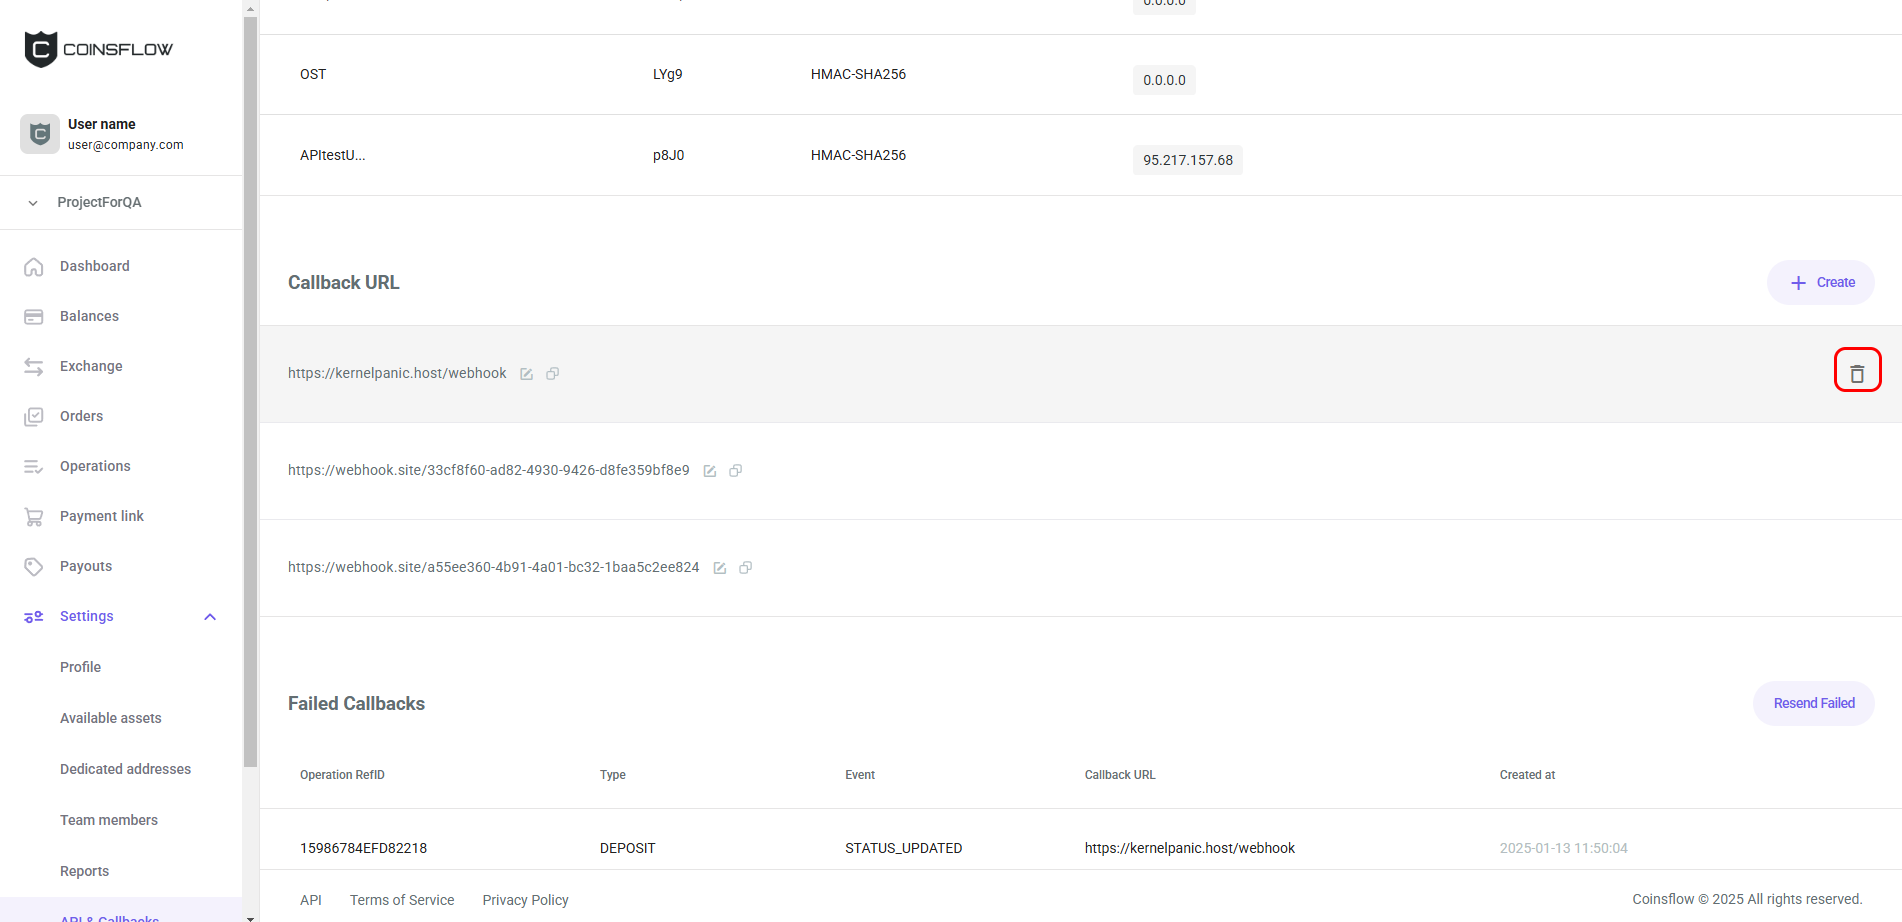
Delete a Callback URL
-
Hover over the desired callback URL row:
-
Click on the "Delete" button of the desired callback url row:
-
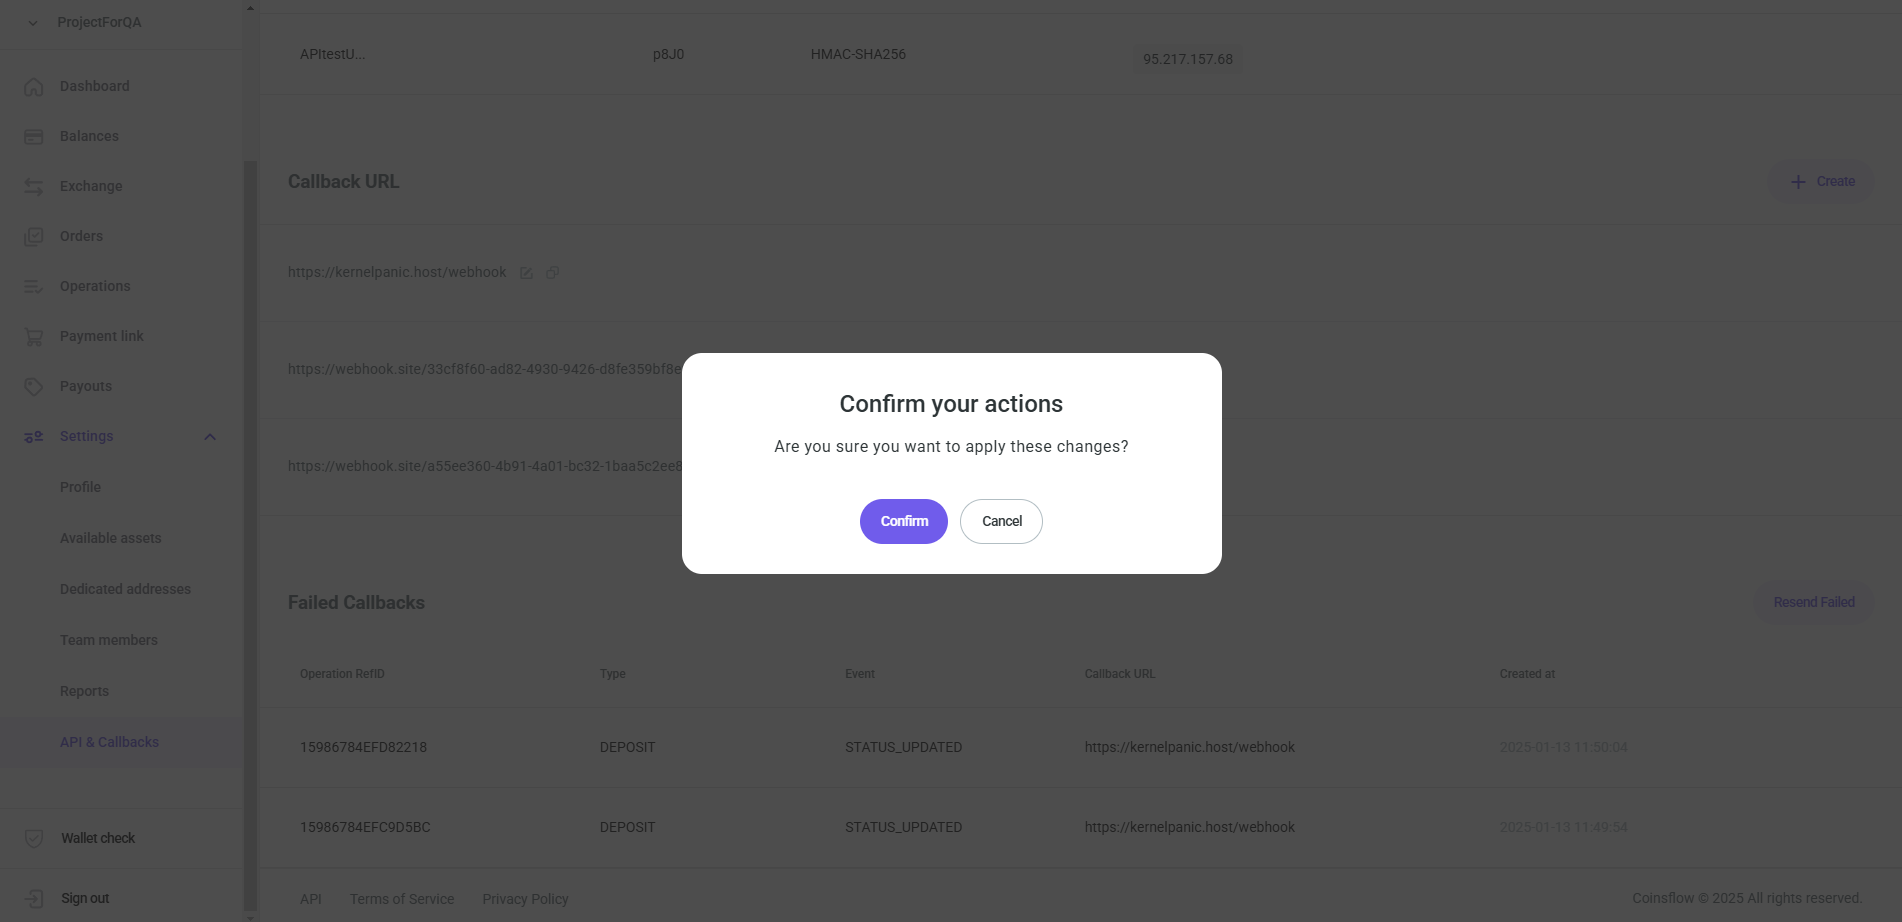
The "Confirmation" pop-up card is displayed:
-
Click on the confirm button to proceed.
-
The callback URL is deleted and removed from the Callback URL table.
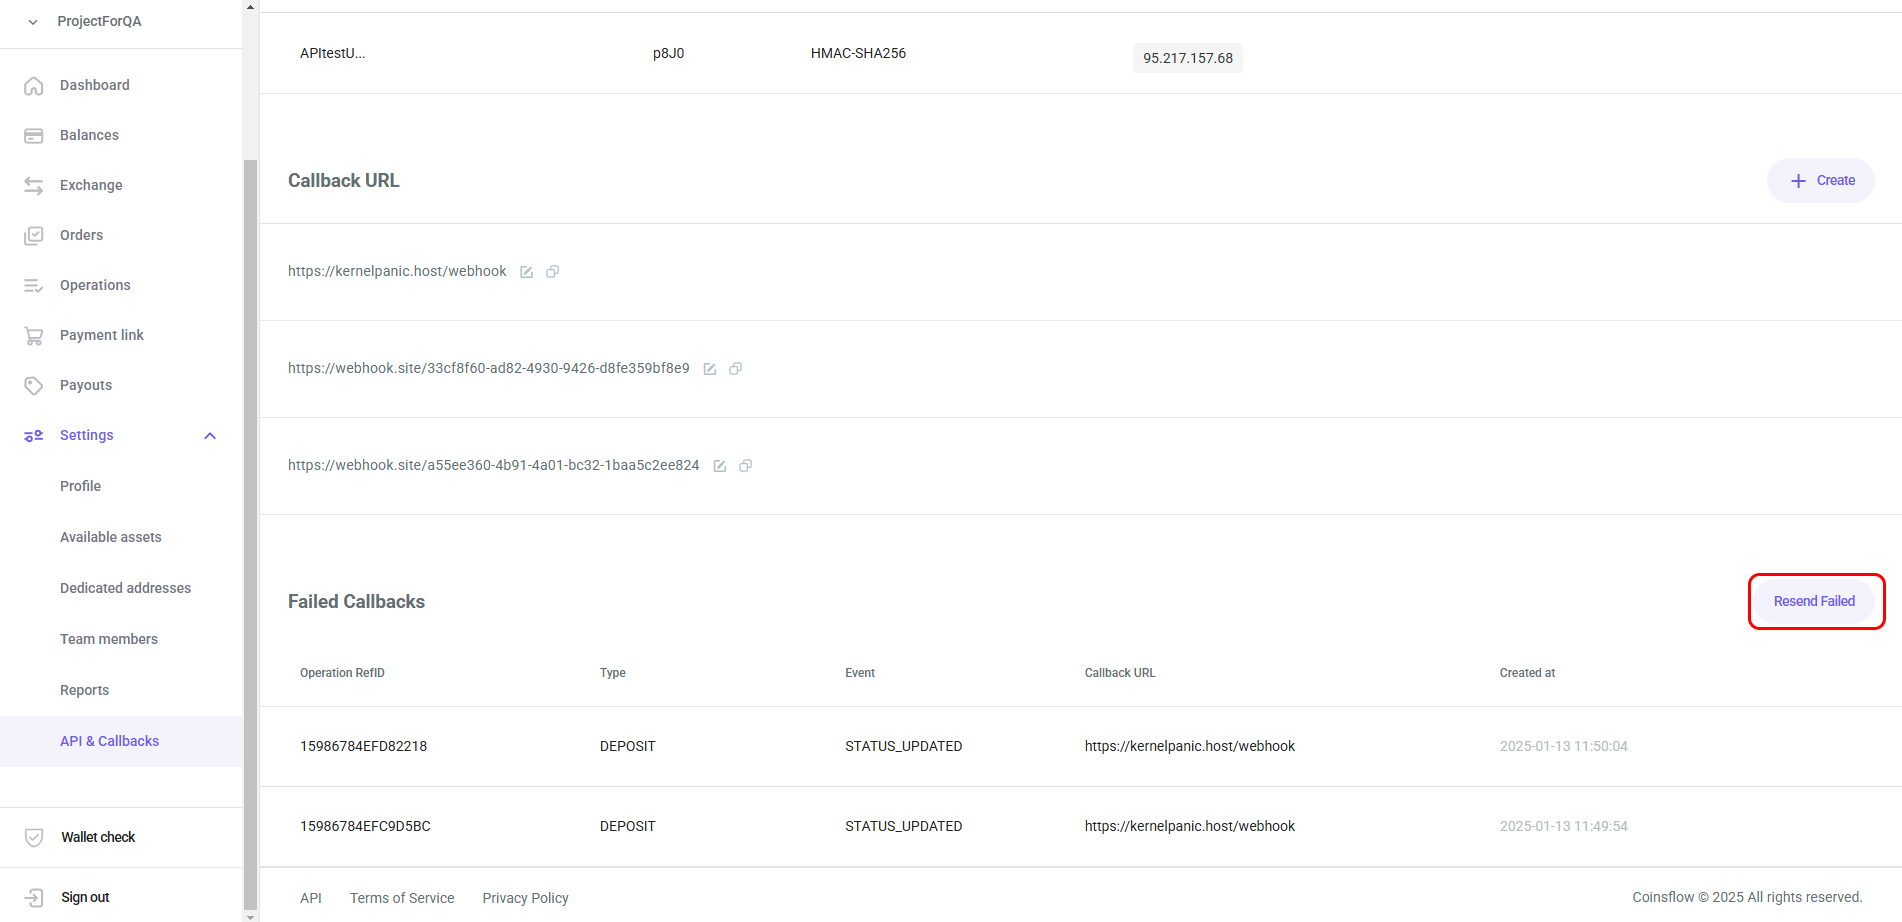
Failed Callbacks
The Failed callbacks table displays the list of callbacks that failed to be sent.
Resend Failed Callback URLs
-
Click on the "Resend failed" button:
-
A notification is displayed confirming the operation's success and the Failed callbacks table is displayed empty (from that moment until a new failed callback occurs, there's no failed callbacks):